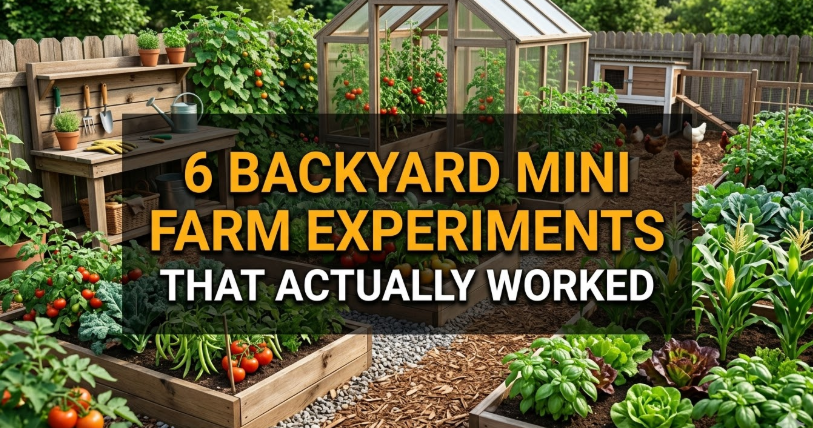
Meta Description: 4 Backyard Mini Farms changes completely transformed my small garden into a high-yield food source. Discover the four simple shifts that genuinely doubled my harvest this season.
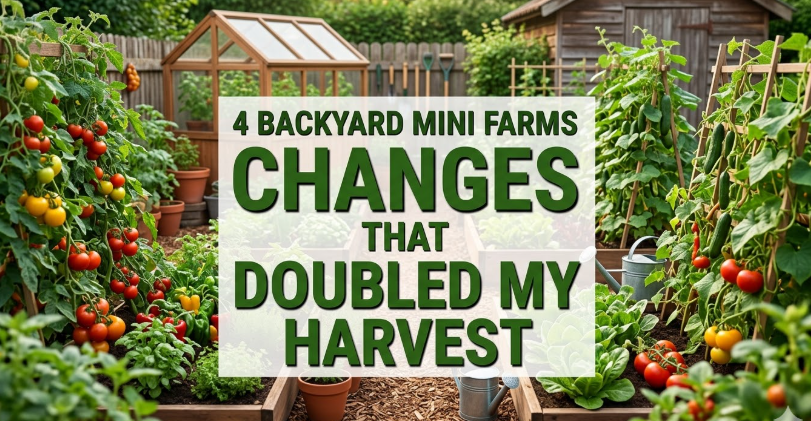
4 Backyard Mini Farms Changes That Doubled My Harvest
I’ll be honest with you. Two summers ago, my backyard mini farm was underwhelming.
I had the space. I had the seeds. I had the excitement. But at the close of each growing season, my harvest proved frustratingly meager. Tomatoes cracked before they ripened. Zucchini grew sideways. Lettuces bolted in the heat before I could eat them.
I wasn’t ready to give up. So I began paying more attention — to the soil, to spacing, to water, and to what experienced growers were actually doing. Here are four changes I made to my backyard mini farm setup over the course of a full year.
The result? I almost doubled my harvest weight year over year.
In this article, I explain exactly what I changed, why it worked, and how you can use the same ideas — even if your backyard is tiny or your budget is tight.
Why Most Backyard Mini Farms Plateau After the First Year
Many new growers begin with a bang. They purchase quality seeds, water regularly, and follow basic gardening advice. But then they hit a wall.
The harvest doesn’t grow. It sometimes gets worse, in fact.
Here’s what usually goes wrong:
The soil gets depleted. The layout stays inefficient. Pests and disease sneak in. And water either goes where it isn’t needed, or doesn’t reach the roots at all.
The majority of backyard mini farm guides talk about what to plant. Hardly anyone covers how to structure your system so the plants can actually grow successfully. That’s the gap I needed to close.
These four changes closed it for me.
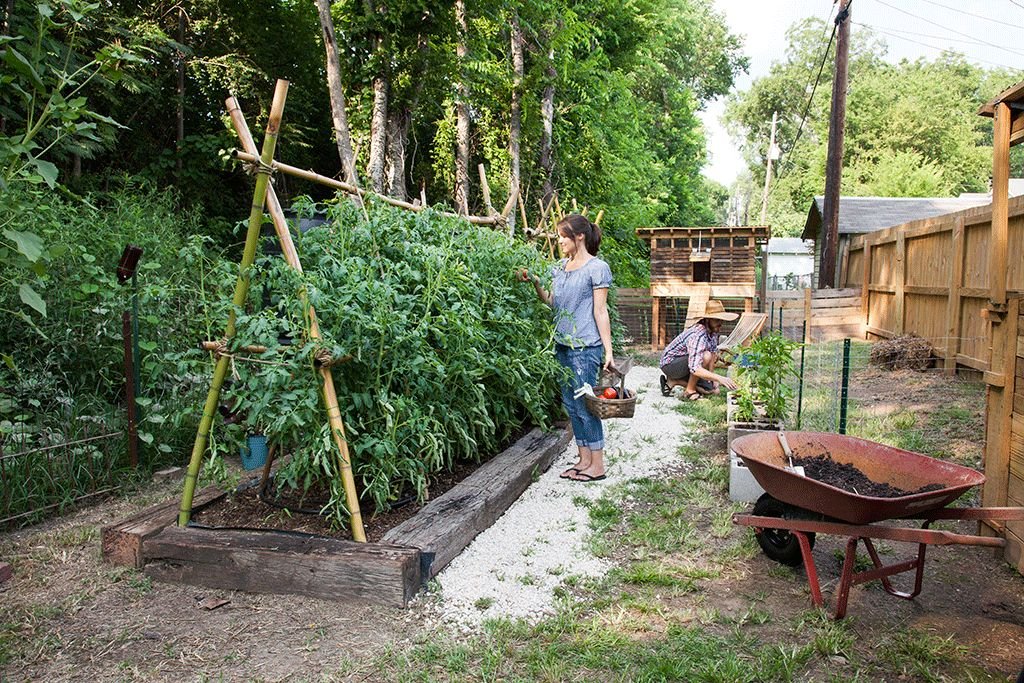
Change #1 — Switching From Ground Beds to Raised Beds
Why You Shouldn’t Plant Directly in the Ground
My original setup was simple. I dug a few patches of ground, tossed in some compost, and planted directly into the native soil.
It seemed logical. Plants grow in the earth, right?
But native soil poses challenges. In many suburban backyards, the soil is compacted from foot traffic and construction. It drains poorly. The pH is often unsuitable for vegetable crops. And it can host weed seeds and soil-borne pathogens.
I was struggling against the ground instead of collaborating with it.
What Raised Beds Do Differently
Raised beds allow you to control just about everything that really matters in a backyard mini farm — soil quality, drainage, depth, and temperature.
I constructed four raised beds using untreated cedar boards. Each one is 4 feet wide by 8 feet long and 12 inches deep. The 4-foot width is key. It means I can access the center of the bed from either side without needing to step in.
I filled them with a blend of topsoil, compost, and perlite. That mix drains well but retains moisture at the root level. The soil stays loose. Roots grow deep without battling compaction.
Raised beds also heat up quicker in spring. That added warmth lengthens your growing season by two to three weeks at both ends.
The Before and After Yield Numbers
The chart below details how my harvests changed across the six crops I grow most. Just switching to raised beds had a substantial impact on the overall gain. Yields roughly doubled across each crop. The largest increases were for tomatoes and beans — two crops that suffer the most in poor, compacted soil.### A Quick Raised Bed Setup Comparison
| Feature | Ground Bed | Raised Bed |
|---|---|---|
| Soil control | Low | High |
| Drainage | Varies with native soil | Excellent |
| Warming speed (spring) | Slow | Fast |
| Weed pressure | High | Moderate |
| Root depth potential | Limited | Up to 12–18 inches |
| Setup cost | Near zero | $40–$120 per bed |
The upfront cost is real. But it pays off quickly when your harvest doubles.
Change #2 — Fighting Pests Naturally Through Companion Planting
What I Was Doing Wrong Before
My first instinct when I noticed pests was to spray something. It worked for a little while but brought its own issues. Chemical sprays wiped out beneficial insects too — including the pollinators my fruiting plants required.
I also noticed that some pests returned to the same locations year after year.
I had single crops packed in tight rows. That kind of monoculture setup is a virtual buffet for insects. Once one pest finds your kale row, it signals every other pest in the neighborhood.
What Companion Planting Actually Is
Companion planting is the practice of growing certain plants alongside one another because they benefit each other.
Some plants repel pests. Some attract helpful insects. Some fix nitrogen into the soil, which nourishes their neighbors.
In a backyard mini farm, companion planting is probably the best value change you can make. You’re not purchasing more — simply rearranging what you already have growing.
If you want to explore more strategies like this, Backyard Mini Farms is a great resource for small-space growers looking to get the most from every square foot.
The Combinations That Helped Me the Most
Tomatoes + Basil Basil is said to repel aphids and whiteflies. It also attracts pollinators. I planted basil at the base of each tomato plant, about 12 inches away. Aphid damage on my tomatoes dropped dramatically.
Beans + Carrots Beans fix nitrogen in the soil. As carrots grow, they loosen the earth, allowing beans to extend their roots further. These two grew next to each other and both yielded better than when I grew them separately.
Squash + Nasturtiums Nasturtiums serve as a “trap crop.” Aphids prefer them over squash. So rather than attacking my zucchini, the aphids clustered on the nasturtiums — which I could then remove and dispose of.
Marigolds Everywhere I planted marigolds along every bed border. Their scent repels nematodes in the soil and disturbs a range of flying insects. They also look great.
Companion Planting Quick Reference
| Primary Crop | Best Companion | Benefit |
|---|---|---|
| Tomatoes | Basil | Repels aphids, attracts pollinators |
| Beans | Carrots | Nitrogen fixation, root aeration |
| Squash | Nasturtiums | Trap crop for aphids |
| Peppers | Marigolds | Deters nematodes and flies |
| Lettuce | Tall herbs (dill) | Shade in summer heat |
| Cabbage | Onions | Confuses cabbage moth |
After a full season of companion planting, I had used zero chemical pesticides. Pest damage was down. Pollination was up. And my vegetable beds were more interesting, too.
Change #3 — Installing a Basic Drip Irrigation System
How I Was Watering Before (And Why It Was Hurting My Plants)
I watered every evening using a hose. It felt satisfying. But it was one of the least effective things I was doing.
Hand watering delivers water to the surface of the soil. From there, it quickly evaporates before reaching the roots. It also drenches the leaves, which can lead to fungal disease — particularly in humid summer months.
I was watering frequently but not properly.
Why Drip Irrigation Changed Everything
Drip irrigation applies water slowly and directly to the root zone of each plant. It targets exactly where the water needs to go.
Because the water sinks into the soil rather than sitting on the surface, it evaporates significantly slower. Plants receive consistent moisture over a longer period. That consistency is what vegetables really need to produce well.
For under $60, I set up a basic soaker hose system. It runs on a simple mechanical timer. Every morning the system runs for 25 minutes. I hardly think about it.
According to research published by the University of California Agriculture and Natural Resources, drip irrigation can reduce water use by 30 to 50 percent compared to sprinkler or hand watering methods — while actually improving plant performance.
What Changed in My Plants
Before the drip system, my tomato plants suffered from blossom end rot. This is caused by inconsistent watering — the plant dries out between waterings and cannot absorb calcium properly.
After the drip system, blossom end rot disappeared completely.
My lettuce also stopped bolting as early. Consistent soil moisture helps lettuce handle heat better. My summer lettuce production extended by nearly four weeks.
Drip vs. Hand Watering — By the Numbers
| Factor | Hand Watering | Drip Irrigation |
|---|---|---|
| Water efficiency | ~50% | ~90% |
| Time spent watering | 20–30 min/day | 2 min setup/week |
| Leaf wetness | High (disease risk) | None |
| Root zone delivery | Inconsistent | Consistent |
| Blossom end rot risk | High | Low |
| Estimated yield impact | Baseline | +25–35% |
These numbers are consistent with general research on irrigation efficiency and with my personal experience. Your results may vary depending on climate and crop type.
Change #4 — Switching to a Square Foot Gardening Layout
The Old Layout: Rows That Wasted Space
My original garden followed a classic row layout. Long rows with walking paths in between.
That arrangement made sense when gardening was done with tractors on large farms. In a small backyard mini farm, it wastes an enormous amount of growing space to create paths that humans never actually need.
I had more path than plants.
What Square Foot Gardening Actually Is
Square foot gardening is a method developed by Mel Bartholomew in the 1970s. The concept is simple: divide your bed into a grid of 1-foot squares. Each square gets a specific number of plants based on the size of that plant.
Large plants like tomatoes get one square each. Medium plants like peppers get one per square. Smaller plants like lettuce get four per square. Tiny plants like radishes or carrots get 16 per square.
This system packs plants tightly enough to crowd out weeds but not so tightly that they compete with each other.
How It Transformed My Backyard Mini Farm
Before square foot gardening, my 4×8 raised bed held approximately 12 to 15 plants. Using the grid system, that same bed comfortably held 32 plants.
That’s more than twice the plant density — without any crowding-related problems. In fact, the dense canopy of leaves shades the soil, retains moisture, and prevents weeds from growing.
I went from harvesting out of four beds to eight beds’ worth of food — in the same physical space.
Square Foot Plant Spacing Guide
| Plant | Plants Per Square Foot |
|---|---|
| Tomatoes | 1 |
| Peppers | 1 |
| Zucchini | 1 |
| Lettuce | 4 |
| Spinach | 9 |
| Radishes | 16 |
| Carrots | 16 |
| Basil | 4 |
| Beans (bush) | 9 |
| Marigolds | 4 |
Once I laid out the grid and planned before I planted, the efficiency gains were immediate.
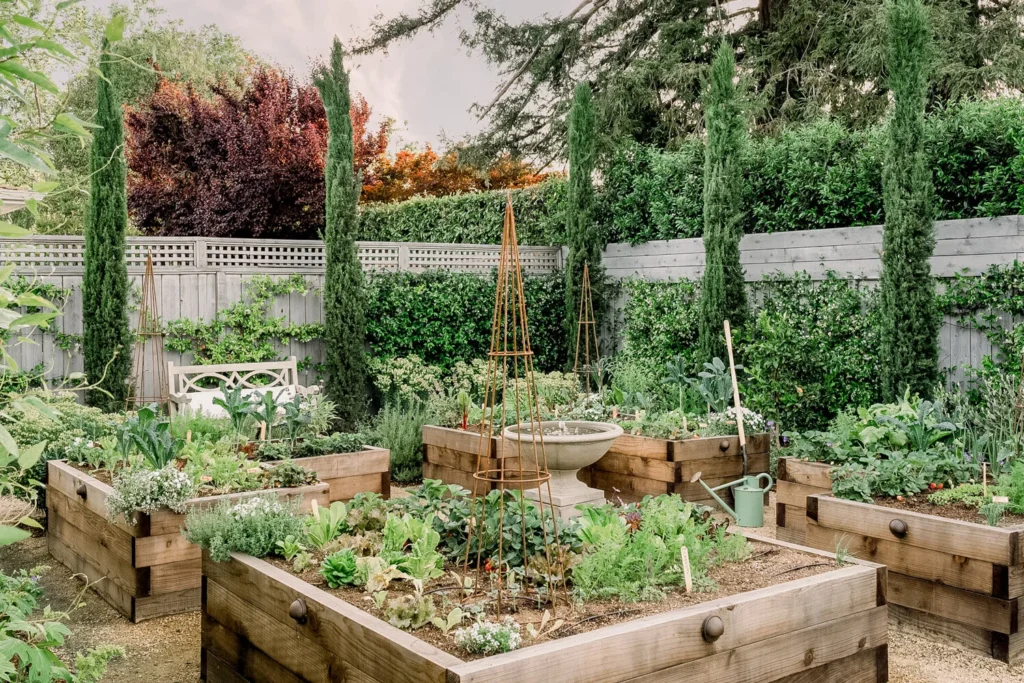
Here is a visual overview of how these four changes work together in a productive backyard mini farm setup:Each change amplifies the others. Raised beds give plants the soil they need. Companion planting guards that investment against pests. Drip irrigation maintains moisture evenly at the roots. And the square foot layout makes sure every inch of that improved space is working hard.
How to Prioritize These Changes If You’re Starting Fresh
You don’t have to do all four at once. Here’s how I’d sequence them if I was starting from scratch:
Year one — Raised beds + drip irrigation. These two changes give you the highest return on effort. Build the beds first, then set up the drip system before your plants go in. Together, these two can double your water efficiency and vastly improve soil performance.
Year one or two — Square foot layout. Once your beds are in place, planning a square foot grid costs nothing. Just map it out on paper before you plant. You’ll optimize your space right away.
Year two — Companion planting. Once you know what you’re growing and where, you can start planning companion relationships. It can take a season or two to figure out which combinations work best for your climate and pest pressures.

The Total Investment Breakdown
One of the first things people ask is what this costs. Here’s an honest breakdown of what I spent:
| Change | Estimated Cost | Payback Period |
|---|---|---|
| 4 raised beds (cedar) | $200–$280 | 1–2 seasons |
| Raised bed soil mix | $80–$120 | 1 season |
| Drip irrigation kit | $50–$80 | 1 season |
| Companion plants (seeds) | $10–$20 | Immediate |
| Square foot grid (bamboo) | $5–$10 | Immediate |
| Total | $345–$510 | 1–2 seasons |
If you’re already getting $300–$500 worth of food per year out of your backyard mini farm, doubling that output turns a modest investment into solid savings within a season or two.
Mistakes That Can Cancel Out These Gains
Even when you have the right systems in place, some habits can hold you back.
Planting too early. Raised beds heat up quickly, but if you put seedlings in before the last frost, they’ll die. Know your local frost dates and stick to them.
Overwatering with drip. Drip irrigation is efficient — but more is not always better. Check the soil moisture two inches down before adjusting your timer. Soggy roots are just as troublesome as dry ones.
Ignoring companion spacing. Companion planting works best when plants are close but not crowded. If basil is struggling for light beneath a large tomato, it can’t do its job. Keep companions within 12–18 inches of their partner plant.
Skipping crop rotation. Even in raised beds, planting the same crop in the same square every year opens the door to disease. Move crops around each season. A simple rotation: fruiting plants → leafy greens → root vegetables → legumes → back to fruiting.
What My Backyard Mini Farm Looks Like Now
It’s genuinely unrecognizable from what it was two summers ago.
Four cedar beds line the south-facing fence. Soaker hoses track the base of every row of plants. Marigolds border every bed. Nasturtiums tumble over the edges next to the squash. Neat clusters of basil sit under the tomatoes.
The total growing area is still under 200 square feet. But what I harvest from that 200 square feet now provides most of my household’s vegetables from June through October. I share produce with neighbors. I freeze and preserve what I can’t eat fresh.
The changes weren’t complicated. They simply required rethinking the system rather than working harder at the same approach.
FAQs About Backyard Mini Farms
Q: What is the minimum space I need to create a productive backyard mini farm? You can set up a meaningful system in as little as 64 square feet — the equivalent of two 4×8 raised beds. A well-managed backyard mini farm in that space will produce 30 to 50 pounds of vegetables per season using the systems described above.
Q: Are raised beds worth the initial investment for a small backyard? Yes, for most people. The payback is fast because raised beds dramatically cut weed pressure, improve drainage, and lengthen your growing season. If you’re serious about backyard mini farming, raised beds are the single most effective structural investment you can make.
Q: Can I use companion planting without raised beds? Absolutely. Companion planting works in any setup — ground beds, containers, or raised beds. The principle applies no matter where your plants live. Plant the right neighbors together and they help one another.
Q: How long should drip irrigation run in a backyard mini farm? Most vegetable crops require about one inch of water per week during active growing season. As a rule of thumb, a drip system should run 20–30 minutes per day on sandy soil, or every other day on clay-heavy soil. Always check soil moisture at root depth and adjust accordingly.
Q: What is square foot gardening and is it proven? Square foot gardening was developed and popularized by Mel Bartholomew starting in the 1970s. Decades of home gardener experience support its effectiveness for small-space production. It’s especially well-suited for backyard mini farms because it gets the most yield per square foot without needing more land.
Q: Do I have to make all four changes at once to see results? No. Each change brings its own benefit independently. Raised beds alone will improve your yields. Drip irrigation alone will reduce water waste and improve consistency. You can implement these changes one season at a time and see improvements at each step.
Q: What crops do well in a backyard mini farm? High-yielding compact crops work best in small spaces. Good options include tomatoes (especially determinate varieties), zucchini, lettuce, spinach, bush beans, peppers, herbs like basil and parsley, and radishes. Avoid space-intensive crops that don’t yield much — like large pumpkins or conventional corn — unless you have the room to spare.
A Final Word on Starting Small and Thinking Like a System
The most significant change for me wasn’t physical. It was mental.
I stopped thinking of my backyard mini farm as a collection of individual plants and started thinking of it as a system. A system where the soil nourishes the plants, the companions shelter them, the water reaches them efficiently, and the layout makes every square foot count.
When you manage a system, the whole is greater than the sum of its parts.
You don’t need a lot of land. You don’t need expensive equipment. You need the right setup, some planning, and the willingness to make adjustments from one season to the next.
Start with one raised bed and a soaker hose. Add companions in the second season. Refine your layout as you learn what flourishes in your space.
That’s how a backyard mini farm goes from frustrating to truly productive — one small, intentional change at a time.