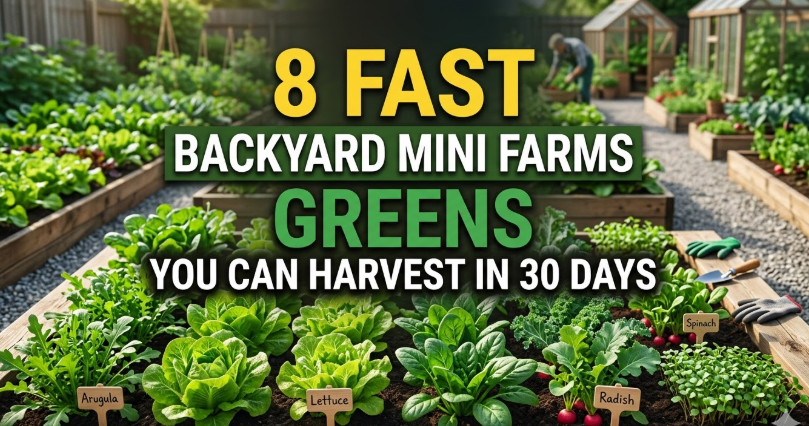
So last spring, I stood in the middle of my backyard holding a cup of coffee and staring at a 20×30 foot patch of dirt, thinking — okay, where do I even start?
I had seeds, I had enthusiasm, and I had absolutely zero plan.
That first season? Disaster. Plants shaded each other out, I couldn’t reach half my beds without stepping on leaves, and my tomatoes ended up crowding out everything within a 3-foot radius. Classic rookie move.
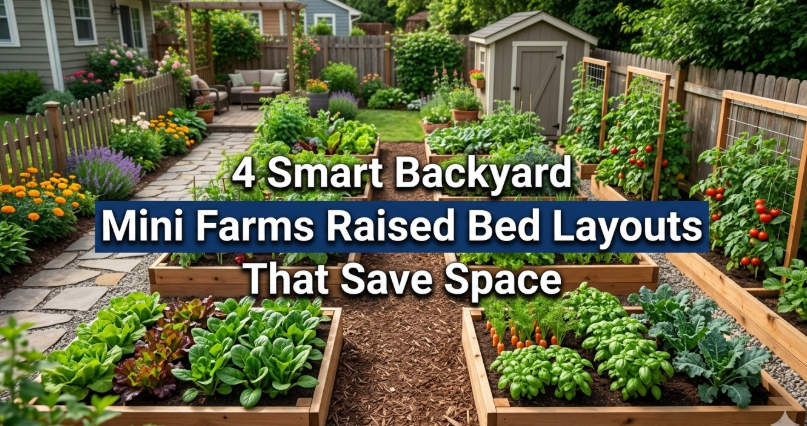
But here’s the thing — I didn’t quit. I sketched, tested, rebuilt, and after three full growing seasons experimenting with different layouts across different corners of my yard, I finally figured out what actually works. Not what gardening YouTube says works. What actually works when you’re dealing with a real backyard, limited time, and a real budget.
Here are the 6 layouts I personally tried — with honest results, mistakes included.
1. The Classic Grid Layout (The “Start Simple” Approach)
This is where most people begin, and honestly, it’s where I started too. The idea is simple — you divide your space into equal square or rectangular sections and assign one crop per section.
I laid out six 4×4 foot beds in two rows of three, leaving 2-foot paths between each one. Clean. Organized. Instagram-worthy, even.
What worked: It’s incredibly easy to manage. You always know where everything is, watering is straightforward, and it looks neat enough that even my neighbor stopped complaining about the “farm look.”
What didn’t: I didn’t account for sun movement. My back row ended up shaded by my taller tomato plants in the front row by mid-summer. Lost half my lettuce crop because of that.
Lesson learned: Always map your sun direction before placing anything. Tall plants (tomatoes, corn, sunflowers) go on the north side so they don’t shade shorter plants. I now use a free app called Sun Seeker to track sun angles before I even put a seed in the ground.
Best for: Beginners who want a clean, manageable starting point.
| Bed Size | Best Crops | Notes |
|---|---|---|
| 4×4 ft | Lettuce, spinach, herbs | Easy to reach from all sides |
| 4×8 ft | Tomatoes, peppers, beans | Standard raised bed size |
| 4×4 ft | Root veg (carrots, beets) | Deep soil needed |
2. The Keyhole Layout (My Personal Favorite)
I discovered keyhole beds after watching a documentary about African community gardens, and immediately thought — why isn’t everyone doing this?
A keyhole bed is essentially a circular or D-shaped raised bed with a narrow path cut into the middle (like a keyhole shape). You stand in the center path and can reach every part of the bed without stretching or stepping on soil.
I built one about 6 feet in diameter in the corner of my yard using cheap cinder blocks I found on Facebook Marketplace for $30.
What worked: The space efficiency is real. I packed in basil, cherry tomatoes, kale, and two pepper plants into one keyhole bed and harvested from it every single week for four months. No wasted soil, no compacted paths.
What didn’t: Building the circular shape was a bit tricky solo. I’d recommend getting a second person to help lay the blocks evenly, especially if you’re using heavier materials.
Pro tip: Some keyhole designs include a central compost basket. You add kitchen scraps directly to the basket, water flows through and naturally fertilizes the surrounding soil. I added one mid-season and noticed a visible difference in leaf color and plant size within three weeks.
If you’re working with a small yard and want to squeeze maximum production out of a tight space, check out these smart backyard mini farm vegetable beds for small spaces — a lot of those ideas pair perfectly with the keyhole concept.
Best for: Small yards, high-yield goals, anyone who hates bending over awkwardly.
3. The Row Garden Layout (The Old-School Classic)
Before raised beds became the cool thing, everyone grew in rows. And I mean everyone. My grandma had a row garden. Her grandma had a row garden.
I gave it a genuine shot one season — long straight rows running east to west across about a 15×20 foot section of my backyard. I grew beans, squash, and sweet corn.
What worked: If you’re growing large quantities of a single crop, rows make harvesting and maintenance super efficient. I could walk down each row with a basket and be done in minutes. Tilling between rows was also easy with a basic wheel hoe.
What didn’t: Water efficiency was terrible. The paths between rows dried out fast, and I was essentially watering dirt I didn’t need to water. My water bill that month was noticeably higher. Also, weeds loved those open paths.
Lesson learned: If you’re going the row garden route, use drip irrigation or soaker hoses laid right along the plant base. Don’t overhead water — it wastes water and can cause leaf disease. I switched to a basic drip kit from Amazon (around $25) and my water usage dropped significantly.
Best for: Larger backyards, growing staple crops in volume, or anyone nostalgic for the traditional garden feel.
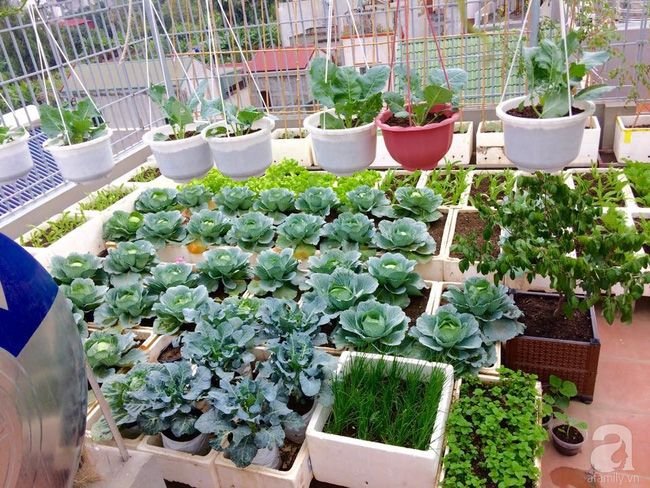
4. The Square Foot Gardening Layout (Maximum Efficiency)
Mel Bartholomew’s Square Foot Gardening method completely changed how I think about spacing. The concept: divide your raised bed into a grid of 1-foot squares and plant according to how many plants that specific crop needs per square foot.
Carrots? 16 per square. Tomatoes? 1 per square. Lettuce? 4 per square. It’s a system backed by real plant spacing data, and once I understood the logic, everything clicked.
I built two 4×8 raised beds, drew a 1-foot grid on each using wooden dowels and garden twine, and planted one full bed this way.
What worked: Zero wasted space. Seriously. The canopy of leaves from closely-spaced plants acts as a living mulch, keeping soil moisture in and weeds out. I barely pulled a weed all season in those beds.
What didn’t: I got overconfident and crammed in too many tomato plants. Even the square foot method can’t fight indeterminate tomatoes that want to take over the world. Two plants would’ve been enough — I planted four in an 8-foot row and spent the whole summer wrestling them back.
For anyone frustrated with tomato chaos (been there), these 5 proven tomato growing tricks are genuinely useful and saved my plants more than once.
Best for: People who love organization, small-to-medium yards, and those who want to maximize variety in one bed.
| Crop | Plants Per Square Foot |
|---|---|
| Carrots | 16 |
| Radishes | 16 |
| Lettuce | 4 |
| Spinach | 9 |
| Peppers | 1 |
| Tomatoes | 1 |
| Basil | 4 |
| Beans (bush) | 9 |
5. The Three Sisters Layout (The Native American Polyculture Method)
I’ll be honest — I tried this one because it sounded cool. The three sisters method is a traditional Native American companion planting technique where you grow corn, beans, and squash together in a symbiotic cluster.
Here’s the science: corn provides a tall stalk for beans to climb. Beans fix nitrogen in the soil, feeding both corn and squash. Squash spreads wide, its big leaves blocking sunlight from weeds and keeping soil moisture locked in.
I set up a 10×10 foot section specifically for this.
What worked: The companion planting dynamic is real. My soil looked noticeably better after that section than any other part of my yard. The squash really did suppress weeds aggressively, and I got a solid bean harvest climbing up the corn stalks.
What didn’t: Timing is everything with this method and I got it wrong the first time. You need to plant corn first, let it get 4-5 inches tall, then add beans, and a week later add squash. I planted all three at the same time and the squash basically smothered the corn seedlings before they had a chance to establish.
Second attempt result: Much better. Once I staggered the planting, all three thrived and I barely touched that bed all summer.
Best for: Anyone with at least a 10×10 space who wants a low-maintenance, self-sustaining growing system.
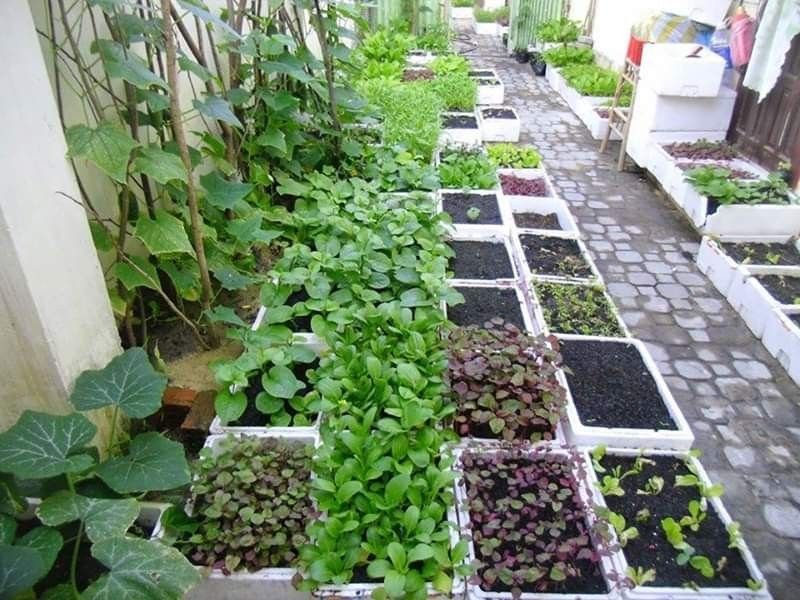
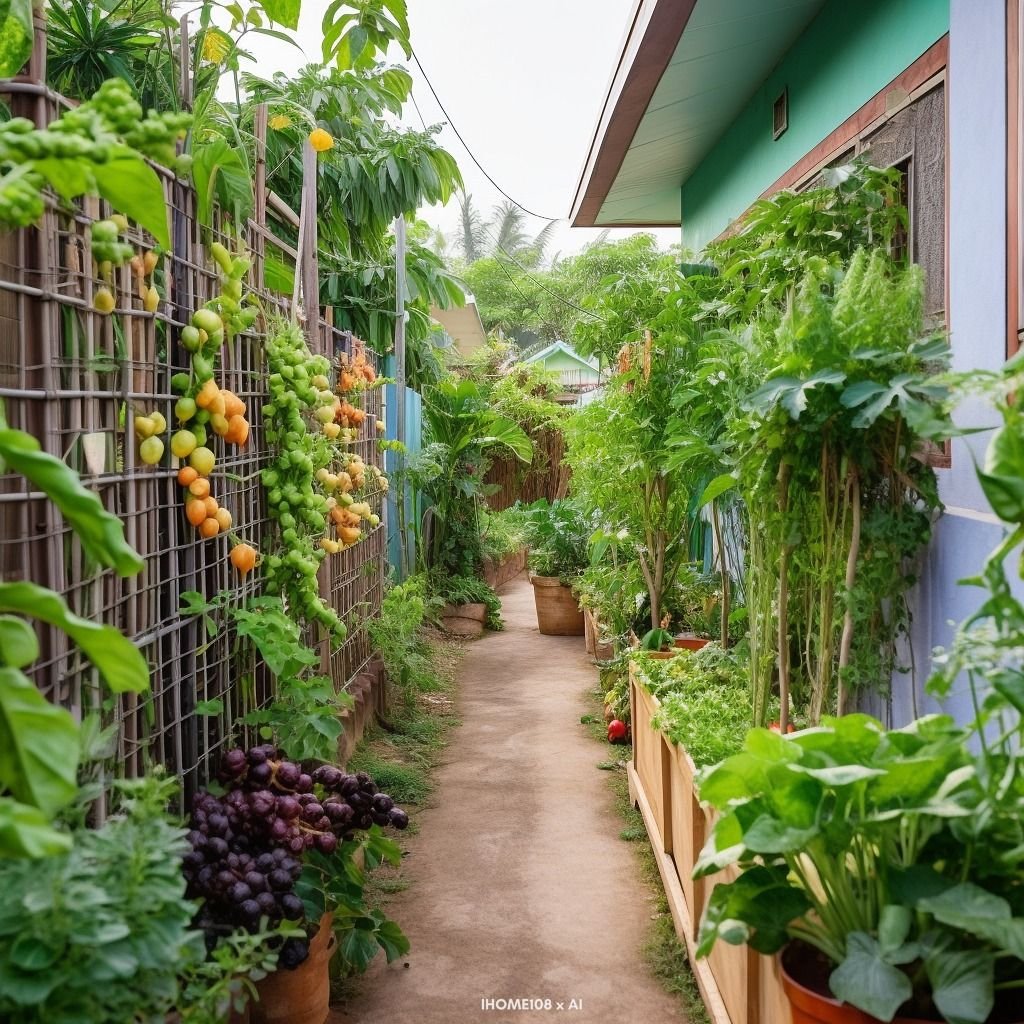
6. The Vertical Garden Layout (Going Up When You Can’t Go Out)
My side yard is about 4 feet wide and 18 feet long. Pure wasted space for years. Then I discovered vertical growing and it completely transformed that narrow strip into one of my most productive areas.
I installed two 6-foot tall cattle panels (bent into arches) and ran them parallel down the length of the strip. I also mounted three tiers of pocket planters on the fence using basic hooks.
What I grew vertically: Cucumbers, pole beans, cherry tomatoes, peas, and even small melons (with a little cloth sling support). In the pockets on the fence I grew herbs — basil, thyme, oregano, and mint.
What worked: Honestly, almost everything. Vertical growing improves air circulation around plants, which means less fungal disease. Harvesting is easier because you’re not bending down digging through foliage. And the structure looks genuinely attractive — it actually improved the look of my side yard.
What didn’t: Watering needs went up. Vertical planters dry out faster than ground beds, especially in summer heat. I ended up running a small drip line along the trellis to automate watering, which solved the problem. The initial setup cost me about $80 total for the cattle panels and drip kit.
If you’re working with tight spaces and want ideas beyond just trellises, these smart backyard mini farm space-saving ideas are worth bookmarking.
Best for: Narrow side yards, fence lines, small patios, or anyone who wants maximum harvest from minimum ground space.
Common Mistakes I Made Across All These Layouts
Since I’ve tried all six, I’ve made pretty much every mistake possible so you don’t have to. Here’s a quick rundown:
Not planning pathways first. Every layout needs walkable paths. If you can’t reach a plant comfortably without stepping on soil, you’ll compact roots and stunt growth. I now plan paths before I plan beds.
Ignoring water access. I once set up a beautiful layout in a corner of the yard that was 60 feet from my outdoor tap. Dragging a hose that far every day gets old fast. Now water access is the first thing I think about.
Planting too much at once. That first season I planted 14 different vegetables across three layouts simultaneously. I was overwhelmed, things got neglected, and some beds just failed from lack of attention. Start with 3-4 crops you actually eat and do those well.
Skipping soil prep. Whatever layout you choose, it’s useless if the soil isn’t right. I use a mix of compost, aged manure, and a bit of perlite for drainage. Good soil is always the best investment — and these 10 secret soil hacks for bigger harvests are ones I’ve personally tested and swear by.
Not tracking what worked. I started keeping a simple garden journal (just a notes app on my phone) where I log what I planted, where, when, and what happened. That data has been more valuable than any gardening book I’ve read.
A Quick Layout Comparison
| Layout | Space Needed | Difficulty | Best Feature | Biggest Drawback |
|---|---|---|---|---|
| Classic Grid | Any | Easy | Organized, beginner-friendly | Sun planning required |
| Keyhole Bed | Small | Medium | Maximum reach, high yield | Building shape is tricky |
| Row Garden | Large | Easy | Efficient for bulk crops | Water-inefficient |
| Square Foot | Small-Medium | Easy | Zero wasted space | Tomatoes still rebel |
| Three Sisters | Medium | Medium | Self-sustaining system | Timing-sensitive |
| Vertical | Narrow strips | Medium | Uses vertical space | Dries out faster |
Where to Go From Here
If you’re standing where I was — staring at a patch of dirt wondering where to begin — my honest advice is to pick one layout that matches your available space and just start. You don’t need to build six beds in your first season.
The keyhole layout is my go-to recommendation for most backyards because it’s efficient, accessible, and genuinely fun to build. But if you’re completely new and want the simplest entry point, the grid layout will serve you well and build your confidence fast.
The most important thing I’ve learned after three seasons of experimenting is that layout matters, but consistency matters more. Show up regularly, pay attention to your plants, fix problems early, and don’t be afraid to change things if something isn’t working.
Every mistake I made taught me something that made the next season better.
Your backyard has more potential than you think — sometimes you just need to find the right layout to unlock it.
Before you go: If you’re just getting started and want a solid foundation for your first backyard mini farm, this article on 5 easy backyard mini farm setup steps for beginners walks you through exactly where to begin — from choosing your space to your very first harvest.