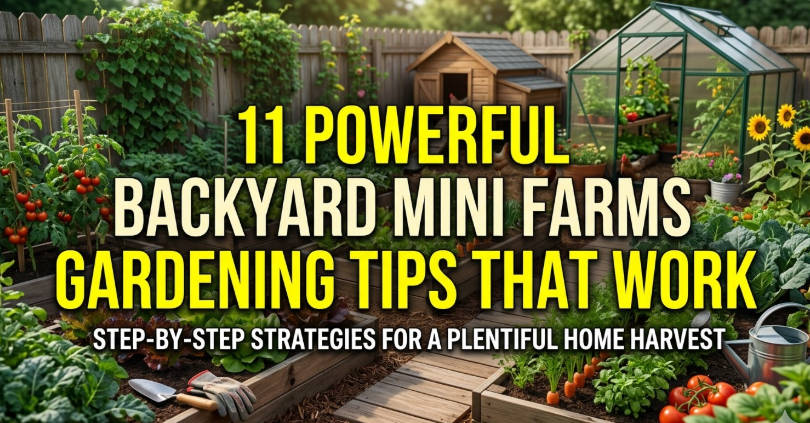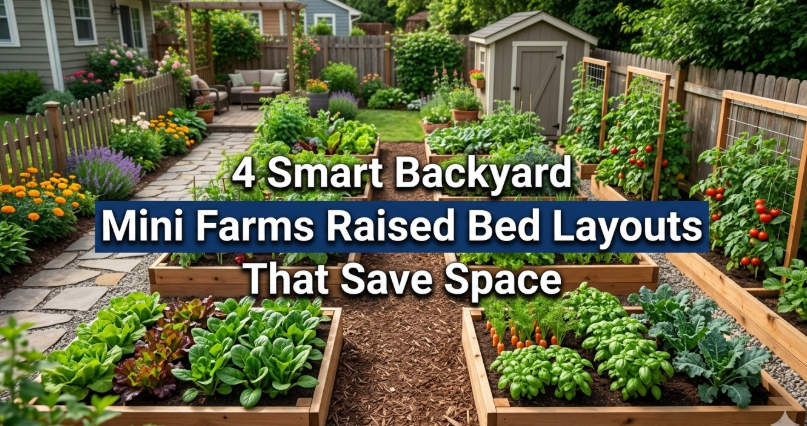
Meta Description: 4 Smart Backyard Mini Farms Raised Bed Layouts That Save Space — Layouts that help you save space and make the most out of every inch of your yard for a home garden.
Four Space-Saving Raised Bed Layouts For Smart Mini Farms
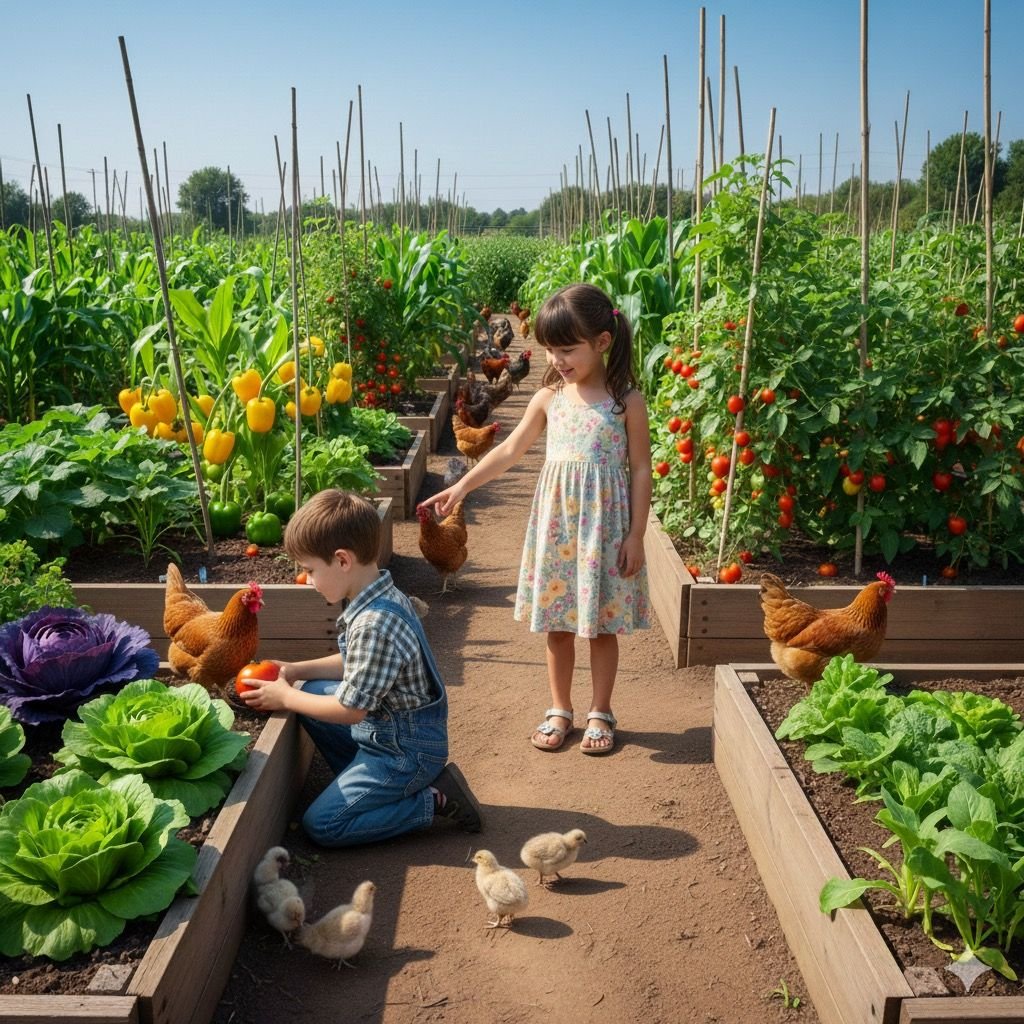
You can grow your own food without having acres of land.
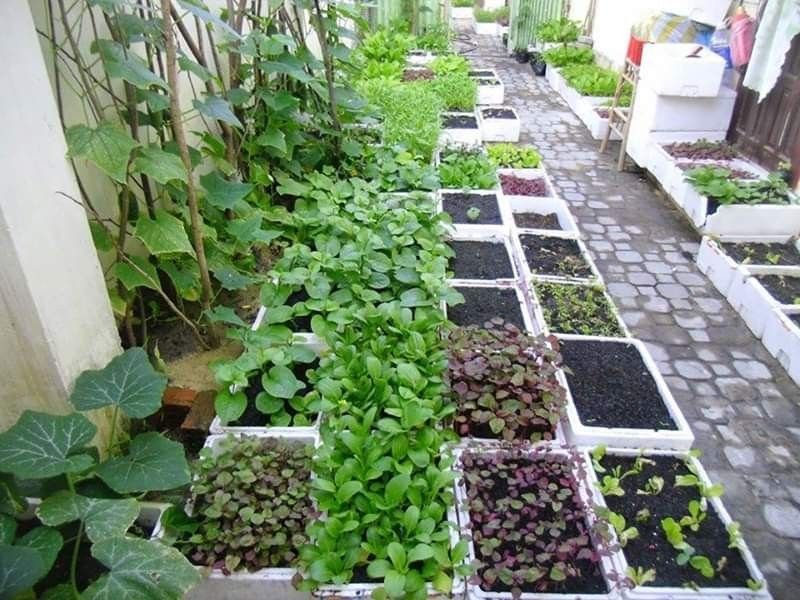
A small backyard — even a tiny one — can grow an astonishing amount of fresh vegetables, herbs, and fruits. The secret? Clever raised bed layouts that are designed for the space you have, not against it.
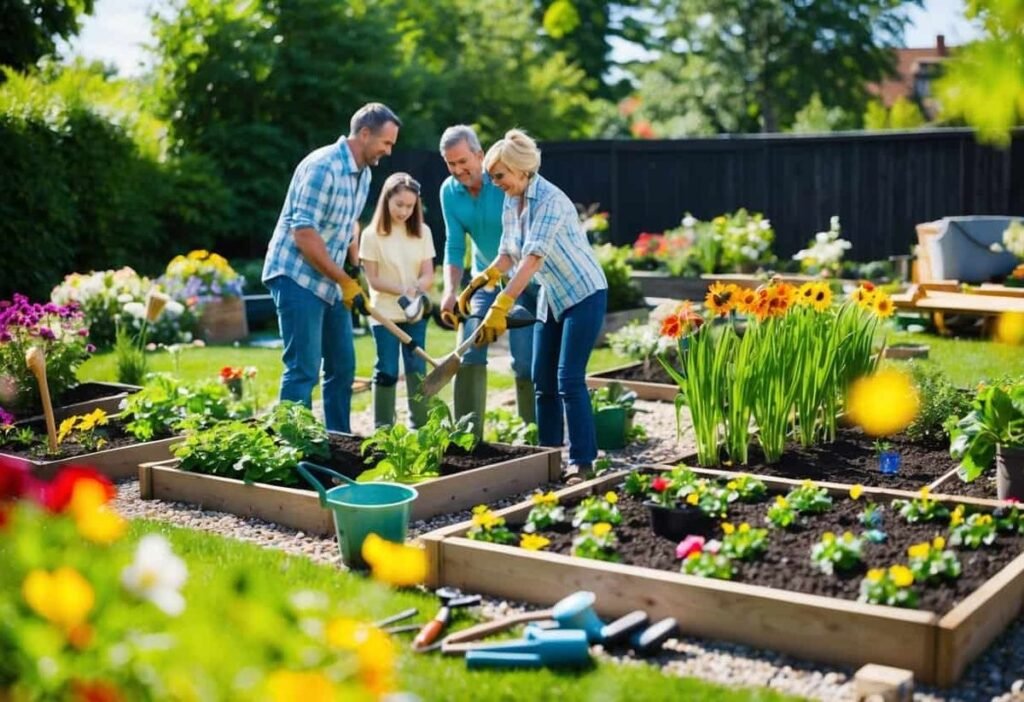
Raised beds are among the best tools you can have for backyard mini farming. They help keep your soil healthy, decrease weeds, improve drainage, and make it easier to access your plants. But not all layouts are equal. How you configure your beds can be the difference between a cluttered mess and a productive, manageable mini farm.
In this article, you’ll learn four tested raised bed layouts that small-space gardeners adore. All are meant to save space, increase yields, and get your backyard working harder for you.
Whether you’re creating a new garden from scratch or redesigning an old one, these layouts offer step-by-step plans to follow.
The Importance of Raised Bed Layouts (More Than You Think)
Before discussing layouts, it’s worth taking a second to talk about the importance of arrangement.
Newcomers tend to worry about soil quality or plant selection. Those things are significant, but if your beds are poorly positioned, you’ll waste space, block sunlight, and make watering or harvesting a daily battle.
A good layout considers:
- Sunlight — Most vegetables do well in 6–8 hours of direct sun per day
- Walkway width — You should have at least 18–24 inches between beds so that you can move comfortably
- Water reach — Every bed should be accessible from a hose or drip line without walking through it
- Airflow — Important for disease and mold prevention
- Companion planting — Placing certain plants near each other can naturally enhance growth
When all of these factors fall into place in a well-designed system, your mini farm practically runs itself.
Layout #1 — The Classic Grid Pattern (The Workhorse)
What It Looks Like
A grid layout is just what it sounds like — raised beds in tidy rows and columns, much like a checkerboard. There are reasons such a layout is so common: it’s simple, efficient, and easy to expand.
A standard grid system could have four 4×8 foot beds in a two-by-two setup with a pathway of 2 feet between them.
How It Works for Tiny Gardens
The grid pattern is a space-saver since there isn’t a wasted square foot. Not a corner wasted, not an awkward triangle of soil untouched.
It also pairs nicely with square foot gardening — the practice of dividing each bed into a grid of 1-foot squares and growing one type of plant in each square. The result can yield as much as 10 times the food produced in traditional row gardening for the same square footage of growing space.
Ideal Dimensions
| Bed Size | Total Growing Area | Recommended Spacing |
|---|---|---|
| 4×4 ft | 16 sq ft per bed | 18–24 inches between beds |
| 4×8 ft | 32 sq ft per bed | 24 inches between beds |
| 3×6 ft | 18 sq ft per bed | 18 inches between beds |
Best Plants for This Layout
- Lettuce, spinach, and arugula (fast-growing, can be replanted multiple times)
- Carrots and radishes (grow deep rather than wide)
- Kale and Swiss chard (upright but compact)
- Bush beans (don’t need staking)
- Herbs such as basil, parsley, and cilantro
Pro Tips for the Grid Layout
Keep your beds no more than 4 feet wide. This way, you can access the center from either side without stepping into the bed and compacting the soil.
Line your pathways with gravel, wood chips, or stepping stones. This prevents mud and clearly defines your mini farm structure.
For a long, narrow backyard, run the grid lengthwise. You can fit more beds without blocking the view or sunlight.
Layout #2 — The U-Shape or Horseshoe Design (The Efficiency King)
A Layout Built for Reach
One of the most underrated designs in small backyard farming is the U-shape layout. Three raised beds are arranged in a U or horseshoe shape — two running parallel and one connecting them at the back.
This creates an enclosed working area in the middle where you can stand and access all three beds without moving your feet more than a step or two.
Why Small Backyards Love This Design
The U-shape packs a lot of growing space into a small footprint. You get three full beds but need only one central workspace. That means fewer pathways eating into your valuable yard space.
It’s also incredibly ergonomic. Gardening becomes much less tiring when you’re not walking back and forth all the time.
If you add a trellis or pergola overhead, you can grow climbing plants like cucumbers, pole beans, or peas above the space — turning the U into a three-dimensional growing zone.
Sample U-Shape Dimensions
Imagine this setup in a 12×12 foot space:
- Two side beds: 2×6 feet each
- One back bed: 2×8 feet
- Central working aisle: 3 feet wide
Total growing area: approximately 40 square feet — all accessible from one standing position.
Vertical Growing Bonus
The back bed of the U-shape is the ideal place to install a vertical trellis. Climbing plants grow upward instead of outward, giving you an extra layer of production without using any additional ground space.
Vertical crops that thrive here:
- Cucumbers
- Snap peas and snow peas
- Pole beans
- Small pumpkins (with fruit supported by netting)
- Indeterminate tomatoes
What to Plant Where
Side beds — Shorter-growing plants like lettuces, herbs, and strawberries. Easy to reach and ready for daily harvest.
Back bed with trellis — Tall or vining plants. The trellis also serves as a windbreak and privacy screen.
One Thing to Watch
Make sure the U opens toward the south (in the Northern Hemisphere) so sunlight can reach the plants in the enclosed space. If the U opens north, the taller back trellis may cast shade on your shorter plants.
Layout #3 — The Keyhole Garden Beds (The Water-Saver)
What Is a Keyhole Layout?
Imagine a circle with a thin wedge taken out of it — like a pie with one narrow slice removed. That slice is your route into the middle of the bed. The shape looks like the silhouette of a keyhole from above.
The keyhole design comes from permaculture and African dry-land farming traditions. It was originally constructed around a central composting basket that delivered nutrients directly to the surrounding soil.
Modern backyard mini farmers have transformed this method into a brilliant space-saving raised bed design. If you want to explore more creative layouts and ideas for your setup, Backyard Mini Farms is a great resource to bookmark.
How It Saves Space and Water
In a typical rectangular layout, you need pathways around every bed. With the keyhole design, you only need one thin entry path per bed. That means more of your space goes to growing and less to walking.
Water efficiency is another big win. The circular shape allows you to place a single drip emitter or soaker hose in the center and water the entire bed evenly. No dry corners, no overwatered edges.
Keyhole Bed Dimensions
The ideal keyhole bed is:
- 6–8 feet in diameter (so you can reach the center from the outer edge)
- Entry path: 18–24 inches wide
- Bed height: 12–18 inches (great for root vegetables)
In the same space where you’d normally fit one rectangular bed with pathways around it, you can easily fit two or three keyhole beds.
Keyhole Layout Garden Map
Here’s what three keyhole beds might look like in a 20×15 foot backyard:
[ Keyhole Bed A ]     [ Keyhole Bed B ]
     ↖ entry path          ↗ entry path
           [ Keyhole Bed C ]
              ↑ entry path
Each bed faces outward with its entry path pointing toward a central hub. You walk into each bed from the outside, tend your plants, and step back out.
Best Crops for Keyhole Beds
Because the bed is deep and round, it’s well-suited for:
- Root vegetables: carrots, beets, turnips, parsnips
- Leafy greens planted in rings around the center
- Herbs in the outer ring (easy to snip as you walk by)
- One centerpiece plant such as a tomato or pepper
The Composting Center Option
For full permaculture, install a wire mesh composting basket in the center of the keyhole. Fill it with kitchen scraps, water it occasionally, and let nutrients leach into the surrounding soil naturally.
This creates a self-feeding garden bed that requires very little fertilizing throughout the season.
Layout #4 — The Tiered Terrace Layout (The Hillside Hero)
When Your Backyard Isn’t Flat
Many homes have sloped or uneven backyards. Most gardeners see this as a problem. Smart mini farmers see it as an opportunity.
The tiered terrace layout uses the natural slope of your yard to create raised beds at different elevations — like a staircase of growing space.
Even with a mostly flat yard, you can build in a tiered effect using beds of different heights. A short 6-inch bed in front, a 12-inch bed in the middle, and an 18-inch bed at the back creates a beautiful, functional growing staircase.
Why Tiers Work So Well
Sunlight is the big winner here. Taller back rows don’t shade the shorter front rows. Every plant receives its fair share of sunshine.
Drainage improves dramatically. Water flows naturally downhill from tier to tier, keeping the upper beds well-draining and allowing moisture to collect in the lower beds. You can grow drought-tolerant crops on top and moisture-loving crops at the bottom.
Accessibility gets better too. Higher beds mean less bending. Those with back issues often prefer the tallest tier for frequently harvested crops like herbs and salad greens.
Tiered Bed Height Guide
| Tier | Height | Best Crops | Water Needs |
|---|---|---|---|
| Top (back) | 18–24 inches | Herbs, peppers, strawberries | Low — drains fast |
| Middle | 12–14 inches | Tomatoes, beans, squash | Moderate |
| Bottom (front) | 6–8 inches | Lettuce, spinach, moisture-lovers | Higher — retains water |
Building on a Real Slope
If your backyard has a genuine slope, cut into the hillside to form flat terraces and line them with timber, stone, or concrete blocks. It requires more work upfront, but it creates a permanent, beautiful structure that adds real value to your property.
Use landscape fabric behind retaining walls to prevent soil from washing through. Fill each terrace with quality raised bed mix rather than native soil.
Combining Tiers with Vertical Structures
A tiered layout pairs beautifully with vertical growing structures. Place a tall trellis or cattle panel arch at the highest tier. Grow climbing crops there — they’ll rise above the slope and create a dramatic visual backdrop while producing heavily.
Below the trellis at the middle tier, plant crops that appreciate light shade in hot afternoons, such as lettuce and cilantro. They will thrive under the canopy of climbing plants.
According to the University of California Agriculture and Natural Resources, raised bed gardening consistently improves soil health, drainage, and overall plant yields — making it one of the most recommended methods for home food production.
Deciding on the Best Layout for Your Yard
The best layout isn’t the “most popular” option. It’s about matching the design to your own situation.
Ask yourself these questions:
- What is the topography of my yard — flat, sloped, or irregular?
- How many hours of sunshine does the space receive daily?
- How many hours a week can I realistically spend gardening?
- Am I growing for fresh eating or bulk storage?
- Do I have kids or pets that need open yard space?
If you’re brand-new to gardening, start with the grid layout. It’s forgiving, easy to manage, and straightforward to expand as your skills develop.
If space is at a premium, the U-shape will give you the most growing area per unit of space.
If water bills or dry summers worry you, the keyhole design will maximize every drop.
If your yard slopes or you want the most sun on every plant, tiered terraces are worth the extra effort.
General Tips That Apply to Every Layout
These fundamentals will make your mini farm more productive, no matter which layout you choose:
- Fill beds with quality mix — Use a combination of compost, topsoil, and well-aged manure. Never use straight garden soil in raised beds.
- Mulch every bed — A 2-inch layer of straw or wood chip mulch can cut watering frequency by as much as 50 percent.
- Rotate crops each season — Move plant families to different beds annually to prevent the buildup of soil-borne diseases.
- Grow vertically wherever possible — Trellises, cages, and arches add growing area above your beds without increasing your footprint.
- Start small and expand — Two or three beds managed well will outperform ten neglected beds. Add more as your confidence grows.
Backyard Mini Farm Raised Bed Layouts — FAQs
Q: How many raised beds will provide for a family of four? Most gardening experts recommend 100–200 square feet of growing space per person for supplemental vegetables. For a family of four, aim for 400–800 square feet — which could translate to 10–20 standard 4×8 foot beds. Start with 4–6 beds and scale up based on what you actually eat and have time to tend.
Q: What’s the best material for raised bed walls? Cedar and redwood are the top choices — they’re naturally rot-resistant and can last 10–20 years. Pine is cheaper but may need replacing every 5–7 years. Avoid pressure-treated lumber in food gardens (earlier formulas contained arsenic). Galvanized steel raised beds are on the rise and are safe, durable, and long-lasting.
Q: Can I use a raised bed layout on a concrete patio or deck? Yes! That is one of the greatest benefits of raised beds. You don’t need soil underneath. Use beds at least 12 inches deep for most vegetables, and 18–24 inches for root crops. Make sure your deck or patio can support the weight — a 4×8 foot bed full of soil mix may weigh 1,000–1,500 pounds.
Q: How do I prevent weeds from growing through my raised beds? Line the bottom of each bed with cardboard before adding soil. The cardboard blocks weeds, decomposes naturally over time, and attracts earthworms. This step is especially important if your beds sit on grass. Skip the landscape fabric — it can block beneficial soil life and is difficult to remove.
Q: Do raised beds need to be level? Ideally, yes — particularly for watering consistency. Sloping beds will drain unevenly, leaving one end too dry and the other waterlogged. If you’re installing beds on a gentle slope, use a level and adjust the ground below before placing your bed frames.
Q: How often should I water raised beds? Raised beds dry out faster than in-ground gardens and usually need more frequent watering. During hot summer months, most beds need water every 1–2 days. Stick your finger 2 inches into the soil — if it feels dry, it’s time to water. A drip irrigation system on a timer removes all the guesswork.
Q: Can I mix layouts in one backyard? Definitely — and that’s exactly what many experienced mini farmers do. You could have a grid layout along one fence, a U-shape in the center, and vertical elements from the tiered design along another wall. Think of the four layouts as building blocks, not hard-and-fast rules.
Wrapping It All Up
You don’t need a farm to grow your own food. You need a smart plan.
The four raised bed layouts covered here — the grid pattern, the U-shape, the keyhole design, and the tiered terrace — each solve different problems and serve different backyard types. What they all share is a smart approach to space: maximizing every square foot.
Your backyard mini farm can start small. Even two or three carefully placed raised beds, filled with good soil and planted with purpose, can deliver fresh food to your table week after week.
Choose the layout that best suits your yard, your schedule, and your goals. Then dig in — literally.
The best time to start your mini farm was last season. The next best time is today.