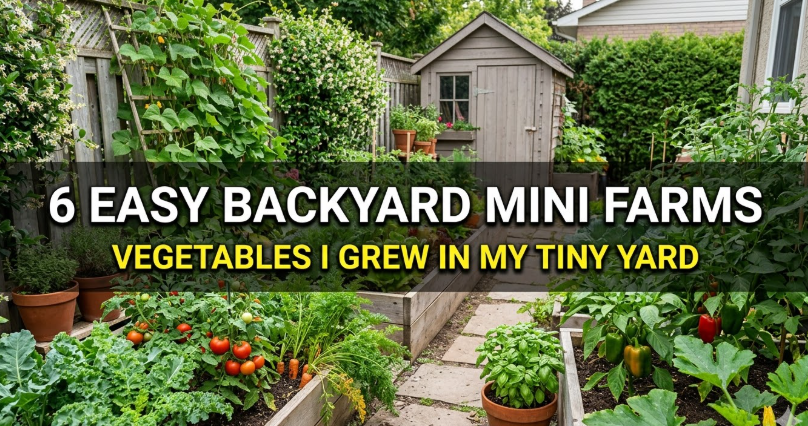
Meta Description: Backyard mini farms vegetables don’t require a lot of yard space. Here are 6 easy vegetables I grew in my little backyard & how you can start your own mini farm today.
6 Easy Backyard Mini Farms Vegetables I Grew Right In My Tiny Yard
There is something magical about stepping outside and picking your own food.
I live in a tiny house whose backyard is no bigger than a parking space. For the longest time, I thought growing food was reserved for people with large gardens or land. I was completely wrong.
In the past two years, I’ve transformed my small outdoor area into a functioning backyard mini farm. It produces real food, saves me money (more or less), and can I just say, it’s the most satisfying hobby I’ve ever had.
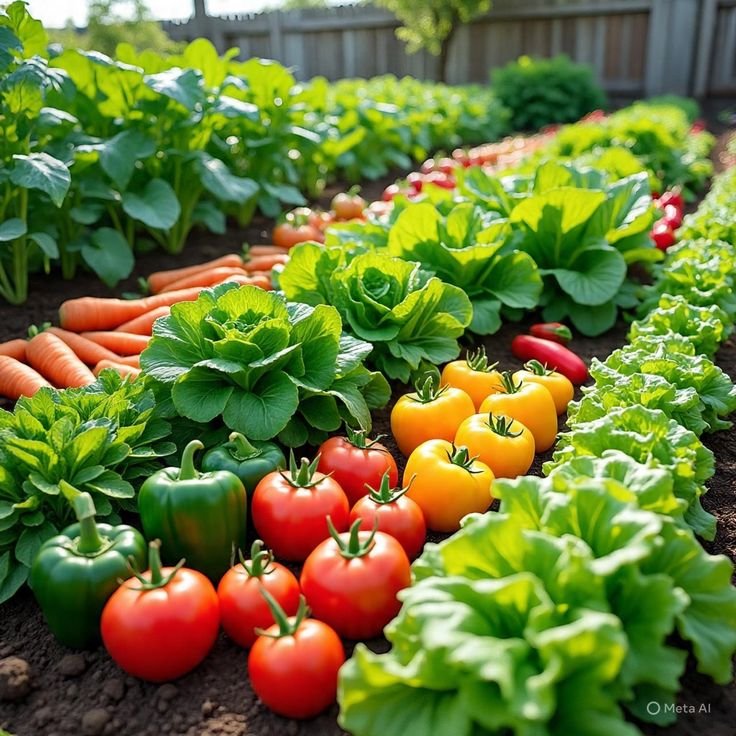
In this article, I’m revealing the specific 6 backyard mini farms vegetables I grew — what did and didn’t work, what I learned, and how you can do it too even if your yard is small! And no matter how much space you have, whether it’s a few square feet of soil, a couple of raised beds or even just your sunniest balcony, these crops will perform for you.
Let’s dig in.
Why Backyard Mini Farms Are So Important Right Now
Food prices keep climbing. Produce found in supermarkets has traveled hundreds of miles before landing on your plate. And more people than ever are wondering, “Can I just grow this myself?”
The answer is yes — and you don’t need a farm to do so.
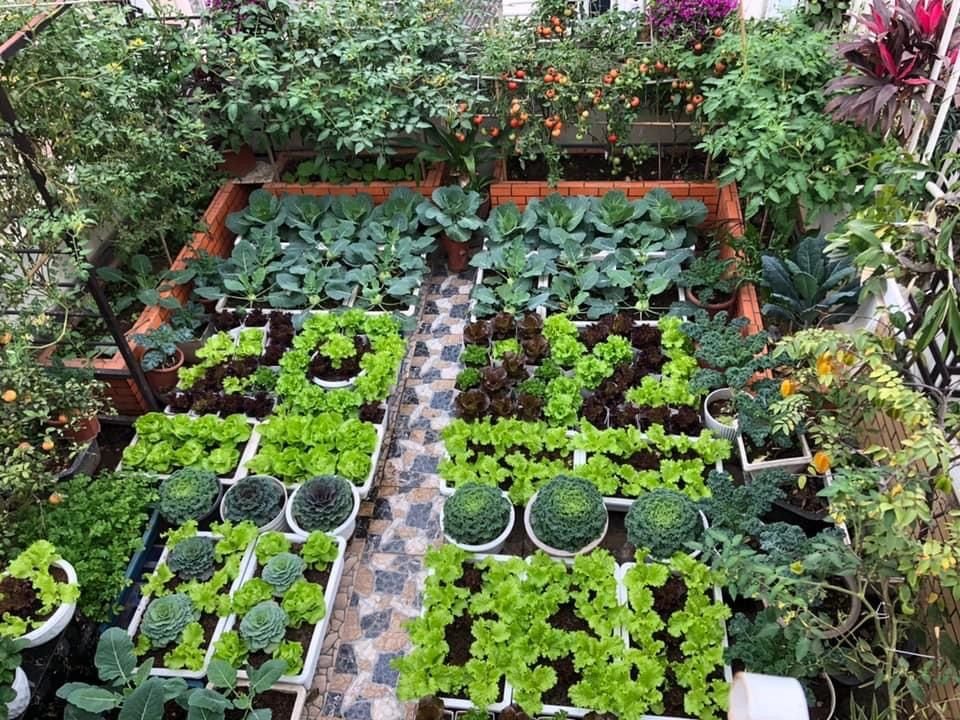
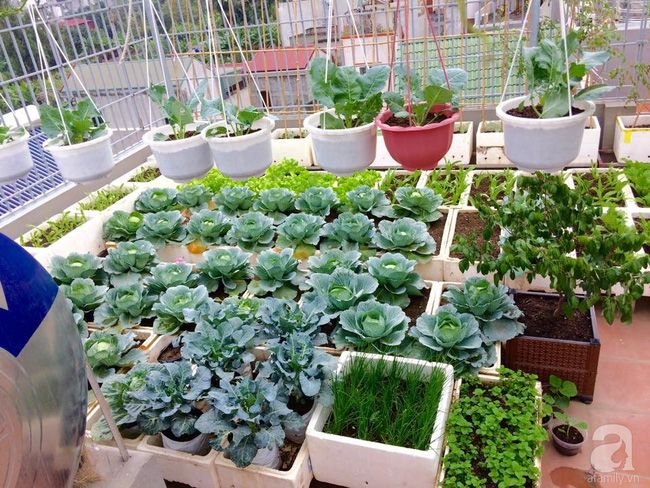
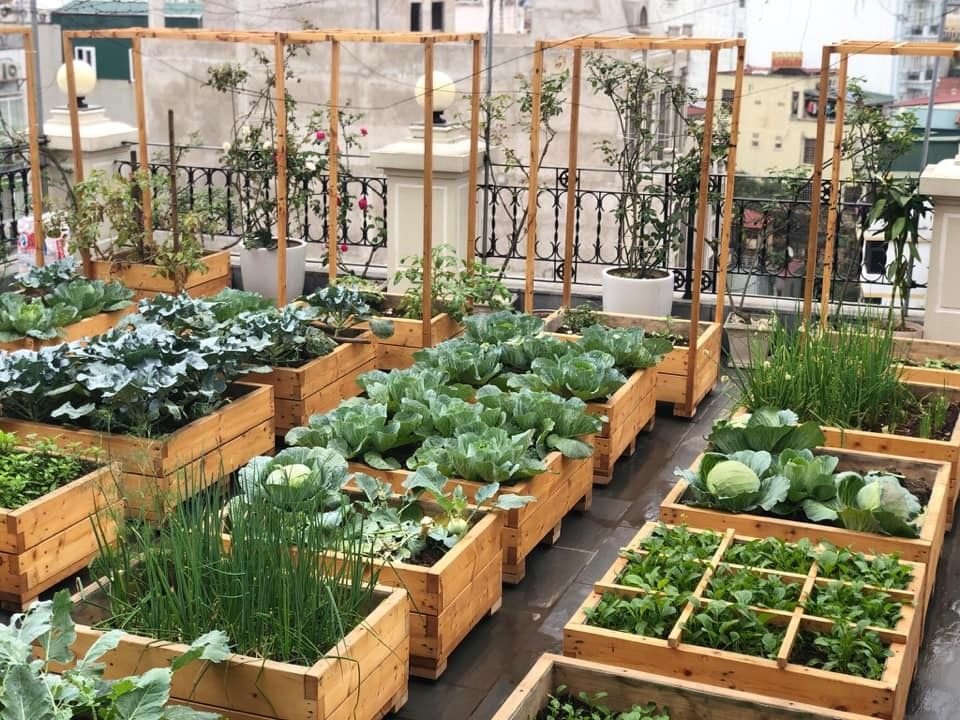
A backyard mini farm is just a small, systematic growing area used to grow as much food as possible in a given space. It may be a few raised beds, containers on a patio, or a combination of the two. The food grown here is real and edible, not just ornamental.
More people are transforming tiny yards into fruitful food gardens, and the results are impressive. Even a 4×8 foot raised bed can yield a surprising amount of fresh vegetables throughout the season.
The trick is to know which vegetables offer you the biggest return for the least effort and space. That’s exactly what I discovered — the hard way.
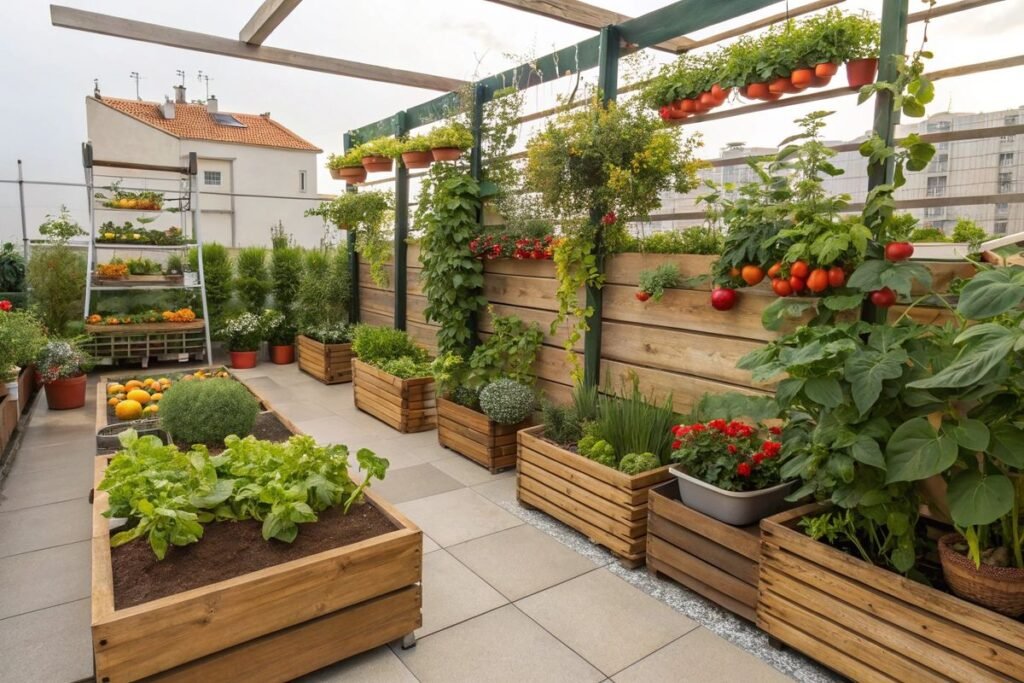
What My Tiny Backyard Looks Like
But before I dive into the vegetable list, let me give you an idea of what I’m working with.
My backyard is about 12 feet wide and 20 feet long. It receives around 6–7 hours of sunlight each day. There are two raised beds (each 4×4 feet), four large containers, and a small vertical trellis at the fence.
That’s it. No fancy irrigation system. No greenhouse. Only soil and sun, with a little regular attention.
And from this tiny space, I grew enough vegetables to significantly reduce my grocery trips between June and October. There were some weeks when I hardly bought any produce.
Vegetable #1 — Cherry Tomatoes: The Gift That Keeps On Giving
If I had to grow just one thing in a backyard mini farm, it would be cherry tomatoes. No question.
These little powerhouses are easy to grow, super productive and, frankly, one of the most satisfying vegetables you can harvest. You go outside one summer morning, pick a warm cherry tomato from the vine and pop it in your mouth, and it’s nothing like anything you buy at a store.
Why Cherry Tomatoes Are the Right Choice for Small Spaces
Full-size tomatoes require plenty of space and a lot of attention. Cherry tomatoes are different. One plant in a 5-gallon pot will continue to produce fruit from midsummer until the end of fall.
I kept three plants in large containers on my tiny patio. By July, I had more tomatoes than I could use in fresh dishes. I was making pasta sauce, roasting them in the oven, and giving bags away to my neighbors.
How I Grew Them
Indoors, I began my cherry tomato seeds about 6 weeks before the last frost date. Once nighttime temperatures remained above 50°F, I put them outside. I used a standard potting mix with some slow-release fertilizer mixed in.
The number one thing I did was cage them early. Cherry tomato plants grow fast. If you do not provide support early enough, the stems fall over and snap.
I watered regularly — about once a day in hot weather — and fertilized them with a liquid tomato fertilizer every two weeks.
What I Learned
The most common mistake people make when growing cherry tomatoes is failing to prune out the suckers. Suckers are the little shoots that develop in the crotch between the main stem and a branch. If you leave them all on, the plant gets bushy and devotes energy to leaves but not fruit.
I removed suckers weekly. It kept the plant under control and the tomatoes flowing.
Variety tip: I grew ‘Sungold’ (orange, sweet, almost candy-like) and ‘Black Cherry’ (deeper flavor, just a touch earthy). Both were excellent. ‘Sungold’ was my personal favorite.
Vegetable #2 — Zucchini: One Plant Is (Almost) Too Much
When people say zucchini is productive, they are not kidding. I planted two zucchini plants in my raised bed thinking it wouldn’t be a lot. I was not ready for what came next.
By the end of July, I was handing zucchini to every neighbor within three blocks.
The Space Situation
Zucchini plants are big. Each one requires a growing space of approximately 3–4 square feet. In a small yard, that’s quite a commitment. But that trade-off is worth it. There is no other vegetable that gives you this much food per plant for so little effort.
I grew a bush type (rather than a vining one) to keep the footprint small. Bush zucchini grows in a clump instead of sprawling across your garden bed.
My Growing Approach
After the final frost, I directly sowed zucchini seeds straight into the raised bed. These plants do not respond well to having their roots disturbed; starting them in containers and transplanting will typically result in a setback.
One or two seeds per hole, about an inch deep. Once they sprouted and grew a few true leaves, I thinned them to one plant per spot.
Zucchini are heavy feeders — that is, they love nutrients. I added compost to the surface of my bed midseason, and the plants reacted instantly.
The Pollination Trick I Wish I Had Known Sooner
Zucchini have male and female flowers on the same plant. Bees do the pollination work. But my little urban yard was not always a bee haven.
On days when I spotted flowers opening but no bees, I used a small paintbrush to transfer pollen from the male flower (the one on a straight stem) to the female flower (the one with a tiny zucchini starting at its base). This significantly increased my fruit set.
If you find your zucchini is flowering but not producing, this is nearly always the reason.
Best variety for small yards: ‘Bush Baby’ or ‘Patio Star’ — both stay compact and are very prolific.
Vegetable #3 — Lettuce: The Quickest Garden Return
If there’s a single most underrated vegetable for the backyard mini farm, it would be lettuce. It grows quickly, takes little space, and if you do it correctly, one planting will give you salads for months.
I planted lettuce in both raised beds and a long window box container. I was eating fresh salad leaves in under three weeks from plant date.
Cut-and-Come-Again Growing
The best practice for growing lettuce in small spaces is the cut-and-come-again technique. Instead of uprooting the whole plant, you cut the outer leaves an inch above the soil. The same plant continues to grow from its middle and keeps making new leaves over and over.
I cut from the same lettuce plants every 10–14 days throughout spring, and again in fall. My little square foot of lettuce bed yielded way more greens than I anticipated.
Dealing With Heat
In hot weather, lettuce bolts (goes to seed). After it bolts, the leaves become bitter.
My solution: I started lettuce in early spring for a spring harvest, and then again in late summer for a fall harvest. In the hot months of July and August, I let that bed rest or planted heat-tolerant herbs instead.
In the hottest weeks, I also covered my lettuce with shade cloth. Just a piece of lightweight fabric draped over the bed lowered the soil temperature enough to prolong my harvest by a few weeks.
Best Varieties I Grew
I planted a loose-leaf mix called ‘Salad Bowl’ and a red leaf variety called ‘Lollo Rossa.’ Both were brilliant for cut-and-come-again harvesting. Loose-leaf varieties work much better with this method than head lettuce like romaine or iceberg.
Vegetable #4 — Green Beans: The Best Vertical Crop
Green beans changed the game for my little yard because they go up, not out.
I grew pole beans up a simple vertical trellis I made with bamboo stakes and garden twine. The trellis leaned against my fence and used almost no horizontal space while producing a spectacular quantity of beans.
Pole Beans vs. Bush Beans
There are two primary types of green beans. Bush beans grow in a compact plant of about 2 feet high and produce all at once. Pole beans climb and yield for a much longer period.
On a backyard mini farm, where you want harvests that keep coming over the entire season, pole beans are the better choice. As long as you keep picking, they’ll keep producing.
I grew ‘Kentucky Wonder,’ a classic pole bean variety. It reached about 6 feet high and continued to produce from July through the first frost.
Growing and Care
Green beans are surprisingly low maintenance. I directly sowed the seeds to about an inch deep after the last frost, spacing them roughly 4 inches apart at the base of the trellis. They sprouted within a week.
Green beans fix nitrogen from the air (with assistance from soil bacteria), so they never require much fertilizer. In fact, too much nitrogen causes them to grow lots of leaves and fewer beans. I didn’t add any extra fertilizer at all and had great results.
The number one rule: always pick them. Bean plants slow down production if you let beans get big and mature on the plant. I picked every two to three days in the peak season, and the vines rewarded me by producing fruit on a constant basis.
Vegetable #5 — Radishes: The Ideal Crop for New Gardeners
Radishes are the vegetable I suggest for anyone who is getting started with a backyard mini farm. They’re nearly impossible to screw up.
You put seeds in the ground, and 25–30 days later you have real food. That’s one of the quickest turnaround times for any vegetable, and the joy of digging your first radish out of the ground when you’re a new grower is hard to put into words.
Why Radishes Do So Well in Small Spaces
Radishes are tiny. You can space them 2 inches apart. In one square foot of a bed, you can fit 36 radish plants.
They’re also a wonderful companion crop — which means you can tuck them in among slow-growing vegetables such as tomatoes and zucchini. By the time the main crop needs that space, the radishes are already harvested.
I planted radishes in every cranny of my raised beds. They occupied blank spaces in early spring before I put heat-loving crops in the ground, and again in fall as those crops were finishing their runs.
My Favorite Varieties
I grew ‘Cherry Belle’ (the classic round red radish), ‘French Breakfast’ (longer, milder, beautiful), and the ‘Watermelon’ radish (green outside, bright pink inside — delicious and very pretty in a salad).
The ‘Watermelon’ variety takes a bit longer (about 60 days) but is worth every single day of waiting.
One Thing to Watch
Radishes bolt rapidly in the heat, similar to lettuce. Plant them in cool weather — early spring or fall — and you will have no problems. If you try to grow them in July, they go straight to seed without developing any good root.
Vegetable #6 — Cucumbers: Growing Up in a Small Space
Cucumbers were my most difficult crop but also one of my most rewarding. Like green beans, I grew them vertically, training the vines to climb a trellis leaning against my fence.
One plant produced much more than my household could eat fresh, so I began pickling the surplus. By September, my refrigerator housed three jars of homemade pickles. That felt like a real win.
Setting Up the Trellis
Cucumbers are natural climbers. If you give them something to climb, they will go straight up and take very little room on the floor.
I made a simple A-frame trellis from bamboo poles and netting. The vines twisted through the netting, securing themselves into place with their little tendrils. The entire thing took around 20 minutes to assemble and cost next to nothing.
Watering Is Everything With Cucumbers
Cucumbers are around 95 percent water, which means they require consistent moisture for good production. Irregular watering results in bitter fruit and a condition known as blossom-end rot.
I set up a simple drip line on a timer for my cucumber container. It was the best gardening decision I made all season. Even watering every morning resulted in smooth, sweet cucumbers all summer.
What I’d Do Differently
As the season wears on, cucumbers are prone to powdery mildew — a white coating on the leaves. By September, my plants were in bad shape.
Next season, I will begin spraying with a diluted baking soda solution early in the season for prevention. I’ll also look for a mildew-resistant variety, such as ‘Marketmore 76’ or ‘Spacemaster,’ which were developed for this issue.
How to Plan Your Own Backyard Mini Farm Vegetable Garden
Now that you’ve got the six vegetables down, let me present a simple framework for planning your very own mini farm.
One of the greatest mistakes beginners make is planting too much of one thing and not planning for timing. A little planning upfront goes a long way.
Three Basic Rules for Planning Your Space
Rule 1 — Always try to grow vertically. Cucumbers, beans, and even some tomatoes can climb up instead of spreading out. A trellis increases your growing room without taking up a single square foot of bed space.
Rule 2 — Do not plant everything at once. Don’t sow all your lettuce or radishes in a single planting. Sow small amounts every 2–3 weeks. This distributes the harvest so you’re not awash in salad one week and deprived the next.
Rule 3 — Use every gap. Slot fast-growing radishes between slower crops. Grow lettuce below the shade of taller tomato plants. Maximize every inch.
If you want to explore more tips, ideas, and guides built specifically for people growing food in small spaces, Backyard Mini Farms is a great resource to bookmark.
Everything Changed When I Discovered This Soil Secret
I am going to tell the truth about one thing. My first season was frustrating. Plants grew slowly. Yields were disappointing. I didn’t know what I was doing wrong.
The answer was the soil.
I had filled my raised beds with a mix that was too heavy and compacted easily. Roots couldn’t spread properly. Water pooled instead of draining. The plants were struggling to survive, much less produce.
What Good Raised Bed Soil Looks Like
The following spring, I rebuilt my beds with one third compost, one third perlite (for drainage), and one third high-quality bagged garden soil. The difference was instant and dramatic.
Good soil for a backyard mini farm should:
- Be loose and crumbly, never dense or clay-like
- Drain well after watering (no puddles sitting for hours)
- Be dark in color, with a faintly earthy odor
- Have a lot of visible organic matter (little pieces of leaves, compost, etc.)
If your soil does those things, your plants are basically guaranteed to do well.
According to the University of Minnesota Extension, the ideal raised bed soil mix is one that stays loose and well-drained over time — which is exactly why adding perlite and compost makes such a dramatic difference.
Common Backyard Mini Farm Mistakes (And How to Avoid Them)
Having now done this for the best part of two full seasons, I’ve made my fair share of mistakes. These are the ones that cost me the most food — so you can avoid them.
Overwatering. More plants die from overwatering than underwatering. Water when the top inch of soil is dry. Stick your finger in. If it’s still damp, wait.
Planting too close together. Overcrowded plants compete for water, nutrients, and light. Poor airflow causes disease too. Give plants room.
Ignoring pests until it is too late. Check your plants every day. Turn leaves over and look for eggs or minute insects. Catching pest problems early means you can deal with them using something as simple as hand-picking or a spray of water.
Quitting after one bad season. There’s a learning curve to growing food. My first season was rough. My second was much better. By the third, I was prepared for what to expect and rose to meet it. One tough year isn’t the end of the story.
Frequently Asked Questions About Backyard Mini Farms Vegetables
Q: How much sun does a backyard mini farm need? Most vegetables require 6–8 hours of direct sunlight each day. Lettuce and some herbs can be fine with 4–5 hours, but fruiting plants like tomatoes, cucumbers, and zucchini actually need full sun to do well. Before you plant anything, take a day to watch how sun crosses your yard and choose the sunniest spot.
Q: Can backyard mini farms vegetables be grown in containers only? Absolutely. I planted cherry tomatoes, lettuce, radishes, and even cucumbers in large pots. The secret is using the correct size pot. Tomatoes require 5 gallons at minimum. Cucumbers need 5–10 gallons. Smaller planters work fine for lettuce and radishes. Use good potting mix (not garden soil, which compacts in containers) and water more often, as containers dry out faster than beds.
Q: What is the start-up cost for a backyard mini farm? You can begin at a very small scale for under $50–$100. A handful of seed packets costs just a couple of dollars each. You really only need a basic raised bed kit or a few large containers from a hardware store, a bag of good potting mix, and some essential tools (trowel, watering can). Grocery savings tend to pay for the setup within the first season.
Q: What if I have little time to tend a garden? Focus on low-maintenance crops. Lettuce, radishes, and green beans are forgiving plants that do not require daily attention. Set up a simple drip watering system (about $20–$30 and fairly straightforward to install) and you can automate much of the watering. Once established, a quick 10-minute visit every few days is usually enough to keep things running smoothly.
Q: Must I begin with seed, or can seedlings be used? Both work. Starting from seed is cheaper and gives you more variety options. Buying seedlings (transplants) at a garden center is quicker and simpler for beginners. In your first season, I’d suggest buying transplants for tomatoes, zucchini, and cucumbers, then direct-sowing lettuce, radishes, and beans. That gives you the best of both worlds — less risk with the tougher crops, and a satisfying from-scratch experience with the easy ones.
Q: When should I start my backyard mini farm? The very short answer is: right after your last frost date in the spring. Different regions have different dates. Type in “last frost date” and your city, and you’ll find it fast. For a fall garden, count backward from your first expected frost date by the number of days each crop needs to mature, then plant by that date.
Start Small, Stay Consistent, and Keep Growing
Your backyard mini farm doesn’t have to be perfect. It doesn’t have to be impressive. It just has to feed you.
My little yard proves that anyone can grow food in a tight space. Six vegetables. Two raised beds and some containers. Hundreds of dollars in produce over a season — and, even more significant, the kind of relationship to food you just can’t get at a grocery store.
If you are still on the fence about getting started, let these 6 backyard mini farms vegetables be what puts you over the edge. Pick one or two that sound interesting and start with those. Build a small raised bed or grab some containers. Plant something and commit to looking after it.
The best gardeners don’t always know the most. They’re the ones who keep coming back and gaining something new each season.
Your tiny yard is waiting. Go grow something.