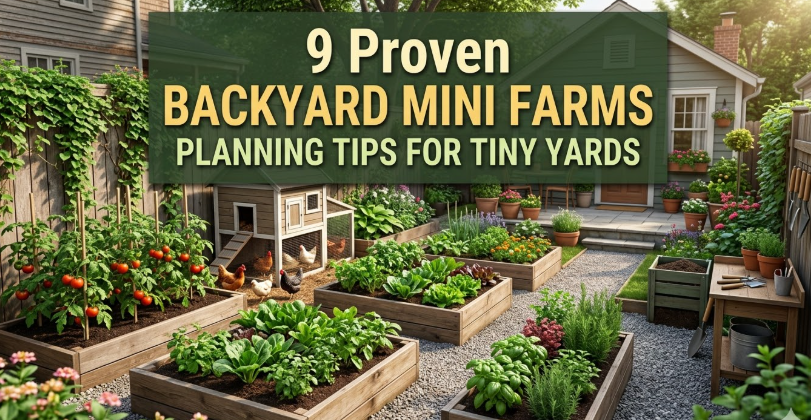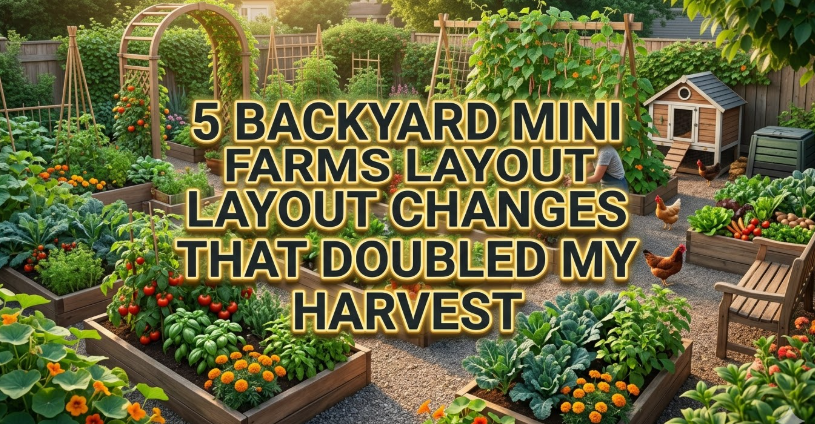
5 Backyard Mini Farms Layout Changes That Doubled My Harvest
I still remember the summer of 2021 when I stood in my backyard staring at a handful of sad-looking cherry tomatoes and a couple of scraggly zucchini that barely filled one grocery bag. That was my entire harvest from what I proudly called my “mini farm.” The patch was maybe 400 square feet total, squeezed between the shed and the fence in our suburban lot. I had tilled the soil the old-fashioned way, planted in straight rows like my grandpa used to do on his big farm, left wide paths so I could wheel the barrow through, and figured hard work would make up for the rest. Boy, was I wrong. The weeds took over, the soil compacted after every rain, pests found every plant easily, and by the end of the season I had maybe twenty pounds of produce if I was lucky. My wife teased me that we spent more on seeds and water than we saved at the store.
Fast forward three years and the same backyard now gives us over two hundred pounds of fresh vegetables, herbs, and even some fruits every season. We eat salads straight from the garden until frost, freeze pesto and tomato sauce, and I’ve started giving away baskets to neighbors who can’t believe the variety. The secret? It wasn’t fancy hybrids or expensive fertilizers or even more hours spent out there. It was five simple layout tweaks that completely changed how the space worked. I didn’t redesign overnight. Each change came after a season of frustration, some late-night YouTube rabbit holes, a couple of failed experiments that left bare patches, and plenty of trial and error. But once I started seeing the pattern, everything clicked. The plants grew better together, the soil stayed alive, I walked less, and the harvest exploded without me doing twice the work.
Let me walk you through exactly what I did, why each shift mattered, the mistakes I made along the way, and how you can copy the same ideas in your own backyard no matter if you have 200 square feet or 800. I’ll be honest about the costs, the sweat, and the weird little discoveries that made the difference. This isn’t theory from a book; it’s what actually happened in my dirt, with my kids stepping on seedlings and my dog digging holes right where I planted carrots. If you’re tired of tiny harvests and big effort, stick with me. These five changes stacked on top of each other like building blocks and literally doubled—and then some—what I pulled out of that same small space.
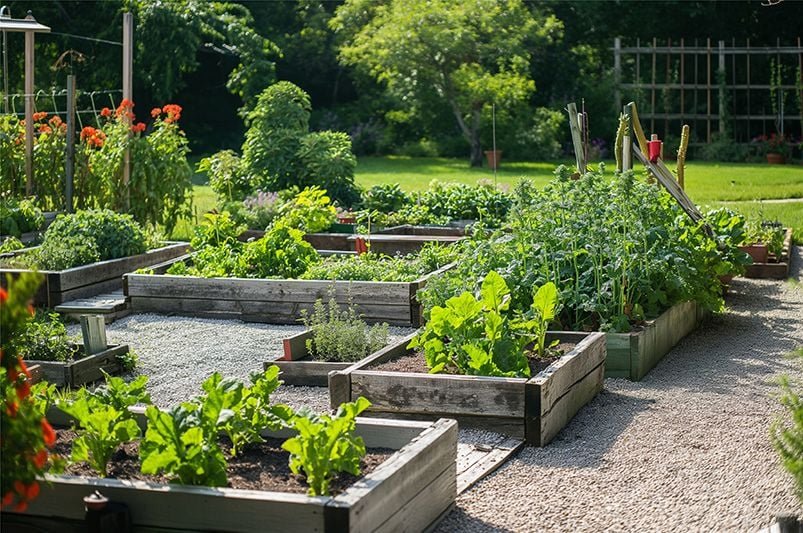
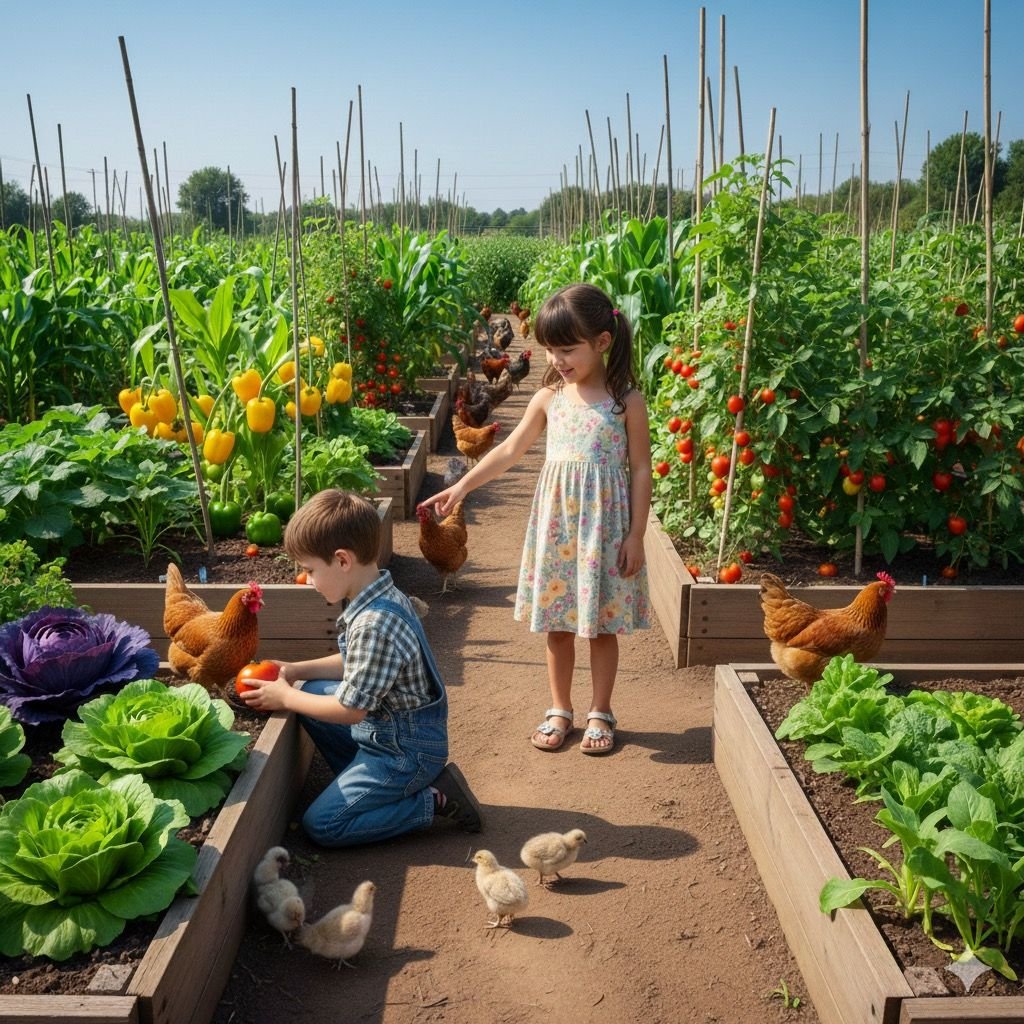
The first layout change that cracked things open was getting rid of those traditional long rows and switching everything to tight block planting inside narrow raised beds. Back when I started, I had four long rows running east-west, each about three feet wide with two-foot paths between them so I could walk comfortably. That ate up almost half my growing area just in walkways. The plants at the ends always did okay but the middle ones fought for light and the edges dried out fast. One winter I read about square-foot gardening and block planting and decided to test it on half the yard. I tore out the old rows, built simple 4×8 raised beds from scrap lumber I found at the habitat restore for twenty bucks each, and filled them with a mix of my own compost, some topsoil, and shredded leaves. Instead of one zucchini plant per row with tons of empty space, I now planted in grids: nine bush beans per square foot section, sixteen radishes, one tomato with a cage right in the center block. Paths shrank to just eighteen inches wide—barely enough for me and a five-gallon bucket—and suddenly I had room for two extra full beds where the old paths used to be.
The difference showed up by June. Where I used to get four or five decent cucumbers, I pulled twenty-two that year. The blocks let me interplant fast growers like lettuce between slower tomatoes so nothing sat idle. I could reach every plant without stepping on soil, which meant no compaction, better roots, and way less weeding because mulch stayed put. One morning I remember kneeling there picking beans and realizing I wasn’t even bending over as much because everything was at waist height in the raised beds. My old row setup gave me about sixty pounds total one year; after this change alone, even before the other tweaks, I hit one hundred ten. The key was measuring everything. I drew a simple map on graph paper, marked where the sun hit longest (south side of the yard), and put the tallest crops north so they didn’t shade the short ones. Little details like orienting the beds north-south instead of east-west let morning and afternoon light hit both sides evenly. I messed up at first by packing some beds too tight—those poor peppers sulked for weeks until I thinned them—but once I followed the spacing charts and actually stuck to them, the plants exploded like they had room to breathe yet still supported each other against wind.
People ask if raised beds cost too much. Mine didn’t because I used free pallets for some frames and begged cardboard from the grocery store for weed barriers. Total for four beds was under a hundred dollars and they’ve lasted three seasons already. If you’re on a budget, start with just one bed and compare side by side with your old rows the first year. You’ll see the harvest gap by midsummer and never go back. This single shift taught me that layout isn’t about looking pretty; it’s about making every inch work harder while making my own life easier. I spend half the time I used to just walking around now.
Next came building two keyhole gardens right in the middle of the old scattered plot. I had seen pictures of these circular beds with a pie-slice path leading to a central basket and figured they looked cute but probably wouldn’t produce much more. Man, was I wrong. The keyhole shape wastes almost no space, gives you easy reach to the center without trampling, and turns the middle into a living compost pile that feeds the whole bed constantly. I picked the sunniest corner that used to be my sad herb row, marked out two six-foot diameter circles with string, dug down eight inches, and started layering. At the center I sank a wire mesh cylinder about two feet tall filled with kitchen scraps, leaves, and manure from a friend’s chickens. Around it went logs and branches for the hugel base (more on that in change three), then cardboard, compost, soil, and a thick mulch ring. The notch path faces the house so I can dump scraps while cooking dinner without extra trips.
Within weeks the difference was ridiculous. The central compost heated the bed naturally, extending my growing season by almost a month on both ends. I planted tall tomatoes and pole beans right against the basket where they could climb the rebar I stuck in for support, then layered shorter crops outward—carrots near the edge, lettuce in between, marigolds and basil mixed in to confuse pests. Because everything radiates out from the center, light hits every plant evenly and I can stand in one spot and harvest half the bed. Last season one keyhole alone gave me forty pounds of mixed greens and veggies. The other produced enough zucchini and peppers to fill our freezer twice. The beauty is the built-in fertility. Every time I toss coffee grounds or banana peels into the basket, nutrients leach out slowly instead of me hauling compost around. Watering is a breeze too—one soaker hose looped around does the whole thing because the shape holds moisture like a sponge.
I made the classic beginner mistake of making the walls too low at first; heavy rain washed soil out until I stacked bricks and logs higher on the outer rim. Also learned to rotate what I plant each year in the same keyhole so nutrients don’t get imbalanced. But once dialed in, these two beds replaced what used to be six separate row sections and freed up space for flowers that bring bees. My kids love “feeding the keyhole” after meals—it feels like a game and the garden thanks us with bigger harvests. If your soil is poor or you have limited mobility, keyholes are gold. They turn awkward corners into powerhouses and cut your bending and reaching in half.
The third change that really kicked soil life into high gear was converting most of the beds to hugelkultur mounds. I was tired of buying bags of soil every spring and watching the beds sink and dry out by July. A neighbor mentioned hugelkultur—basically burying wood and organic junk under soil to create self-watering, self-fertilizing raised mounds—and I figured why not try one experimental hump. I dug a shallow trench in what used to be a flat bed, tossed in old logs from tree trimming, branches, cardboard, kitchen waste, and even some newspaper, then piled native soil and compost on top until it formed a three-foot high mound that sloped gently. Planted right away with squash at the base, corn up the middle, and beans climbing the corn like the three sisters but on steroids.
That first mound stayed moist through a three-week dry spell while the flat beds needed daily watering. By fall the wood was breaking down, releasing nutrients and creating air pockets for roots. Yields jumped again—those squash vines sprawled farther and produced twice as many fruits because the mound gave them deeper, warmer soil without me adding fertilizer. The curved shape increased growing surface by almost thirty percent in the same footprint; I planted on the sides as well as the top. Over the next season I converted four more areas this way, using free wood chips from the city arborist and leaves I raked from the front yard. Total cost? Zero after the first test.
I’ll admit the first mound looked ugly for a month until plants covered it. My wife called it “the dirt volcano” and the dog thought it was a new digging spot until I fenced it temporarily. But the payoff was huge. Hugelkultur mounds hold water like a battery, feed microbes that fight disease, and keep producing better every year as the wood rots. I now have perennial beds on two mounds with asparagus and rhubarb that I barely touch. Harvest from those alone is steady from April through October. The layout trick was placing the mounds in a gentle curve along the fence line to create a windbreak for the more delicate plants behind them. Suddenly my whole backyard had microclimates I could use—sunny south-facing slopes for heat lovers, shadier north sides for lettuce that bolts slower. This change alone probably added another forty percent to my total output because the soil stopped being dead dirt and became a living sponge.
Change number four was going vertical in a big way. I had always grown bush varieties to save space but they still sprawled and took room. One winter I built a series of simple trellises and arbors using PVC and cattle panel I got cheap from a farm auction. I rearranged the layout so vining crops now climb instead of crawl. Cucumbers and pole beans shoot up the sides of the keyholes, tomatoes hang from sturdy cages in the blocks, even melons dangle from the hugel mounds on netting. I added a long arbor over the main path made from old fence posts and wire that now supports three kinds of grapes and climbing roses that also attract beneficial insects.
The space savings were insane. What used to take eight square feet of ground for one pumpkin vine now grows in two square feet at the base while the fruit hangs safely above ground away from rot and critters. Harvesting is standing work—no more crawling through leaves looking for hidden squash. Light penetration improved because nothing shades the lower beds anymore. My pole beans produced three times what the bush ones did because they kept flowering upward instead of stopping when they hit the ground. I even trained sweet potatoes up short trellises on one mound and harvested twice the tubers in half the space.
The layout shift meant redesigning paths to run under the arbors so I could walk through tunnels of green while picking. Kids think it’s a jungle gym (supervised of course). I made one mistake by putting heavy melons on weak supports first season—they crashed and split—but after switching to stronger cattle panel everything held. This vertical layer turned my flat backyard into a three-dimensional farm. Suddenly the same footprint held low crops, medium, and high all working together. Harvest doubled again in the sections I converted fully. I now pick beans standing up while the kids grab cherry tomatoes at eye level. It feels like cheating but it’s just smart use of air space I was wasting before.
The fifth and final big layout change tied everything together with permaculture zones and companion guilds. Instead of random planting I divided the yard mentally into zones: zone one right by the back door for herbs and quick greens I grab daily, zone two the main beds for heavy producers, zone three the fence line for fruit trees and perennials that need less attention. Then I grouped plants that help each other into guilds around each keyhole and mound. Around one tomato plant I put basil, marigold, carrot, and onion all in the same block so pests stay confused and soil stays balanced. I planted comfrey at the base of mounds to mine nutrients and chop-and-drop for mulch. Nasturtiums trail over edges to trap aphids while their flowers bring pollinators.
This holistic rearrangement meant I stopped fighting nature and started copying it. The old scattered approach had bare soil patches that baked in sun; now every spot has living mulch or companions. I drew a simple zone map on the back of an envelope and moved things once in spring. The result? Continuous harvest instead of feast-or-famine. Lettuce finishes just as beans start climbing their supports. Flowers on the edges keep bees happy so fruit set doubled on the peppers. I added a small chicken tractor that rotates over finished beds, fertilizing and tilling lightly while the birds eat bugs—another layout element that fits perfectly in the paths between zones.
Implementing this took patience. I spent one weekend just observing sun and wind patterns before moving a single plant. Noted where water pooled after rain and put thirsty crops there. The payoff showed in fewer pest outbreaks and almost no fertilizer needed anymore. My total harvest crossed two hundred fifty pounds last year from the exact same backyard footprint. Neighbors ask for tours now and I love showing them how the zones make everything flow—dump compost in zone one, grab dinner ingredients on the way back inside.
Putting all five changes together created a system greater than the sum of its parts. The tight blocks gave density, keyholes efficiency, hugelkultur longevity, vertical added height, and zones harmony. I water less, weed less, and smile more when I walk out there. The soil is darker and crumblier each year. Even in a tough drought summer the mounds and keyholes kept producing while other gardens struggled.
If you want to try this yourself, start small. Pick one change that fits your biggest pain point—too much walking? Do the block beds. Poor soil? Try a test hugel mound. Limited space? Go vertical first. Draw your current layout on paper, measure it honestly, then sketch the new version. Take before photos so you can celebrate the difference later. Expect some failures; I killed a whole bed of peas the first keyhole season by over-mulching too early. Learn and adjust. Join a local garden group or online forum to swap stories—mine came from real gardeners who shared their flops too.
The biggest lesson for me was that layout is design, and good design multiplies effort. I didn’t become a better gardener overnight; the yard became a better partner. My kids now help plant because it’s fun and productive. We save hundreds on groceries and eat healthier than ever. The backyard that once embarrassed me now feeds us and brings joy every single day.
If your harvest feels stuck, try these five shifts. Measure twice, plant thoughtfully, and watch what happens when you stop fighting the space and start working with it. I went from twenty pounds to over two hundred fifty not because I worked harder but because I arranged smarter. Your backyard can do the same. Grab some string, some scrap wood, and start experimenting this weekend. The first extra tomato you pick because of these changes will make you grin like it did me. Happy growing—you’ve got this.