When I first looked at my 18×22 foot backyard and decided I wanted to grow food on it, my neighbor literally laughed. “You can’t farm that,” he said. “That’s not even enough room for a decent patio set.”
Three seasons later, I’m pulling out zucchini, tomatoes, herbs, lettuce, and eggs from that same patch of land. My neighbor now asks me for produce tips.
Here’s the thing nobody tells you when you start researching backyard farming: most of the advice online is written for people with half an acre. If you’ve got a tiny yard — or even just a balcony, a concrete slab, or a weirdly shaped corner lot — a lot of that advice just doesn’t apply. You have to get creative, get vertical, and get smart about every single square foot.
These 10 hacks are the ones I wish I’d known before I started. Some of them came from embarrassing mistakes. All of them actually work.
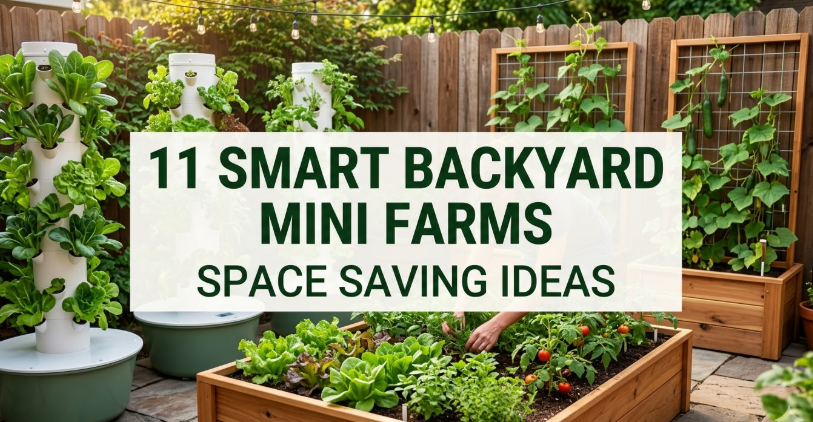
1. Stop Thinking Horizontally — Go Vertical Immediately
This was the single biggest mindset shift for me. I spent my first season laying everything flat like a traditional garden, and I wasted so much usable space it hurts to think about.
Vertical growing isn’t just a Pinterest trend. It’s genuinely the most space-efficient thing you can do in a small backyard. I built a simple A-frame trellis from bamboo poles (about $12 at the garden center) and immediately doubled my cucumber and bean production without adding a single square foot of ground space.
Here’s what grows well vertically:
- Cucumbers
- Pole beans
- Peas
- Small squash varieties (use a sling made from old pantyhose to support the weight — seriously)
- Indeterminate tomatoes
I later upgraded to a cattle panel arch, which is basically a semi-circular metal grid that creates a tunnel. Walk-through archways are incredible for small spaces. You’re using air as farmland. That’s the goal.
Quick tip: Mount vertical planters on your fence using zip ties and PVC pipe cut in half lengthwise. Strawberries and herbs love this setup and it costs almost nothing.
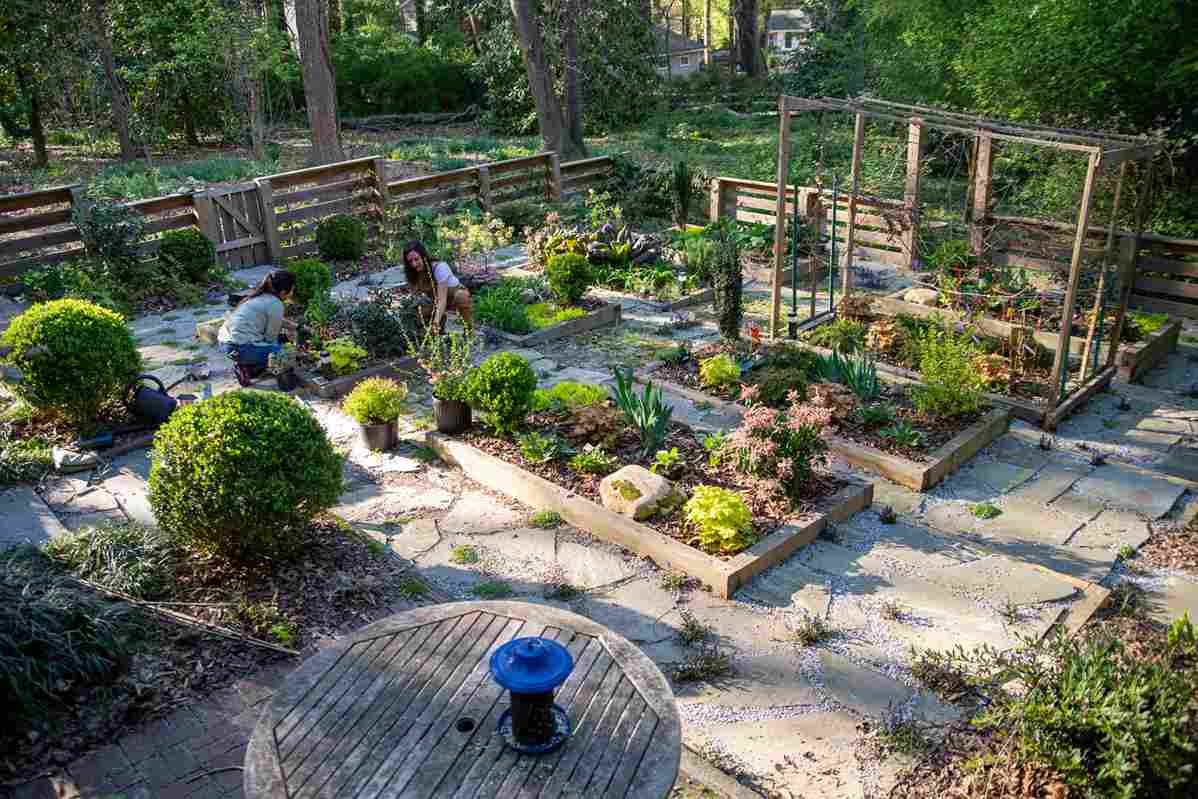
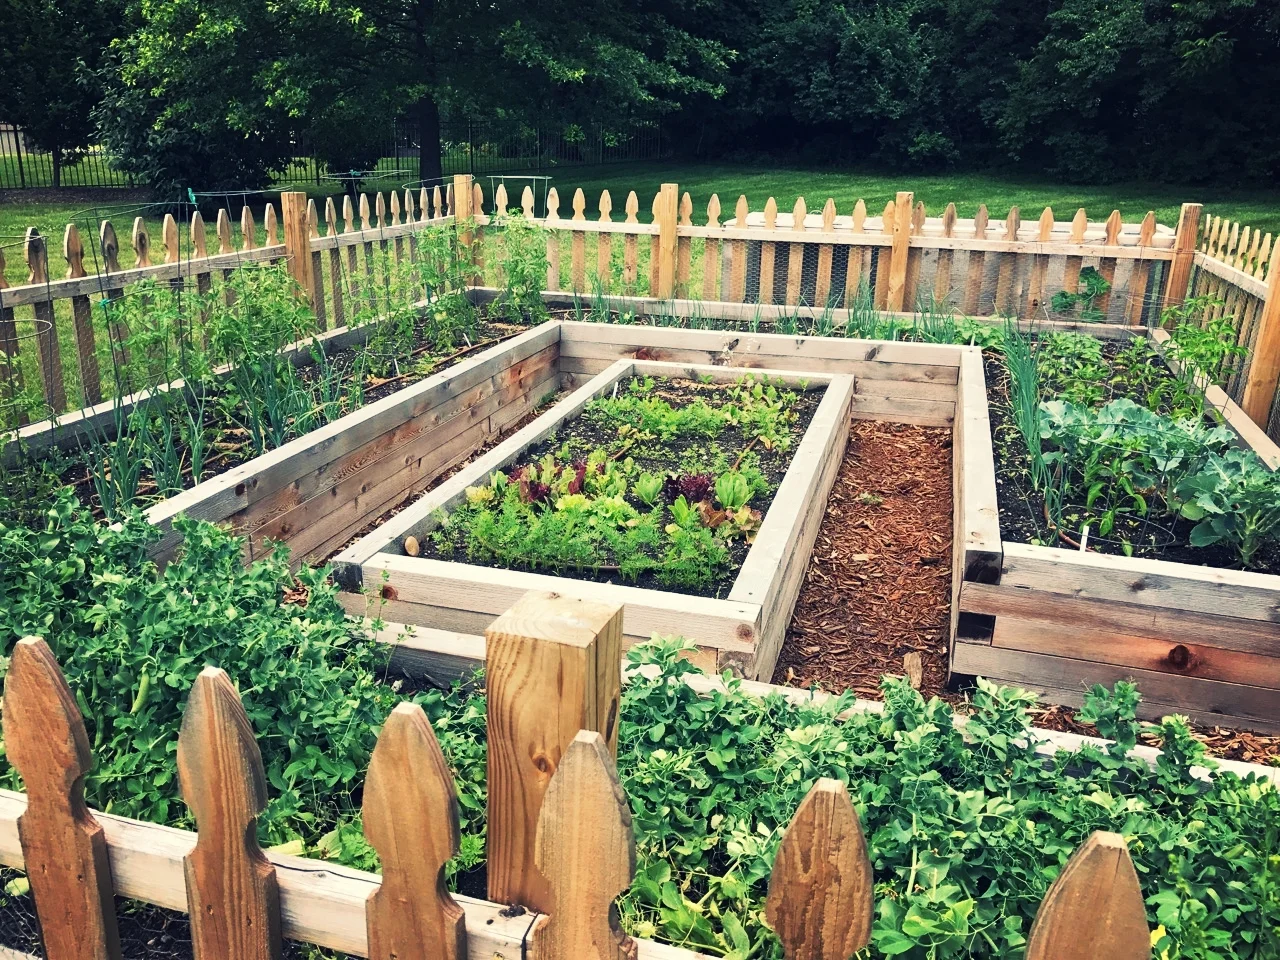
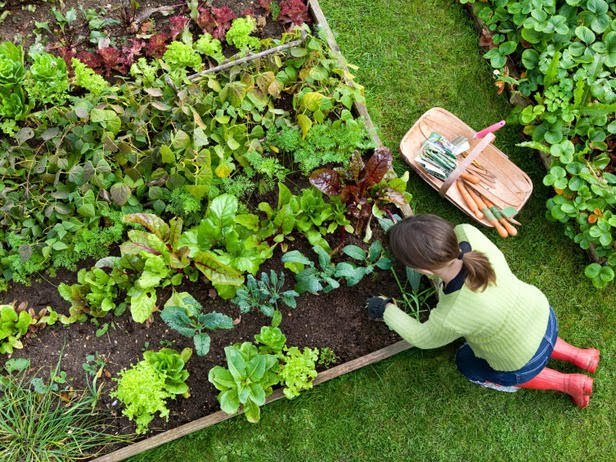
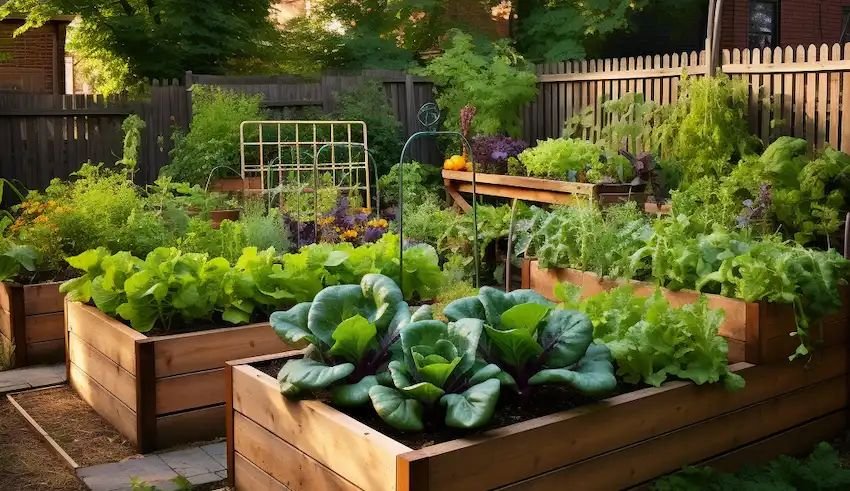
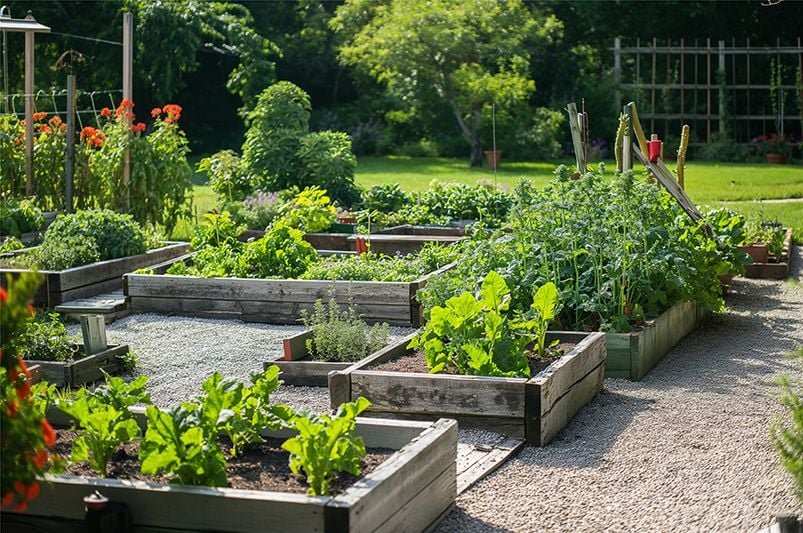
2. Use Raised Beds With a Tight, Intentional Layout
Open ground planting in small spaces is almost always a mistake. Raised beds give you control over soil quality, drainage, and pest management — and they let you pack plants closer together because you’re not leaving room for foot traffic between rows.
I use the Square Foot Gardening method by Mel Bartholomew, and it transformed my output. The basic idea is to divide each raised bed into 1-foot squares and plant according to how many of each plant fits per square. Carrots get 16 per square. Lettuce gets 4. Tomatoes get 1.
The layout matters more than most people think. Check out these smart vegetable bed layouts that people have used in spaces just as small as mine — some of the configurations genuinely surprised me.
Here’s the layout I settled on after two seasons of experimenting:
| Bed Size | Best Use | Plants Per Bed (avg.) |
|---|---|---|
| 2×4 ft | Herbs, greens, radishes | 20–30 plants |
| 4×4 ft | Mixed vegetables | 16–32 plants |
| 4×8 ft | Tomatoes, peppers, squash | 8–16 plants |
| 2×8 ft | Root vegetables, onions | 30–50 plants |
Don’t make your beds wider than 4 feet. You should be able to reach the center from either side without stepping in. The moment you step in, you compact the soil and undermine everything you’ve worked for.
3. Build a Composting System That Fits Your Space (Not Someone Else’s)
My first compost bin was a giant tumbler I found on sale. It was enormous, took up a huge chunk of my yard, and honestly intimidated me. I used it wrong for six months and produced exactly zero usable compost.
If you have a tiny space, you need a small compost system, not a scaled-down version of a big one. Here’s what actually worked for me:
Worm bin (vermicomposting): This is my number one recommendation for small-space farmers. A basic plastic bin, some shredded newspaper, and red wiggler worms. I keep mine on my back step. It processes kitchen scraps fast, produces incredibly rich worm castings, and takes up about as much space as a laundry hamper.
Bokashi system: This is a Japanese fermentation method where you layer food scraps with bokashi bran in a sealed bucket. It can handle meat and dairy (which traditional composting can’t), and it works indoors. After about two weeks, the fermented material goes straight into the soil.
Either of these beats a giant compost tumbler for a tiny yard. Your soil will thank you.
4. Harvest Rainwater — Even If You Think You Don’t Get Enough Rain
I live in a climate that gets maybe 30 inches of rain a year. I figured rainwater harvesting wasn’t worth it. I was wrong.
A basic 55-gallon rain barrel connected to a single downspout fills up faster than you’d think, and that water is genuinely better for your plants than tap water. No chlorine, no fluoride, and it’s free. I positioned mine near my raised beds and gravity-feed it through a simple drip line.
The hack here is to connect two or three barrels in series using a linking kit (available online for about $15–20). You go from 55 gallons to 150+ without taking up much extra space, and you’ll almost never run dry in a growing season.
Pair this with a timer-based drip irrigation system — I use the Rainbird drip kit from most hardware stores — and your watering almost runs itself. This saved me noticeable money on my water bill during peak summer.
5. Plant in Succession, Not All at Once
This mistake cost me my entire first lettuce crop. I planted all my lettuce seeds in one weekend in April. They all matured at the same time. We couldn’t eat it fast enough, and then it all bolted in the heat and turned bitter. I had lettuce for two weeks and then nothing.
Succession planting means sowing seeds of the same crop every 2–3 weeks instead of all at once. This staggers the harvest and keeps food coming in continuously rather than in one overwhelming wave.
For small spaces, succession planting is even more important because you don’t have the square footage to absorb a glut. You want a steady, manageable stream of produce — not a flood followed by drought.
Fast-growing crops that work brilliantly with succession planting:
- Lettuce (30–45 days to harvest)
- Radishes (25–30 days)
- Spinach (40–50 days)
- Arugula (35–40 days)
- Bush beans (50–60 days)
If you’re just getting started, these fast-growing greens you can harvest in 30 days are the perfect entry point. You’ll see results fast enough to stay motivated.
6. Use Containers Smarter — Not Just More of Them
There’s a version of container gardening that works and a version that just creates a cluttered mess. The difference is intentionality.
Random containers of random sizes scattered around your yard are hard to water, hard to fertilize consistently, and look chaotic. What works better is grouping containers by water needs and placing them strategically based on sunlight mapping.
Sunlight mapping means spending one day watching where the sun hits your yard at 8am, 12pm, and 4pm, and marking it down. Then you put your sun-hungry plants (tomatoes, peppers, squash) in your sunniest spots and your shade-tolerant plants (lettuce, spinach, mint) in the spots that get less.
For containers specifically:
- Use fabric grow bags instead of plastic pots — they air-prune roots and prevent overwatering far better
- Size matters: tomatoes need at least a 5-gallon container, ideally 10–15 gallons
- Group containers on a wheeled platform so you can move them to follow sun or shelter them from frost
The best container investment I made was a set of 7-gallon fabric bags. They’re lightweight, cheap (around $2–4 each), and my pepper plants absolutely exploded in them.
7. Add Small Livestock Only After You’ve Got the Basics Down
I’ll be honest — I added chickens too early. I had them before my growing system was dialed in, and for a while I was juggling two chaotic systems at once. The chickens were fine. My stress levels were not.
If you’re thinking about adding animals to your tiny backyard farm, go in with eyes open. Even a small flock of 3–4 chickens requires a proper coop, a secure run, feed management, and daily attention. But when it works, it works beautifully — they give you eggs, eat your kitchen scraps, and produce manure that transforms into incredible compost.
For tiny yards, bantam breeds are the smart move. They’re smaller, require less space, and are generally calmer. Some solid beginner-friendly options include Silkies, Buff Orpingtons (standard but docile), and Easter Eggers.
The key is having the coop design figured out before you bring birds home. These space-saving coop ideas gave me some genuinely clever configurations I hadn’t thought of — including a combined coop-and-raised-bed design where the chickens fertilize directly underneath the garden bed. Brilliant use of space.
8. Build a Simple Season Extension System
Most small-space gardeners stop at the first frost and restart in spring. That’s leaving 3–4 months of growing potential on the table.
Season extension doesn’t require a fancy greenhouse. A basic cold frame — essentially a box with a transparent lid — can keep crops growing well into winter in most climates. I built mine from reclaimed lumber and an old storm window. Total cost: about $0 because I used scrap materials.
A floating row cover (also called Agribon or Reemay fabric) is even simpler. Lay it directly over your plants and it protects them from frost by several degrees. I use it to extend my brassica and root vegetable harvest into December.
For starting seedlings early in spring, a cheap heat mat (around $20–30) and a simple grow light setup on a shelf indoors adds 6–8 weeks to your growing season on the front end. I start tomatoes and peppers indoors in February. By the time it’s warm enough outside, they’re already sturdy transplants.
The math here is significant:
| Method | Cost | Weeks Added |
|---|---|---|
| Row cover fabric | $15–30 | 3–6 weeks |
| Cold frame (DIY) | $0–40 | 6–10 weeks |
| Indoor seedling setup | $50–80 | 6–8 weeks (spring start) |
| Small hoop tunnel | $30–60 | 8–12 weeks |
That’s potentially 20+ extra weeks of growing from a one-time investment of under $100.
9. Fix Your Soil First — Everything Else Is Secondary
This might be the most important hack on this entire list, and I say that having learned it the hard way.
I planted my first season in the existing soil in my yard. It was compacted clay that drained poorly and had basically zero organic matter. My plants technically survived but they didn’t thrive. I kept adding more seeds, more water, more fertilizer — and kept getting mediocre results.
The moment I switched to a proper raised bed mix and started building my soil with compost, everything changed. Dramatically.
The mix I use now is roughly:
- 1/3 compost (homemade or purchased)
- 1/3 peat moss or coco coir
- 1/3 coarse perlite or vermiculite
This drains well, holds moisture in the right balance, and has enough organic matter to feed plants without constant supplemental fertilizing.
For an even deeper dive into making your soil work harder, these soil hacks for bigger harvests are worth bookmarking. Some of the amendments mentioned there genuinely surprised me with how fast they worked.
10. Track Everything — Your Phone Is a Farming Tool
Most beginner backyard farmers grow intuitively and then forget what worked. Then next season they’re starting from scratch trying to remember why their tomatoes did so well in bed #2 but not bed #3.
Keep a farm journal. It doesn’t have to be fancy. I use the Notes app on my phone and take dated photos of my beds every week or two. Over two seasons, I now know:
- Which varieties perform best in my specific microclimate
- Exactly when to start seeds indoors for my area
- Which pest issues appear at which time of year (so I can prevent instead of react)
- What my soil amendments have added up to in each bed
There are also dedicated apps worth trying. Gardenize is great for tracking plant-by-plant notes and harvest records. From the Seed app has detailed growing guides for hundreds of vegetables with days-to-harvest tracking. Neither is expensive and both are far better than trying to keep it all in your head.
One thing I track religiously now is my yield per square foot. It’s the most honest measure of how efficiently you’re using your space. Here’s a rough benchmark table to compare against:
| Crop | Expected Yield per Sq Ft (per season) |
|---|---|
| Lettuce (cut-and-come-again) | 0.5–1 lb |
| Tomatoes (indeterminate) | 2–5 lbs |
| Zucchini | 3–6 lbs |
| Beans (bush) | 0.5–1 lb |
| Herbs (basil, parsley) | Ongoing harvest |
| Peppers | 1–3 lbs |
If you’re significantly below these numbers, something in your system needs adjusting — soil, sunlight, watering, or spacing.
Common Mistakes That’ll Set You Back
A few things I see beginners do constantly that slow everything down:
Overwatering. More plants die from overwatering than underwatering. If you’re not sure, stick your finger two inches into the soil. If it’s still moist, wait.
Ignoring pH. Most vegetables like slightly acidic soil (pH 6.0–7.0). If you skip this and your soil is way off, plants will struggle no matter what you do. A basic pH meter costs $10.
Planting too much of one thing. Diversity in a small space protects you. If one crop fails or gets hit by pests, you still have everything else.
Not hardening off transplants. If you grow seedlings indoors and then plant them straight outside, they’ll go into shock. Spend a week gradually introducing them to outdoor conditions — an hour outside on day one, two hours on day two, and so on.
Spacing too tight. I know it’s tempting in a small space to squeeze plants in, but overcrowding creates humidity, restricts airflow, and invites disease. Respect the spacing recommendations.
Where to Go From Here
Starting a backyard farm on a tiny piece of land is one of the most satisfying projects I’ve ever taken on. The learning curve is real, but it’s not steep — it’s just a series of small adjustments until things click into place.
Don’t try to implement all 10 of these at once. Pick two or three that fit your current situation and start there. Get your soil right. Go vertical. Track your results. Then layer in the other hacks as you go.
The most important thing is to start. Even a 4×4 raised bed with six plants in it is a real backyard farm. Build from there.
Enjoyed this? Dive deeper into planning your space with this guide: 9 Proven Backyard Mini Farm Planning Tips for Tiny Yards — it covers layout strategy in more detail than I had room for here, and it’s one of the most practical planning resources I’ve come across for small-space growers.