When I first decided to turn my backyard into a mini farm, I had zero clue what I was doing. I literally Googled “how to grow tomatoes in a small yard” at 11pm on a Tuesday and somehow ended up ordering a chicken coop on Amazon three days later. Classic beginner energy.
The good news? You don’t need acres of land, a tractor, or a farming family background to pull this off. My backyard is maybe 600 square feet, and I’m now growing vegetables year-round, keeping chickens, and composting kitchen scraps like a pro. It took some trial and error (okay, a LOT of error), but the lessons were worth every messy moment.
Here’s everything I wish someone had told me before I started.
1. Start With a Simple Layout Plan — Before You Buy Anything
Seriously, don’t skip this. I made the mistake of buying raised bed kits, seed packets, and a bag of chicken feed all in the same week — before figuring out where anything was going to go. Total chaos.
Take a day to just walk around your backyard with a tape measure and your phone. Snap photos. Sketch a rough layout on paper or use a free app like Canva or Garden Planner to map it out. Figure out where the sun hits longest (usually the south-facing side), where you have natural shade, and where water drains after a rain.
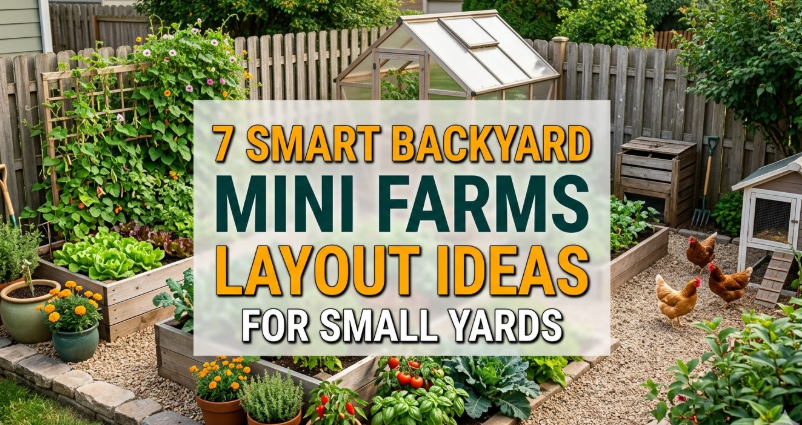
This one step alone saves you so much wasted money and backtracking. If you’re not sure where to begin, check out these smart backyard mini farms layout ideas for small yards — they gave me my first real “aha” moment.
2. Know Your Zone Before Planting Anything
This sounds technical but it’s actually super simple. Your USDA hardiness zone tells you what plants can survive your climate and when to plant them. If you’re in zone 9 like me, you can grow crops almost year-round. If you’re in zone 5, your growing window is shorter and frost dates matter a lot.
Google “USDA plant hardiness zone [your zip code]” — takes 30 seconds. Once you know it, every seed packet suddenly makes sense.
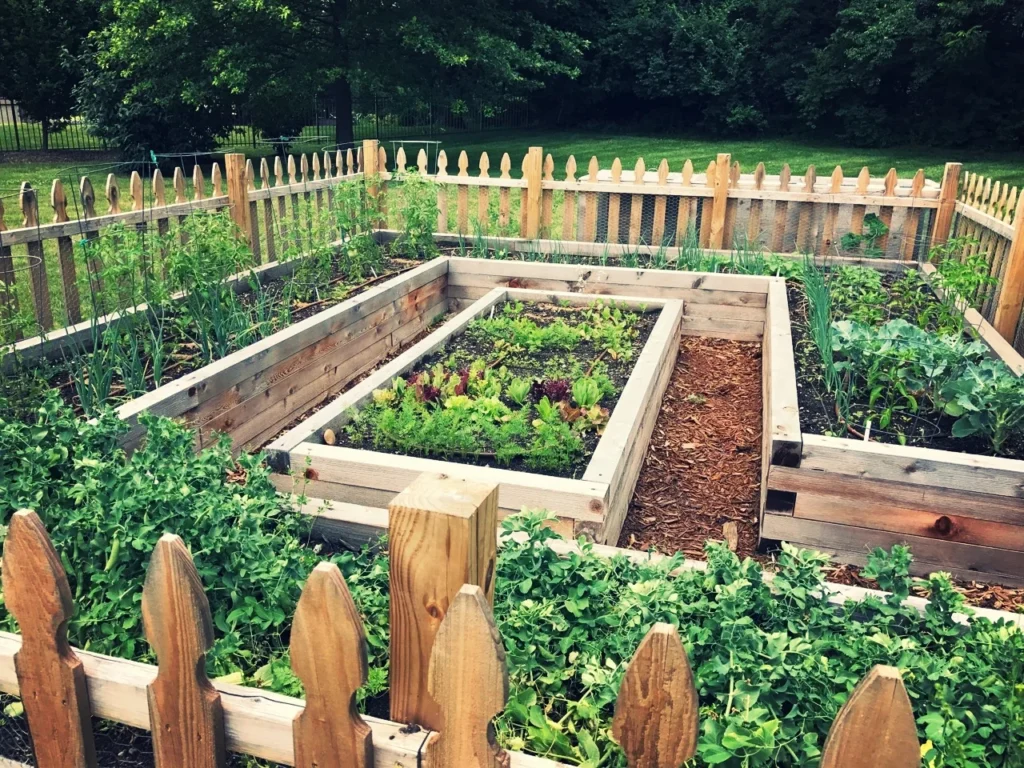
3. Raised Beds Are Your Best Friend for Small Spaces
If I could go back and do one thing differently, I would’ve built raised beds from day one instead of trying to dig up my clay-heavy ground soil. Raised beds give you complete control over your soil mix, they drain better, warm up faster in spring, and honestly just look way cleaner.
You don’t need to spend a ton either. I built my first two 4×8 raised beds with untreated cedar boards from the hardware store for under $40 each. Filled them with a mix of topsoil, compost, and perlite.
| Bed Type | Cost (approx.) | Pros | Cons |
|---|---|---|---|
| DIY Cedar Raised Bed | $30–$60 | Durable, looks great | Takes time to build |
| Galvanized Metal Bed | $50–$120 | Long-lasting, modern look | Can overheat in summer |
| Fabric Grow Bags | $10–$25 | Portable, great drainage | Dries out faster |
| In-Ground Beds | $5–$20 | Low cost | Depends on soil quality |
Pick what works for your budget. Even fabric grow bags work amazingly well if you’re renting or working on a patio.
4. Fix Your Soil First — Everything Depends on It
This was my biggest rookie mistake. I planted seeds in terrible soil and then wondered why nothing was growing well. Healthy plants need healthy soil. Period.
Before planting anything, invest in a basic soil test kit (you can find them at any garden center for about $15). Check your pH, nitrogen, and drainage. Most vegetables like a pH between 6.0 and 7.0. If yours is off, you can fix it with lime (raises pH) or sulfur (lowers pH).
I also started adding homemade compost about six months in, and the difference in plant growth was almost shocking. For deeper soil tips, I found this article on 10 secret backyard mini farms soil hacks for bigger harvests incredibly useful when I was troubleshooting my beds.
5. Start With Easy-Win Vegetables
Not every vegetable is beginner-friendly. I made the mistake of trying to grow cauliflower and Brussels sprouts in my very first season. Complete waste of time. They need specific temperatures, lots of space, and more attention than I had to give.
Instead, start with things that are practically forgiving:
- Lettuce — grows in 30 days, loves partial shade
- Radishes — ready in 3 weeks, almost impossible to kill
- Zucchini — one plant will feed your whole street
- Cherry tomatoes — way easier than beefsteak types
- Green beans — climb a trellis and produce all season
- Kale — grows fast, tolerates heat and cold
Getting early wins builds your confidence and keeps you motivated. Trust me, pulling your first harvest feels genuinely amazing.
6. Water Smart, Not Just Often
Overwatering killed more of my plants than any pest ever did. Most vegetables need about 1 inch of water per week, and they prefer deep, infrequent watering over light daily sprinkles. Light watering keeps roots shallow. Deep watering pushes roots down where they’re stronger and more drought-resistant.
I set up a simple drip irrigation system from Amazon for about $35, put it on a timer, and never looked back. My water bill actually went down and my plants did better.
Quick watering rule of thumb:
Stick your finger 2 inches into the soil. If it’s dry, water. If it’s moist, wait.
7. Add Chickens (But Only When You’re Ready)
Chickens are one of the best additions to a backyard farm. They produce eggs, eat pests, and their manure is incredible for composting. But they also need care every single day — no skipping weekends.
I recommend waiting until your garden is somewhat established before adding chickens. That way you understand your space better and can plan the coop location accordingly.
When you are ready, start with beginner-friendly breeds. Australorps, Rhode Island Reds, and Buff Orpingtons are all great for first-timers. They’re calm, hardy, and lay consistently. If you’re considering this route, this guide on 7 easy backyard mini farms chickens for beginners is where I started, and it’s solid.
8. Compost Everything You Can
Once I started composting, my whole farm changed. Kitchen scraps, garden trimmings, chicken bedding — it all goes into my compost bin and comes back out as black gold in about 60–90 days.
You don’t need a fancy system. A simple three-bin setup made from wooden pallets works perfectly. The key is balance:
- Greens (nitrogen): food scraps, fresh grass clippings, chicken manure
- Browns (carbon): dry leaves, cardboard, straw, wood chips
- Aim for roughly a 3:1 browns-to-greens ratio
- Turn the pile every week or two to speed things up
- Keep it moist but not soggy (like a wrung-out sponge)
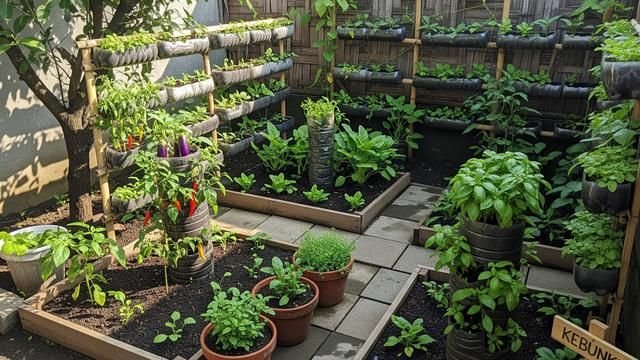
9. Use Vertical Space — Especially in Small Yards
One of the smartest things I did was start growing UP instead of just out. Trellises, wire cages, arbors, and wall-mounted planters let you grow way more food in a fraction of the space.
Cucumbers, pole beans, peas, and small squash varieties all climb beautifully. I ran a simple wire trellis along my fence and doubled my cucumber yield without adding a single square foot of bed space.
Even hanging planters work great for herbs and strawberries. Don’t underestimate vertical gardening — it’s a game changer for small backyards.
10. Keep a Simple Farm Journal
This sounds old-fashioned but it’s genuinely one of the most useful habits I picked up. I use a cheap notebook (or the Notes app on my phone) to jot down what I planted, when I planted it, what worked, what didn’t, and what I’d do differently.
After two seasons, I had a personalized playbook for my specific yard, climate, and soil. No generic gardening guide can give you that.
A few things worth tracking:
- Planting dates and germination times
- Watering schedule and any adjustments
- Pest problems and what you tried
- Harvest dates and yields
- Weather notes (late frost, heat waves, etc.)
11. Learn to Spot Pests and Disease Early
The earlier you catch a problem, the easier it is to fix. I once lost half a zucchini plant to squash vine borers because I just thought it looked “a little droopy” for a week and ignored it.
Check your plants every 2–3 days. Flip leaves over to look for eggs. Watch for yellowing, spots, wilting, or holes. Common beginner culprits include:
| Pest/Problem | What to Look For | Easy Fix |
|---|---|---|
| Aphids | Clusters of tiny bugs under leaves | Spray with diluted dish soap + water |
| Squash vine borers | Wilting squash, sawdust-like frass | Wrap stems in foil as prevention |
| Powdery mildew | White powdery coating on leaves | Baking soda + water spray |
| Tomato hornworms | Large green caterpillars, missing leaves | Handpick at night with a flashlight |
| Fungal root rot | Yellowing, mushy base of plant | Improve drainage, reduce watering |
When in doubt, snap a photo and search it on iNaturalist or the PictureThis app — both are free and shockingly accurate at diagnosing plant problems.
12. Don’t Try to Do Everything in Year One
This is the tip I wish someone had hammered into me before I started. I burned myself out in my first season trying to grow 14 different crops, set up a coop, build a compost system, AND install irrigation all at once. By August I was exhausted and half my garden was neglected.
The farms that look amazing on Instagram took years to build. Pick 3–4 vegetables, get good at growing them, maybe add chickens OR compost in year two. Build slowly and solidly.
You’ll enjoy it way more, you’ll actually learn each thing properly, and you won’t wake up dreading going outside to deal with a yard that’s gotten out of hand.
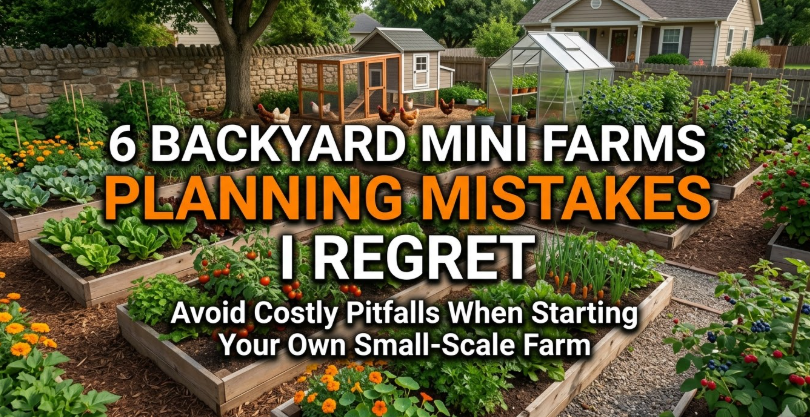
Some of the best advice I ever got was from this post on 11 backyard mini farms mistakes beginners should avoid — read it before your first season if you can.
A Few Common Mistakes to Avoid
- Planting too close together — crowded plants compete for nutrients and get more disease. Follow the spacing on the seed packet.
- Skipping hardening off — if you start seeds indoors, ease them into outdoor conditions over 7–10 days before fully planting out. Skipping this shocks the plant.
- Buying the wrong coop size — chickens need at least 4 sq ft per bird inside and 10 sq ft in the run. Most cheap coops are undersized for what they claim.
- Ignoring local ordinances — some cities restrict backyard chickens or have rules about coop placement. Check before you build.
- Planting in full shade — most vegetables need 6–8 hours of direct sun. If your yard is shady, focus on leafy greens which tolerate lower light.
Final Thoughts
Getting a backyard farm going doesn’t have to be this overwhelming, expensive project. It can start with two raised beds, a handful of seed packets, and a Saturday afternoon. That’s genuinely all it takes.
The key is to start small, pay attention, and let each season teach you something new. Every mistake is just data. Every harvest, even a small one, is proof that this thing works.
You’ve got this.
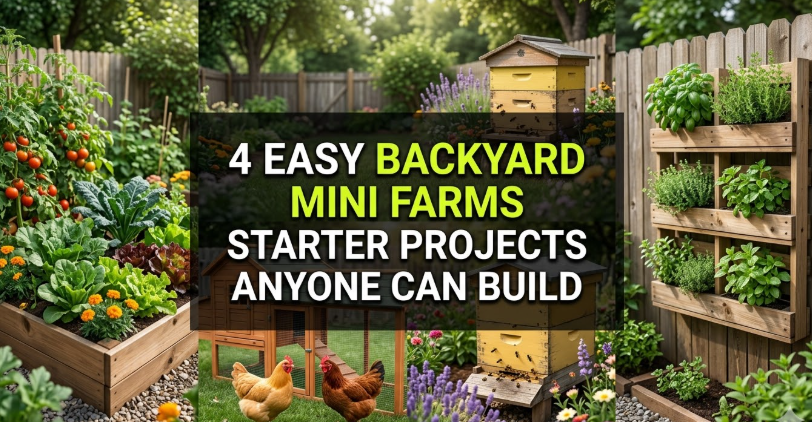
Want to go deeper before you start? Check out this complete walkthrough: 5 Easy Backyard Mini Farms Setup Steps for Beginners — it’s one of the most practical starting points I’ve found.
Sonnet 4.6
Claude is AI and can make mistakes. Please double-check responses.