Meta Description: Backyard mini farms budget setup tips help you grow fresh food at home without breaking the bank. Discover 8 clever, practical ways to get your mini farm up and running today.
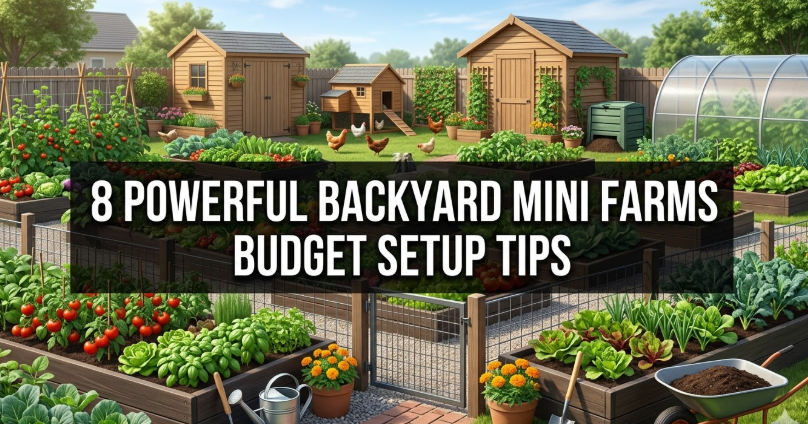
8 Cheap Backyard Mini Farms Budget Setup Tips
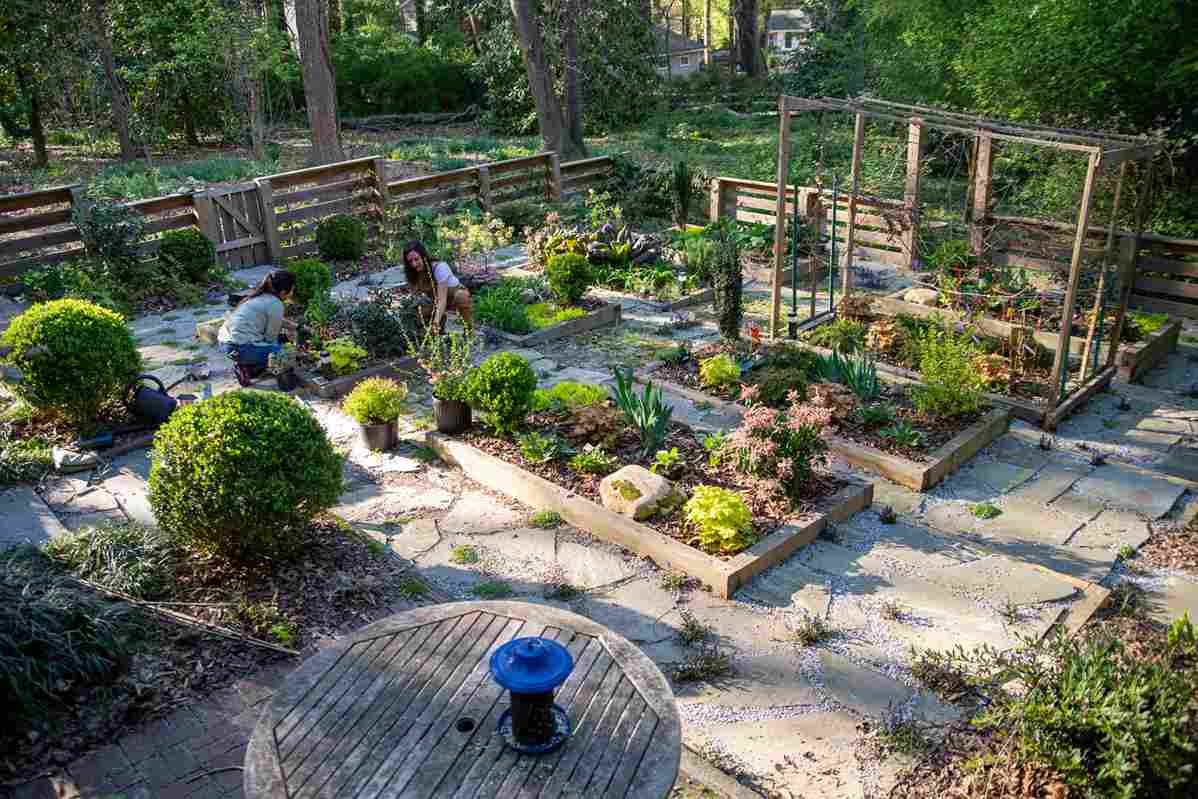
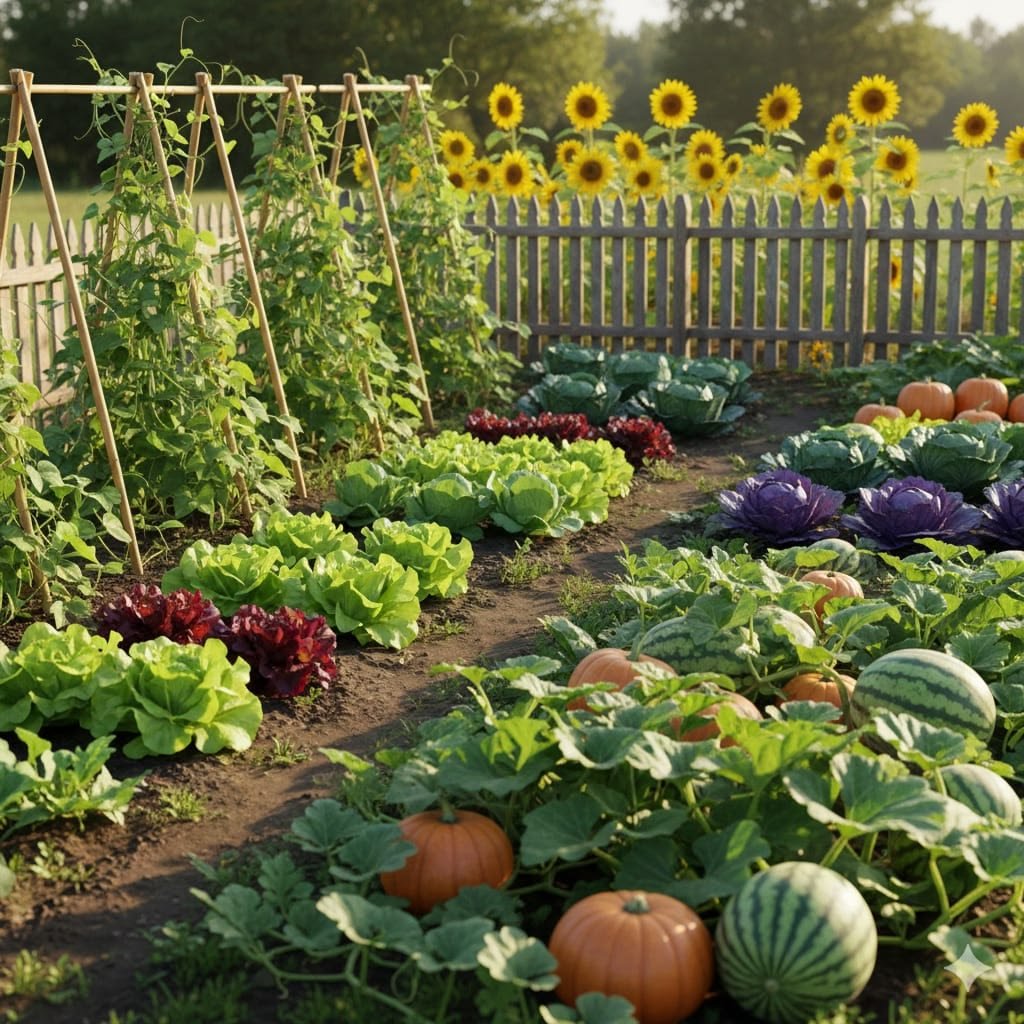
Growing your own food at home sounds dreamy — until you check out the price tags for raised beds, irrigation systems, and soil amendments. But here’s the thing: you don’t have to spend a fortune building an efficient mini farm in your backyard.
With a little planning and some clever tricks, you can begin to grow vegetables, herbs, and even fruit in your own backyard on a shoestring budget. No matter how big your grassy backyard is, or even if you just have a narrow strip of land, the following tips will help you put together something real, green, and rewarding.
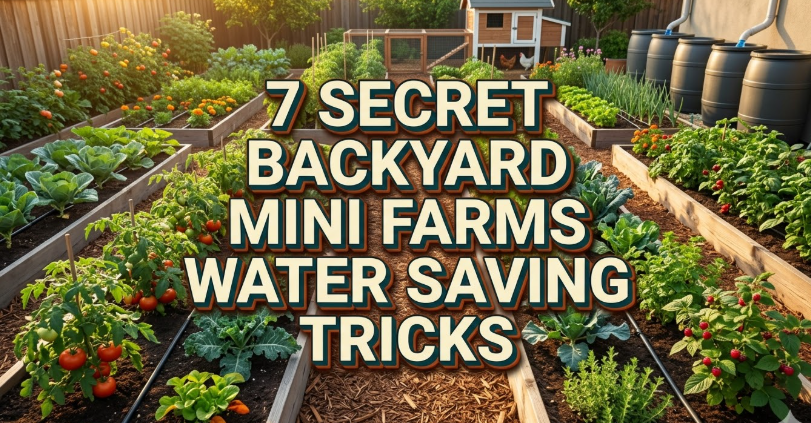
This guide takes you through 8 powerful backyard mini farms budget setup tips that really work — no fluff, no overpriced gadgets, just solid advice from real growing experience.
Why Start a Backyard Mini Farm in the First Place?
Before we dive into the tips, let’s cover why this is worth your time and effort.
A mini farm in your backyard gives you fresh, chemical-free food right at your door. It cuts your grocery bill over time. It educates kids (and adults) about where food comes from. And it transforms unused outdoor space into something both useful and beautiful.
Research shows that home gardens have the potential to help families save $500 to $1,200 a year on their food bills, depending on what they grow and how much space they use. Spending little to nothing at the start only makes that return on investment all the more rewarding.
Tip 1: Plan Before You Plant — Map Your Space First
The number one mistake new mini farmers make is buying things without knowing what they have. Space planning costs nothing and saves everything.
Walk Your Yard and Take Notes
Walk your backyard for 20 minutes at different times of day. Observe where it gets the most sun. Vegetables require a minimum of 6 hours of direct sunlight each day to grow well. Plants that thrive in the shade — lettuce and spinach, for example — can survive with 4 hours.
Write down or sketch:
- Large existing structures that already cast shadows, such as fences or sheds
- Slope or drainage issues (standing water = not good)
- Access to water sources
Draw a Simple Grid
You don’t need design software. Graph paper or a free app like GardenPlanner works great, or use Google Maps satellite view. Assign each square foot to a crop based on sun and space needs.
This easy step saves you from costly mistakes — like planting tomatoes in the shade or buying more seeds than your space allows.
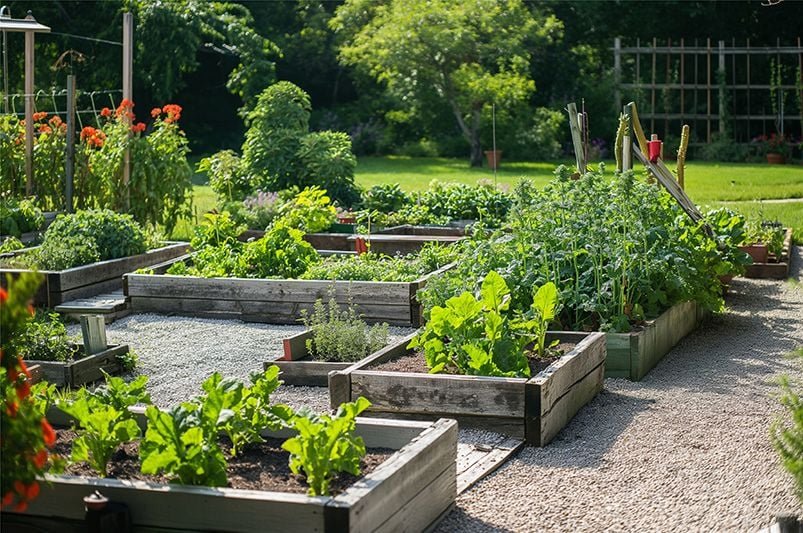
Tip 2: Build Raised Beds Without Breaking the Bank
Raised beds are the foundation of any productive mini farm. They provide better drainage, better soil control, and fewer weeds. But commercial raised bed kits can cost $80–$200 each. You can build the exact same thing for under $20.
Use What’s Already Around You
The cheapest raised beds come from free materials:
- Reclaimed wood: Look on Facebook Marketplace, Craigslist, or local Buy Nothing groups for free lumber, old pallets (heat-treated only — avoid chemically treated ones), or salvaged boards.
- Cinder blocks: Often available used for $0.50–$1 each. Stack two high for a 16-inch bed.
- Logs and branches: Hugelkultur beds are made by burying logs covered with soil. They break down slowly, retain moisture, and add nutrients over the years — totally free if you have fallen branches.
- Old bathtubs, tires, or large containers: Unusual but very effective. Many people give these away.
Keep beds 3–4 feet wide so you can reach the center without stepping in. Four feet or eight feet long are the most practical sizes.
Tip 3: Mix Your Own Soil — Stop Buying Bags
Pre-bagged potting mix from garden centers is pricey and often of dubious quality. Making your own soil mix is less expensive and gives you full control over what goes into your food.
The Classic “Mel’s Mix” — A Budget Version
The legendary square-foot gardening soil blend consists of one-third compost, one-third peat moss or coconut coir, and one-third vermiculite. It’s light, drains well, and feeds plants consistently.
Here’s how to get the ingredients for less:
- Compost: Make your own (see Tip 4). Or call your local municipality — many offer free compost to residents.
- Coconut coir: A much more affordable alternative to peat moss. It arrives as compressed bricks that expand when water is added. One $5–$8 brick will fill a 4×4 raised bed.
- Vermiculite: Find it in bulk at landscaping supply stores, not garden centers. Buying in bulk is much cheaper per quart than buying small bags.
Go Heavy on Compost
If you want to simplify, a mix of 70% compost and 30% topsoil works incredibly well for vegetables. Add a handful of wood ash or crushed eggshells for calcium. Mix in coffee grounds for nitrogen. All of this costs almost nothing.
Tip 4: Start Composting From Day One
Compost is called “black gold” in gardening circles, and for good reason. It improves soil structure, feeds plants naturally, and is free to produce. Starting a compost pile is one of the best budget decisions you can make for your mini farm.
What Goes In
You need a balance of two things:
Greens (nitrogen-rich): Kitchen scraps such as vegetable peels, coffee grounds, fruit scraps, fresh grass clippings, and plant trimmings.
Browns (carbon-rich): Dry leaves, cardboard ripped into pieces, paper bags, straw, wood chips, and sawdust.
Aim for about 3 parts browns to 1 part greens. Keep the pile moist but not soaked. Turn it at least once a week or two to help speed things up.
Build a Free Compost Bin
No need for an expensive tumbler. Four wooden pallets tied at the corners form a great compost bin. Most warehouses and grocery stores give these away for free.
Or use a basic wire mesh cylinder made from hardware cloth. Cut a 10-foot length and bend it into a circle — that’s your bin. Done.
In about 2–4 months, depending on your climate, you’ll have rich, dark compost ready to enrich your beds.
Tip 5: Grow From Seed, Not Transplants
It’s tempting to walk into a garden center and buy transplants — you see the little plants and feel instant progress. But those transplants are expensive — often $3–$6 per plant — and you may need dozens.
Seeds are dramatically cheaper. A $2–$4 packet of tomato seeds can yield 30–50 plants. Even if you only grow 10, the savings are enormous.
Starting Seeds Indoors Inexpensively
You don’t need fancy grow lights and heat mats to start seeds. For most crops, a sunny south-facing windowsill works just fine. Here’s how to keep costs low:
- Seed-starting containers: Use egg cartons, yogurt cups, cardboard toilet paper rolls cut in half, or newspaper pots folded into small cups.
- Seed-starting mix: Use a fine blend of coconut coir and compost. Dense garden soil is no good — it compacts and smothers seedlings.
- Labeling: Use old popsicle sticks, cut-up yogurt containers, or even strips of masking tape. Don’t waste money on store-bought plant tags.
Best Crops to Grow From Seed
Grow these directly from seed in the ground — they dislike being transplanted:
- Carrots
- Beets
- Radishes
- Beans
- Peas
- Corn
- Squash
- Cucumbers
Start these indoors 6–8 weeks before your last frost date and transplant later:
- Tomatoes
- Peppers
- Eggplant
- Broccoli
- Cabbage
Save Seeds Each Season
Once you’ve grown a plant to maturity, let one or two fruits fully ripen and dry on the vine. Harvest the seeds, dry them on a paper towel for two weeks, and store them in labeled paper envelopes. Next year, you grow for free.
Tip 6: Set Up Low-Cost Irrigation That Actually Works
Watering by hand with a hose is fine for small gardens but becomes exhausting — and inconsistent. Under-watering or over-watering is the most common cause of crop failure for beginners.
A simple drip irrigation system sounds expensive, but a DIY version costs less than $15 and will pay for itself in saved time and healthier plants.
The DIY Drip Bottle Method
For very small beds or container plants:
- Take a 2-liter plastic bottle.
- Poke 4–6 tiny holes near the cap with a pin.
- Fill with water.
- Bury the bottle cap-down, at an angle, near the base of your plant.
- Water seeps slowly into the root zone over 24–48 hours.
It’s not pretty, but it works beautifully for tomatoes, peppers, and squash.
Soaker Hose System
A basic soaker hose kit (50 feet) runs $15–$25 and will effortlessly water an entire 4×8 raised bed. Lay it in a snake pattern across the bed. Connect to your outdoor spigot. Turn it on for 20–30 minutes every morning and your plants are happy.
Add a basic $8 timer from a hardware store and your watering becomes completely automatic.
Collect Rainwater
A simple rain barrel placed under a downspout can collect hundreds of gallons during a single storm. Basic plastic barrels can be found used for $10–$30 at farm supply stores or online. Many cities and towns offer rain barrels at subsidized prices to encourage water conservation — worth checking before you buy.
Tip 7: Choose the Right Crops for Maximum Return
Not all vegetables give you equal value for your effort and money. Growing crops that are expensive at the store but cheap and easy to grow at home is the fastest way to see real savings.
High-Value Crops for Small Spaces
High-value crops are your best friends when growing on a budget. Herbs like basil, cilantro, parsley, and chives cost almost nothing to grow from seed yet regularly sell for $2–$4 per tiny bunch at grocery stores.
Salad greens like lettuce, arugula, and spinach are also top picks. They grow quickly — ready in 4–6 weeks — can be cut and re-grown multiple times from the same plant (“cut-and-come-again”), and take up very little space.
According to the University of California Agriculture and Natural Resources, growing your own herbs and salad greens at home is one of the highest-return gardening choices for small-space growers, with some herb gardens yielding 10x their cost in grocery savings within a single season.
Skip These for Now
These crops are not worth growing on a tight budget as a beginner:
- Corn needs a lot of land and produces a small yield
- Watermelons require long growing seasons and sprawling space
- Sweet potatoes take 5 months and need deep, loose soil
- Peanuts require very specific warm climates
In your first year, stick to fast-growing, high-value crops. Build confidence and compost before tackling trickier plants.
Succession Planting Stretches Your Space
Instead of planting an entire bed of lettuce all at once, plant a small row every two weeks. This way, you’re harvesting fresh lettuce continuously throughout the season instead of getting one giant glut at once that goes to waste.
The same applies to radishes, spinach, beans, and carrots.
Tip 8: Grow Vertical and Double Your Space
Ground space is limited. Vertical space is nearly free. Training plants to grow upward instead of outward can double or even triple the productive capacity of a small backyard.
Build a Cheap Trellis System
A simple A-frame trellis made from bamboo canes and twine costs about $3–$5 and supports climbing crops like cucumbers, beans, peas, and even small melons.
Here’s how:
- Push 6-foot bamboo canes into the soil at an angle on both sides of your bed.
- Lean them together at the top and tie with twine.
- Run horizontal strings of twine every 8–10 inches between the two sides.
- Guide your plants upward as they grow.
Bamboo canes are often available free from neighbors who have overgrown bamboo, or very cheaply at dollar stores and Asian grocery stores.
Other Budget Vertical Options
- Pallet garden: Lean a pallet up against a fence or wall. Staple landscape fabric to the back and fill the gaps with soil. Plant herbs or strawberries directly in the gaps.
- String trellis on fence: Attach eye hooks to a fence post and run twine in a grid. Costs under $5 and works perfectly for cucumbers and beans.
- Repurposed ladder: A leaning wooden ladder with chicken wire stretched across the rungs becomes an instant trellis for peas or passionflowers.
Companion Planting Fills Every Gap
Don’t leave bare soil between your main crops. Fill every gap with a companion plant. Classic examples:
- The “Three Sisters”: Corn, beans, and squash grown together. The corn provides a pole for beans to climb, beans fix nitrogen in the soil, and squash covers the ground to retain moisture and suppress weeds.
- Basil next to tomatoes: Repels certain pests, and many gardeners swear it improves tomato flavor.
- Nasturtiums as trap crops: Plant them at the edges of beds. Aphids flock to them and leave your vegetables alone.
The True Cost of a Complete Mini Farm Setup
Here’s how a real budget setup could look in your first season, using the tips from this guide:
| Item | Frugal Option | Est. Cost |
|---|---|---|
| Raised bed frame | Reclaimed lumber or cinder blocks | $0–$20 |
| Soil & compost | Free municipal compost + coir brick | $5–$15 |
| Seeds (10 varieties) | Budget seed packets online | $15–$25 |
| Irrigation | Soaker hose + basic timer | $20–$30 |
| Trellis system | Bamboo canes + garden twine | $3–$8 |
| Compost bin | Free pallets or wire mesh cylinder | $0–$10 |
| Basic hand tools | Trowel, gloves, pruner (thrift store) | $5–$15 |
| Total first-year setup | $48–$123 |
Compare that to a store-bought setup that could easily run $300–$600+ for the same functionality. And keep in mind — starting year two, your costs drop dramatically. Once you’re saving seeds, making compost, and reusing infrastructure, your second year might cost you just $20–$40 total.
Bonus Tips: Small Habits That Make a Big Difference
In addition to the 8 main tips, here are a few quick wins that seasoned mini farmers swear by:
Join a seed library or swap. Most public libraries have free seed banks. Local gardening clubs often host seed swaps in late winter. You can walk away with dozens of seed varieties for free.
Mulch everything. A 2–3 inch layer of straw, wood chips, or shredded leaves spread over your soil dramatically reduces the need for watering, suppresses weeds, and helps regulate soil temperature. Many tree trimming companies will give away wood chips free of charge — just ask.
Learn to identify beneficial insects. Not all bugs are pests. Ladybugs, lacewings, ground beetles, and parasitic wasps are your allies. They eat the bugs that destroy your crops. Before reaching for any pesticide (even organic ones cost money), learn who’s living in your garden.
Connect with your local extension office. In the U.S., every state has a cooperative extension office linked to a land-grant university. Soil testing is free, gardening guides for your specific region are free, and expert advice is free. It’s one of the most underused resources available to home gardeners.
Grow perennials alongside your annuals. Perennial crops — such as asparagus, rhubarb, chives, thyme, oregano, walking onions, and many berry bushes — come back every year without replanting. They cost more upfront, but after year two they’re essentially free food forever.
FAQs About Backyard Mini Farms Budget Setup
Q: How much space do I actually need to start a backyard mini farm?
You can grow a meaningful amount of food in as little as 100 square feet — roughly a 10×10 area. A well-planned 4×8 raised bed can produce enough salad greens for a family of four throughout an entire growing season. Vertical growing expands what you can do in even smaller spaces.
Q: What is the cheapest way to start a backyard mini farm from scratch?
The absolute cheapest entry point is sowing seeds directly into your existing ground after improving the soil with free compost. Skip raised beds entirely in year one, use free seeds from a seed library, water with a basic hose, and compost your kitchen scraps. Your total startup cost could be under $10.
Q: Is it really cheaper to grow your own food?
Yes, over time — with emphasis on “over time.” The first year has upfront costs for materials and tools. From year two onward, when you’re saving seeds, making your own compost, and reusing infrastructure, growing food at home is dramatically cheaper per pound than buying it. High-value crops like herbs can pay back their investment within weeks.
Q: What vegetables grow the fastest for beginners?
Radishes can be ready in as little as 25 days. Lettuce and salad greens take 30–40 days. Green beans typically mature in 50–60 days. Zucchini produces fruit in about 50 days and keeps producing heavily. These are all great starter crops for new gardeners learning backyard mini farms budget setup practices.
Q: Do I need to test my soil before starting?
It’s a good idea, especially if you’re growing directly in the ground rather than in raised beds with homemade soil mix. Most cooperative extension offices offer free or very low-cost soil testing. A basic test tells you your soil’s pH and nutrient levels, so you know exactly what to add rather than guessing.
Q: Can I start a mini farm if I rent my home?
Yes. Use containers, fabric grow bags, or portable raised beds that you can take with you. Container gardening is highly productive for herbs, greens, tomatoes, peppers, and dwarf varieties of many other crops. Always check with your landlord before making any permanent changes, but potted gardens are almost always permitted.
Q: How much time does a mini farm take to maintain?
For a basic setup, expect to spend 15–30 minutes per day during peak growing season. Most of that is watering (eliminated with drip irrigation), harvesting, and checking for pest issues. Planning and initial setup take more time, but this work is front-loaded in the spring.
Q: What do I do with a surplus harvest?
Preserve it. Learn basic food preservation skills like freezing, drying herbs, pickling, and canning. Share with neighbors. Many communities have informal produce swap networks. Some areas allow selling small amounts of homegrown produce at roadside stands without a permit — worth checking your local rules.
Pulling It All Together
Building a productive backyard mini farm on a budget is absolutely achievable. It begins with careful planning, not with spending money.
Map your space before you spend a cent. Build raised beds from reclaimed materials. Make your own soil with free compost. Grow from seed and save seeds every season. Water efficiently with a simple soaker hose. Choose high-value crops that stretch every dollar. And grow up, not just out — vertical space is nearly free.
The best mini farm is the one you actually build and maintain. Start small, get a handle on your first season, and grow as your skills and confidence grow. By year two, you’ll have a productive, low-cost food system right in your own backyard — and wonder why you waited so long to get started.
Your soil is waiting. Your seeds are ready. Get growing.