Meta Description: Backyard mini farms tomato growing tricks that actually work — discover 5 proven methods to grow bigger, juicier tomatoes in small spaces this season.
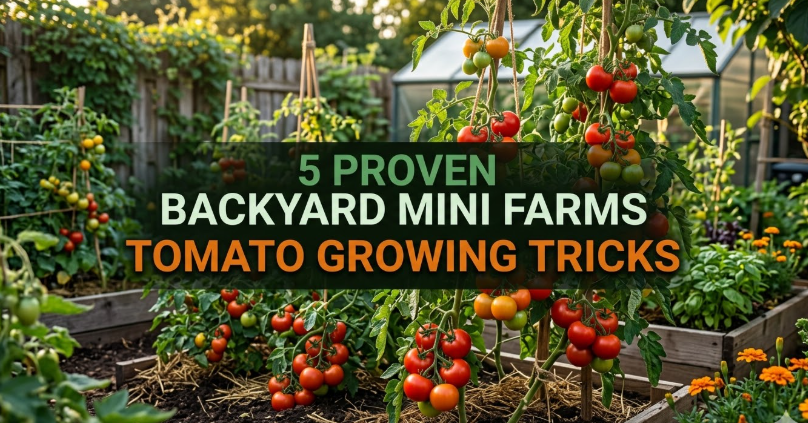
Backyard Mini Farms — 5 Tomato Growing Tricks That Actually Work!
The Best Tomato Growing Tips From Backyard Mini Farms
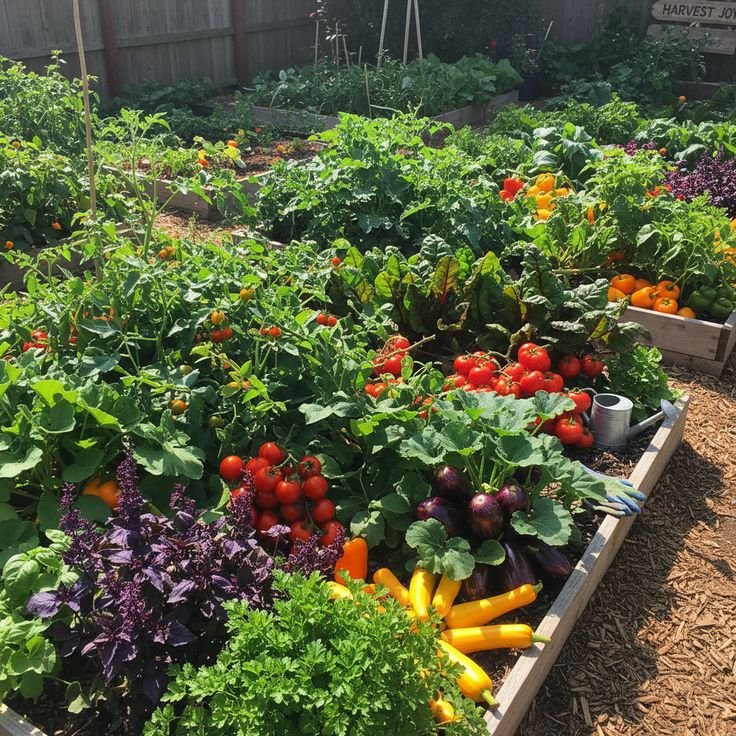
There’s something immensely satisfying about plucking a tomato that you grew yourself. The flavor is richer. The color is deeper. And honestly? It always tastes better when you put in the work.
However, gardening in a limited backyard can be challenging on its own. Plants get diseases. Fruits crack. Yields disappoint. Online, most guides tell you simply “water regularly and give it sun” — which is far too little.
This guide is different. These are real tomato growing tricks backyard mini farmers use to get serious results. No fluff, no filler — only the good stuff.
Trick #1 — Plant Your Tomato Plants Way Deeper Than You Think
The way most new gardeners plant their tomatoes is the same way they plant flowers: Dig a small hole, pop in the root ball, bury it.
That is a mistake.
Tomatoes are among just a few plants that can sprout roots all along their buried stem. Those little hairs you see growing on tomato stems? They can take root if they touch the soil. More roots help absorb more water and nutrients — which means healthier plants and larger fruits.
How Deep Should You Go?
Make your hole deep enough to bury two-thirds of the whole plant. If your seedling is 12 inches tall, only 4 inches should remain above ground. Otherwise, the buried portion is covered with leaves first, so they don’t rot underground.
For especially tall or leggy seedlings, you can dig a trench rather than a vertical hole. The plant is laid at an angle so that only the top 4–5 leaves are exposed. It will gently bend upwards within a week as the stem knows that it needs to go in the direction of least resistance.
How Does This Work So Well in a Mini Farm?
In a small backyard setup, you often have limited soil. Planting deep allows the roots to spread out over a larger territory, and this can be beneficial for plants in, say, raised beds or large containers. Plants that are developed this way are also more drought-resistant, since their roots burrow down to moisture.
Quick tip: Pre-soak the planting hole before you drop in the seedling. Wet soil sticks to the root ball, and it reduces transplant shock by an order of magnitude.
Trick #2 — Use Calcium to Prevent Blossom End Rot on Tomatoes
Nothing is more disappointing than realizing that your gorgeous, huge tomato you grew has black leathery bottoms. It’s known as blossom end rot and it is one of the most common issues with backyard mini farms tomato growing.
The good news: it’s almost always preventable.
What Actually Causes It
Blossom end rot isn’t caused by a disease or a pest. It occurs when the tomato fruit cannot take in enough calcium as it grows rapidly. This commonly happens due to inconsistent watering — not because your soil is calcium deficient.
When soil moisture fluctuates wildly from soaking wet to bone dry, calcium ions have a hard time moving through the plant. The developing fruit suffers first.
Two Ways to Fix It Fast
Watering regularly is the top priority. Target 1 to 2 inches of water a week, and apply it evenly. A drip irrigation system or soaker hose works best for this.
The calcium foliar spray serves as a fast remedy for plants that already display symptoms. Combine 1 tablespoon of calcium chloride in a gallon of water and spray it directly on the leaves and fruits as they develop every 5–7 days.
You may also add crushed eggshells or agricultural lime into the soil before planting. These break down slowly and offer a steady source of calcium throughout the season.
Fend Off Problems With Mulch
Place 2–3 inches of straw or wood chip mulch around the base of each plant. Mulch maintains soil moisture between waterings. It also helps keep roots cool in the summer heat — something that matters a lot on a small backyard mini farm where soil can dry out quickly in raised beds.
Trick #3 — Prune Suckers and Your Fruit Will Become Twice As Big
Here’s something that surprises most people: tomato plants want to grow into a wild, sprawling tangle. Without attention, they pour their energy into leaves and stems instead of fruits.
By pruning suckers, you’re redirecting that energy to exactly where you want it — into the tomatoes themselves.
What Is a Sucker?
A sucker is a shoot that emerges in the “V” between the main stem and a branch. Left to its own devices, each sucker becomes a full branch — and then sprouts suckers of its own. The plant grows twice or three times the size but the fruit is smaller and ripens later.
How to Prune Correctly
With indeterminate plants (which continue to grow throughout the season), prune out all suckers that form beneath the first flower cluster. Allow 1–2 primary stems to continue beyond that, and pinch off everything else.
For determinate varieties (which cease growing to a fixed size), do not prune heavily. They are bred to ripen their fruit mostly in one go and pruning interferes with that.
Use sharp, clean scissors or pruners. Pinch small suckers off with your fingers in the early morning — this allows the wound to dry out before evening humidity arrives and the risk of disease sets in.
Timing is key: Inspect plants every 5–7 days. Suckers grow fast. A sucker that is left for two weeks will grow into a full branch, which becomes more difficult to remove without putting the plant under stress.
Trick #4 — The Banana Peel Fertilizer Technique
This is one of the cheapest and easiest backyard mini farms tomato growing tips.
Banana peels are high in potassium. The nutrient that tomatoes require most when in fruit is potassium, which helps the plant control water, create cell walls and develop rich flavor. According to University of Minnesota Extension, potassium is critical during the fruiting stage for quality and disease resistance.
3 Ways to Use Banana Peels
Method 1 — Burying in soil: Chop up peels into small pieces and then bury them about 4–6 inches deep, at the base of the plant. They degrade after 2–3 weeks, leaching potassium directly into the root zone.
Method 2 — Peel tea: Soak 3–4 peels in a gallon of water for 48 hours. Strain the liquid, and use that to water your plants. It takes effect quickly because that potassium is already dissolved in the water.
Method 3 — Dried peel powder: Put banana peels in the oven for two hours at 200°F, and then grind them up. Dust the powder at the base of the plant and water it in. This lasts for months and is easy to apply.
When to Start Feeding
Right after the first yellow flower buds appear, start feeding with potassium. This is the stage where the plant switches from growing mode to fruiting mode. Feed every 2 weeks during the main harvest season.
What About Store-Bought Fertilizers?
Commercial tomato fertilizers are also perfectly effective. Seek out something like a 5-10-10 or 8-32-16 ratio during flowering and fruiting. The banana peel method is intended as a supplement — not to replace — regular feeding. Using them together gives you impressive results in a backyard mini farm situation.
Trick #5 — Use the Florida Weave to Train Your Plants Vertically
Space is the primary constraint in any backyard mini farm. Most gardeners stake each plant separately, which is effective but wastes space and time.
Professional tomato farmers use a system called the Florida Weave to support dozens of plants at once. You can easily modify it for a small home garden.
How the Florida Weave Works
Drive strong stakes (at least 6 feet tall) into the soil in between every 2–3 plants. Then thread garden twine back and forth between the plants and the stakes — traveling down one side of the row, looping around each stake, then returning down the other side.
As the plants get taller, you add another layer of twine 8–10 inches up. The plants are situated between two layers of twine and supported from both sides.
Why This Beats Individual Staking
Only the main stem is supported by individual stakes. Every branch is supported by the Florida Weave. The fruits hang freely without touching the ground. Air moves more freely, causing substantially less fungal disease — one of the major villains in small backyard tomato plots.
It also requires less time per plant. After staking, it takes roughly 2 minutes to add another level of support for an entire row.
The Best Varieties to Train Vertically in a Mini Farm
Not all tomatoes train as well. Indeterminate varieties such as Sungold, Black Krim, Cherokee Purple and Brandywine continue climbing upward all season long and are ideal partners for the Florida Weave. Determinate types like Roma or Celebrity are bushy and shorter — they’re fine with one cage.
Putting All Five Tricks Together
These five tricks are more effective together than apart. Here is what a full backyard mini farms tomato growing system looks like when you combine them:
- Deep planting develops a strong, aggressive root system from the start.
- Consistent mulching and watering prevents calcium issues before they start.
- Pruning suckers weekly keeps energy directed toward fruit.
- Feeding with potassium from first flower and every two weeks thereafter.
- Training vertically using the Florida Weave makes the most of a small space and minimizes disease.
A plant cared for like this will do far better than a neglected specimen in a larger garden. Small space gardening is not a limitation — it is a forcing function for getting good at every detail.
For more in-depth guides, growing calendars, and small-space gardening resources, visit Backyard Mini Farms — your go-to hub for productive home growing.
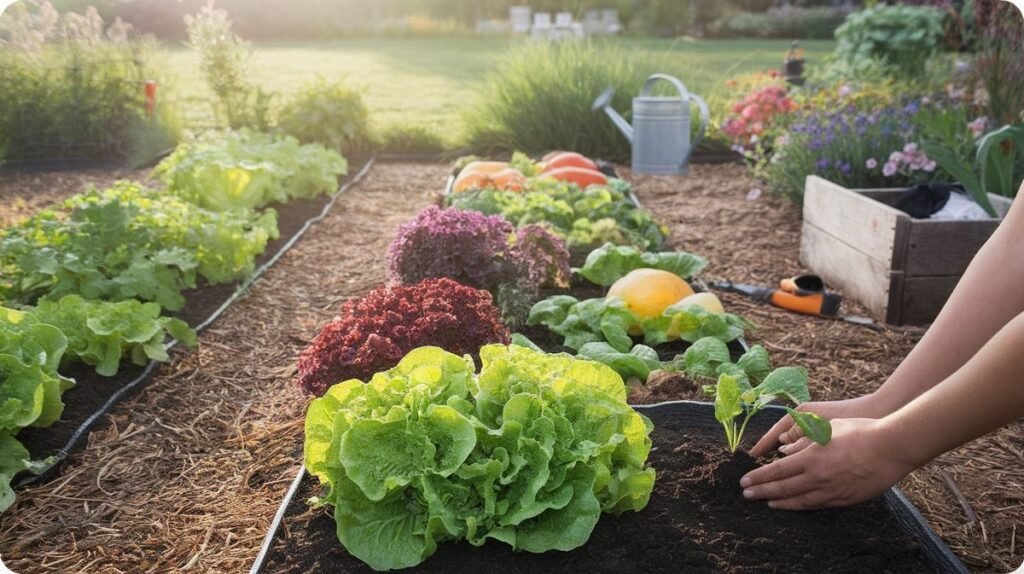
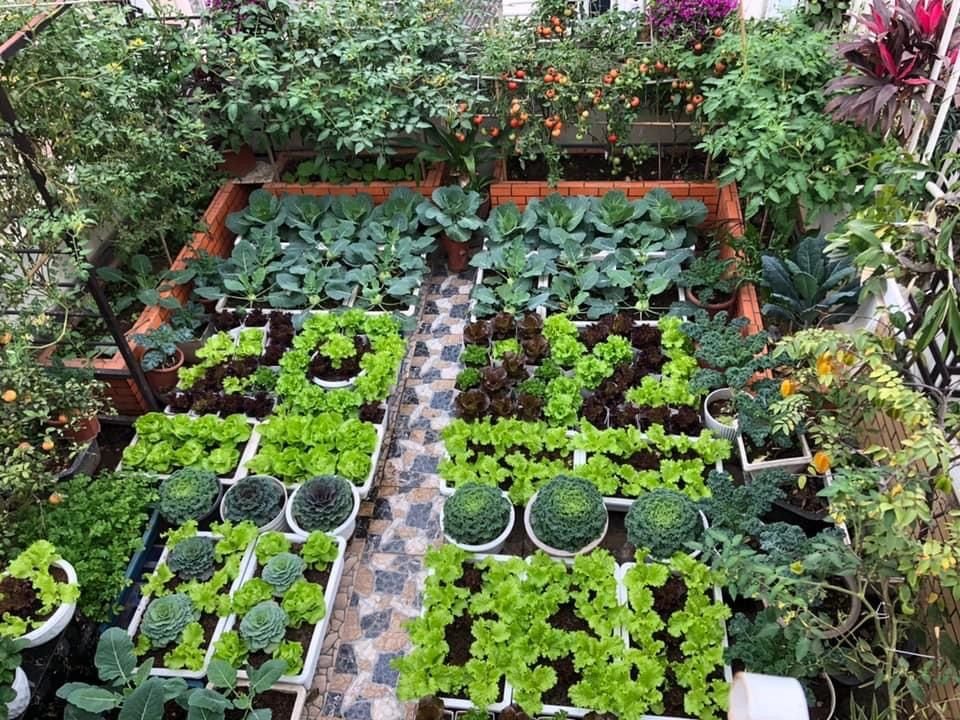
Variety Selection for Small Backyard Planting
Every other trick is more effective once you choose the right variety. A disease-resistant variety such as Celebrity can free you to focus entirely on maximizing yield instead of battling problems.
Common Mistakes to Avoid
These are mistakes even experienced gardeners make. Familiarizing yourself with them ahead of time can save you a whole season of frustration.
Overwatering in the early stages. Seedlings require moisture, not wet soil. Water again only when the top inch of soil is dry. The quickest way to kill a young plant is with soggy roots.
Planting too close together. The inclination in a small space is to pack as many plants in as you can. However, crowded tomatoes must compete for light, share diseases and yield less. Each plant should have at least 18–24 inches of space.
Applying nitrogen fertilizer late in the growing season. Too much nitrogen after plants flower will encourage leafy growth rather than fruit. Use a relatively low-nitrogen fertilizer once flowers are opening.
Ignoring the undersides of leaves. Aphids, spider mites and early fungal infections usually originate on the undersides of leaves. Each time you go to the garden, flip over a couple of leaves. Catching problems early means they never get out of hand.
FAQs — Backyard Mini Farms Tomato Growing
What is a good number of tomato plants in a small backyard? When using vertical training techniques such as the Florida Weave, one indeterminate plant per 2 square feet is a good rule of thumb. In a 4×8 raised bed with vertical support you can comfortably grow four plants.
When do you plant tomatoes in your backyard mini farm? Transplant outdoors following your region’s last frost date. Soil temperature must be at least 60°F. Most gardeners begin their seeds indoors 6–8 weeks prior to the outdoor planting date.
Can I grow tomatoes in containers in a small space? Yes. Use containers of at least 5 gallons per plant — preferably 10 for indeterminate types. Add a good potting mix with perlite for drainage, and be prepared to water more often than you would for in-ground plants.
How often should I water tomatoes in a raised bed? Soil in raised beds tends to dry out faster than soil in the ground. In summer, check daily and water whenever the top inch of soil feels dry. Drip irrigation on a timer is effective for steady moisture.
What causes my tomato leaves to curl? Leaf curl is generally a symptom of heat stress or erratic moisture. It may also occur when you aggressively prune suckers. If the leaves are rolling inward but still appear otherwise healthy and green, the plant is just conserving moisture and will bounce back with regular watering.
Should I hand-pollinate tomatoes? Usually not. Tomatoes are self-pollinating. Wind and vibration (even that from bees) is sufficient. But if you are growing indoors or in a very sheltered location with no wind, just gently shake each flower cluster when blooms are open.
Is the banana peel method safe for all types of tomatoes? Yes. Potassium is beneficial for all tomato varieties during the flowering stage. The banana peel method is gentle enough that it won’t burn roots as synthetic fertilizers can if overapplied.
Final Thoughts
Backyard mini farms tomato growing really is one of the most rewarding things you can do in a small outdoor space. The gulf between a mediocre harvest and an outstanding one is most often narrowed by just a few specific practices performed consistently.
Bury your plants deep. Maintain uniform moisture to guard against blossom end rot. Prune suckers to redirect energy. Feed potassium when flowers appear. Train everything vertically to make the most of every square foot.
These tricks are not complicated. But combined, they make tomatoes that taste as if they have traveled from somewhere else entirely — and in a sense they have. They were grown in a garden that was tended with intention.
Try one trick this season. Add another the next. In two growing seasons your backyard mini farm will start producing more tomatoes than you can use.
That’s a nice problem to have, though.