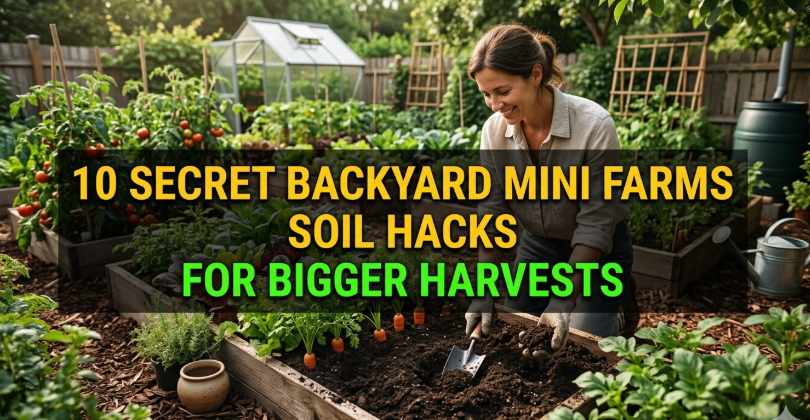
Meta Description: Backyard mini farms soil hacks are capable of making any plot no matter how small creative and filling. Learn 10 insider tricks for bigger, better harvests this season.
10 Soil Hacks for Bigger Backyard Mini Farms Harvests
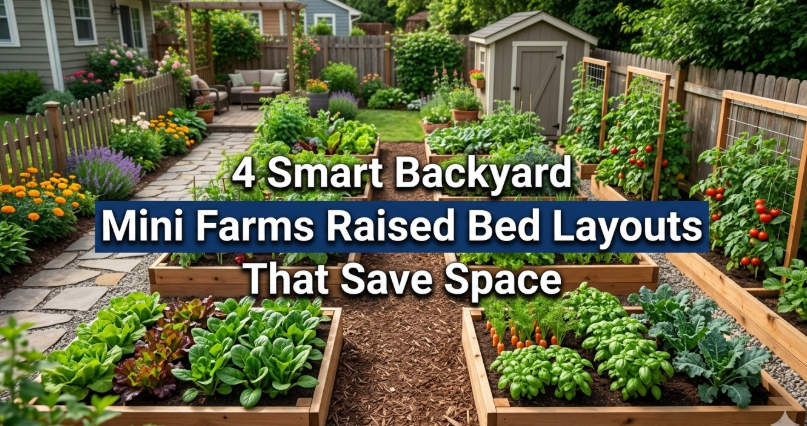
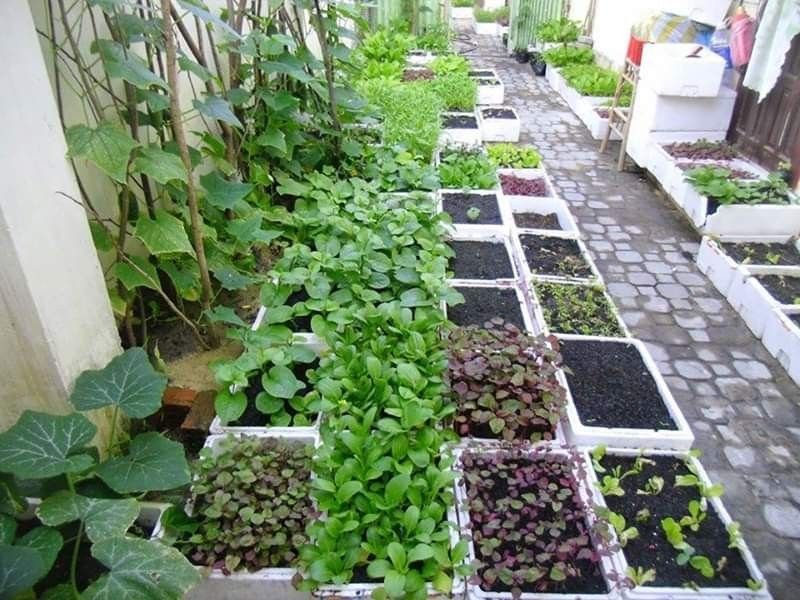
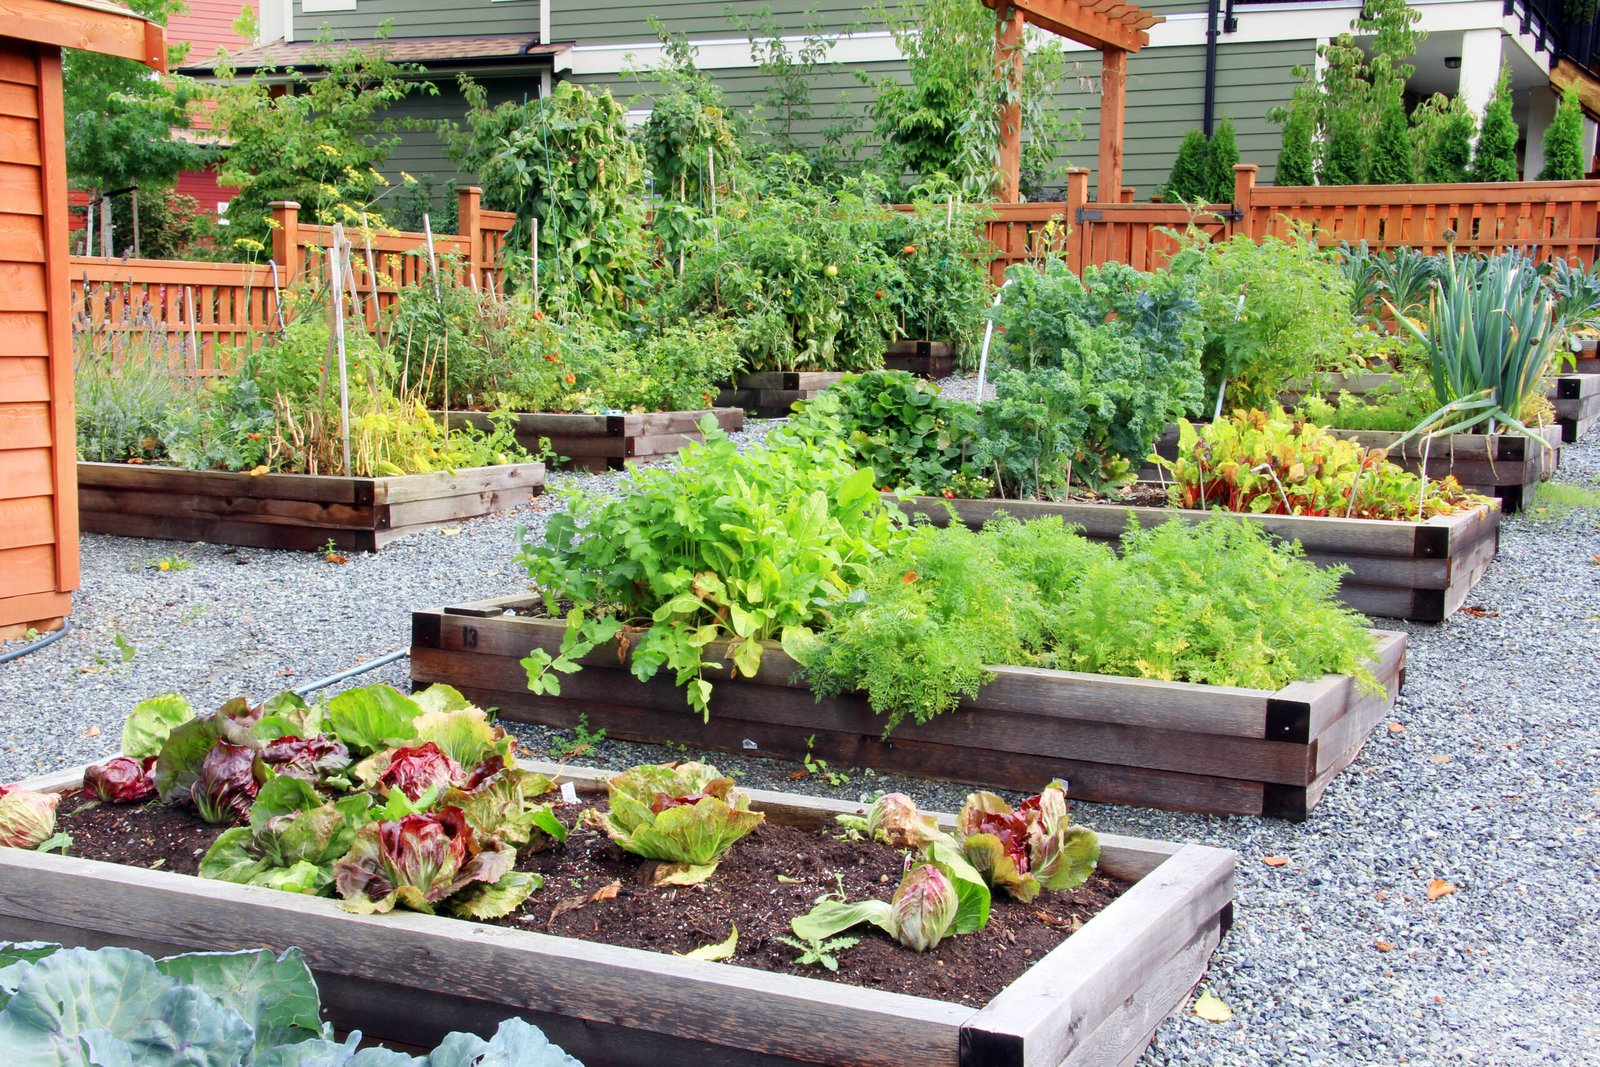
You don’t need to cultivate acres of land to grow your own food. A tiny yard, a few raised beds, or even a patch of dirt can feed a family — if the soil is good. Most people just water, plant, and hope. But the real magic takes place underground.
Every bountiful harvest begins with healthy soil. It nourishes your plants, retains water, and insulates roots. Without it, the finest seeds wither. A small area can then generate more food than you would ever believe.
These hacks are practical, inexpensive, and have been tested over time. And regardless of whether you’re just starting or have been growing food for years, at least a few of these will change the way you grow food forever.
Hack #1 — Feed Your Soil With a Compost Sandwich
Most gardeners compost. But hardly anyone does it properly, right in their beds.
A compost sandwich means building layers right in your garden bed — no bin needed. Begin with a base layer of carbon, such as dried leaves, cardboard, or straw. Mix in nitrogen-rich scraps such as kitchen waste, coffee grounds, or fresh grass clippings. Top it off with a thin layer of finished compost or garden soil.
Why It Works
This process is similar to how forest floors build themselves naturally. The layers take a long time to break down, nourishing soil organisms and releasing nutrients over weeks and months. Your plants, in turn, receive a slow, steady supply of food — not a one-time infusion.
Pro Tip: Do this at the beginning of each season, just before planting. By the time your seedlings require deep nutrients, the layers below will already be decomposing.
Hack #2 — Make a Batch of Compost Tea
Compost tea sounds fancy. It’s not.
Get a 5-gallon bucket and fill it with water. Mix in 2 to 3 cups of finished compost. Use a small aquarium air pump to keep oxygen moving through the water. Allow it to bubble for 24 to 48 hours. Then strain it and pour it around your plants.
What You’re Actually Doing
You’re growing billions of beneficial bacteria and fungi in that water. Poured into your soil, it gives your garden a huge boost of living microorganisms. These tiny creatures decompose nutrients, ward off disease, and create the soil structure that allows roots to reach deep.
| Compost Tea Ingredient | Purpose |
|---|---|
| Finished compost | Base source of microbes |
| Unsulfured molasses (1 tbsp) | Feeds bacteria during brewing |
| Kelp meal (optional) | Adds trace minerals |
| Air pump | Maintains aerobic process (prevents rotting) |
Apply compost tea every two to three weeks throughout the growing season. Your plants will show the difference within a few days.
Hack #3 — Stop Tilling. Seriously, Just Stop.
This one runs contrary to what many gardeners believe. Tilling looks productive. You feel like you’re doing something important. But every time you till your soil, you’re cutting through the underground fungal networks that plants rely on.
Soil has layers. Organisms that do specific jobs live at each layer. If you turn those layers upside down, that system collapses.
The No-Till Switch
Instead of tilling, do this. Place cardboard right on the ground. Wet it thoroughly. Cover with 4 to 6 inches of compost or aged wood chips. Plant directly into that layer.
Worms and microbes slowly work the organic matter into the soil. The layers stay intact. The fungal networks thrive. And that’s how you grow stronger, disease-resistant plants year after year.
Bonus: No-till beds dry out more slowly and grow fewer weeds. Less work, bigger harvests.
Hack #4 — Use Biochar to Retain Nutrients
Biochar is one of Earth’s oldest soil hacks. Ancient farmers in the Amazon used it millennia ago to create some of the most fertile soil ever discovered — a dark, rich earth that scientists study to this day.
Biochar is simply charcoal formed by burning organic material (such as wood) at high temperatures with limited oxygen. It’s available online and at garden centers. You can also make it in a small metal barrel if you feel safe doing so.
How to Apply It
Add biochar to your compost before applying it to your beds. A ratio of approximately 10% biochar to 90% compost works well. Do not apply raw biochar directly to soil — it should first be charged, meaning soaked in compost or fertilizer, so it won’t draw nutrients away from plants.
Biochar is stable in the soil for hundreds of years. It retains water, shelters beneficial microbes, and keeps nutrients from washing away during a rainstorm.
| Biochar Benefit | What It Does for Your Mini Farm |
|---|---|
| Water retention | Holds moisture in dry spells |
| Nutrient lock | Keeps fertilizer from leaching out |
| Microbial housing | Gives beneficial bacteria a home |
| Long-term fertility | Improves soil for years, not weeks |
Hack #5 — Plant a Cover Crop and Turn It Under
If a bed is empty, it’s falling behind. Bare soil erodes, dries out, and loses nutrients quickly.
Cover crops are plants you grow throughout the off-season specifically to nourish and protect the soil. Popular options are clover, buckwheat, winter rye, and daikon radish. They grow quickly, cover the soil, and turn atmospheric nitrogen into ground nitrogen.
The Secret Part — Chop and Drop
Don’t pull them out. Cut them at the soil line and leave everything right where it falls. The roots remain in the ground and decompose, leaving channels for water and air. The leaves and stems form a mulch layer on top.
This method is known as “chop and drop,” and it’s one of the best no-cost soil-building techniques out there. You get all the advantages of compost and mulch free of charge.
Best cover crops for small backyard mini farms:
- Clover — nitrogen-fixing, pollinator attractor
- Daikon radish — loosens compacted soil with long taproots
- Buckwheat — quick-growing, weed-suppressing, frost-killed
- Winter rye — tolerates cold, protects beds through winter
Hack #6 — Give Your Soil a Mineral Reboot With Rock Dust
When you harvest food from your garden, you remove minerals from the soil. Eventually, even the best compost can’t keep up. That is when rock dust comes in.
Rock dust — sometimes called rock mineral powder or glacial rock dust — is finely ground volcanic or glacial rock. It contains dozens of trace minerals that most soils lack. These minerals support enzyme production in plants, improve flavor, and boost overall plant health.
How to Use It
At the beginning of the season, sprinkle rock dust over your beds. Use approximately 5 to 10 pounds per 100 square feet. You can also add it to your compost pile to supercharge the finished product.
Results aren’t instant. Rock dust works slowly, releasing minerals over months. But gardeners who use it regularly report noticeably sweeter vegetables, more vigorous plants, and fewer pest problems.
If you’re looking for more ways to get the most out of your growing space, Backyard Mini Farms is packed with beginner-friendly guides and expert growing tips worth bookmarking.
Hack #7 — Mulch Like You Mean It
Most gardeners mulch. But most don’t mulch nearly enough.
A thin layer of wood chips or straw does next to nothing. You need at least 3 to 4 inches of mulch to make a real difference. Aim for 6 inches around established plants when possible.
What Heavy Mulching Does for Your Soil
A thick mulch acts like a blanket. It helps maintain soil temperature — cool in summer, warm in spring and fall. It prevents moisture from evaporating. And as it breaks down, it feeds the soil with organic matter.
The worms love it. And where worms go, fertility follows.
| Mulch Type | Best Use | Breaks Down |
|---|---|---|
| Wood chips (arborist) | Pathways, fruit trees | Slowly (1–2 years) |
| Straw | Vegetable beds | Moderately (6 months) |
| Dried leaves | All-purpose | Moderately fast |
| Grass clippings | Thin layer only | Fast (weeks) |
| Cardboard (under mulch) | Weed suppression | 3–6 months |
Find free wood chips from tree services in your area. Many give them away for free. It’s one of the best bargains in backyard farming.
Hack #8 — Apply Mycorrhizal Fungi
There’s an invisible web that runs through healthy soil. It is composed of mycorrhizal fungi — thread-like organisms that link plant roots to surrounding soil. That network acts like an extended root system, drawing in water and nutrients far beyond where the roots can reach.
Most disturbed or degraded soils have little to none of this fungal network. That’s why plants struggle.
How to Add It Back
You can find mycorrhizal inoculant as a powder or granule from most garden suppliers. Apply it directly to roots at transplant time, or mix it into seed-starting soil. It’s inexpensive and a little goes a long way.
Once established, these fungi form a relationship with your plants that lasts all season long. In exchange for the sugars your plants create during photosynthesis, the fungi return minerals, water, and protection from soil pathogens.
When to use mycorrhizal inoculant:
- Dust on roots at transplant time
- Mix into seed-starting mix when starting seeds
- When introducing new plants into existing beds
Note: Mycorrhizal fungi are not as effective in soils with excessive phosphorus. If you’ve been heavy on fertilizer, scale back first.
Hack #9 — Add a Worm Tower to Your Bed
Worm castings are often called black gold. They’re the richest, most plant-ready form of organic fertilizer you can possibly obtain. A single casting contains more nutrients than the food that worm consumed — digestion concentrates everything.
A worm tower allows you to place that fertility right where your plants need it.
Building a Worm Tower
Get a length of 4-inch PVC pipe, 18 inches long. Drill holes along the entire bottom half. Push it into the center of your garden bed so that about 6 inches stick up above the soil. Insert kitchen scraps directly into the tube. Put a cap on top to keep pests out.
Worms from the surrounding soil will find their way in, eat the scraps, and deposit castings directly into your bed. The nutrients spread outward through the soil as water moves through.
One worm tower can serve a 4×4 foot bed. For larger beds, use two or three spaced evenly.
What to feed your worm tower:
- Vegetable and fruit scraps
- Coffee grounds and paper filters
- Crushed eggshells
- Shredded paper or cardboard (in small pieces)
Avoid: Meat, dairy, oily foods, large amounts of citrus, and anything cooked with salt.
Hack #10 — Test Your Soil and Correct What’s Really Wrong
Here’s the most overlooked hack of them all. Backyard gardeners often add things to their soil without knowing what’s already in it.
Calcium doesn’t help if your soil already has too much. Neither does adding nitrogen to soil that’s already nitrogen-saturated. You might waste money and inadvertently make things worse.
The Simple Fix
Get a basic soil test. Your local extension office frequently does them for free or at a nominal cost. Or purchase an at-home kit from a garden center. At a minimum, test for pH, nitrogen, phosphorus, and potassium.
Once you know what’s there, you can fix what’s really missing.
According to the University of Minnesota Extension, regular soil testing is one of the most reliable ways to improve garden productivity and avoid wasting money on unnecessary amendments.
| pH Level | Soil Type | Best Crops | Fix With |
|---|---|---|---|
| Below 6.0 | Too acidic | Blueberries, potatoes | Add garden lime |
| 6.0–7.0 | Ideal range | Most vegetables | Maintain with compost |
| Above 7.5 | Too alkaline | Few crops thrive | Add sulfur or pine needles |
Most vegetables prefer slightly acidic soil, between 6.0 and 6.8. A $15 test can save you an entire season of poor harvests.
Putting It All Together — A Seasonal Soil Plan
You don’t have to do all 10 hacks at once. Here’s a straightforward schedule to follow across the year.
Early spring (before planting): Soil test → rock dust → mycorrhizal inoculant at transplant time → compost sandwich in empty beds
Throughout the season: Compost tea every 2–3 weeks → feed worm towers → mulch heavily
End of season: Chop and drop cover crops → layer biochar-charged compost → stop tilling
Year-round: No-till practice → add mulch as it thins out → keep worm towers fed
FAQs — Backyard Mini Farms Soil Hacks
Q: How long will it take to see results from these soil hacks? Some hacks like compost tea show results within one to two weeks. Others such as biochar and cover cropping build soil over months and seasons. The greatest benefits come after two to three years of regular practice.
Q: Are these hacks only for in-ground gardens, or can I use them in raised beds? Every hack on this list will work in raised beds. Raised beds will actually respond even faster because you control the soil mix entirely and there’s no compaction from foot traffic.
Q: Is no-till really better? My soil is very compacted. Yes, though if your soil is very compacted, you might do a single deep loosening with a broadfork (not a tiller) to open it up. Then move to no-till and let biology take care of things from there.
Q: How do I get free wood chips for mulching? Search “free wood chips” in your area or visit the website ChipDrop, which puts homeowners in touch with local arborists who need to dump chips. Many tree services will drop off a truckload for free.
Q: How often should I add compost to my beds? Top with a 1 to 2 inch layer of finished compost at least once per season — twice is better. You can also side-dress plants mid-season with a thin layer around their base.
Q: Is rock dust worth buying if I’m already composting? Yes. Compost provides organic matter and some minerals, whereas rock dust provides trace minerals that most compost never offers in meaningful quantities. They work best together.
Q: Can I build a worm tower in winter? In colder climates, worm activity slows down significantly in winter. You can still feed the tower, but results will be minimal until temperatures warm back up in spring.
The Ground Beneath Your Feet Is the Real Garden
Most people focus on what they can see — the leaves, the fruits, the pests. But the real magic of a flourishing backyard mini farm is happening in the six inches of soil below the surface.
Fix that zone, and everything above it improves on its own.
No fancy inputs and no complicated systems required. Pick one or two of these backyard mini farms soil hacks and start this season. Add another one next season. Within a few years, your soil will be so rich and alive that your harvests will surprise you.
The secret was underground all along.