I still remember the morning I found my first chicken outside the fence, happily scratching up my neighbor’s flower bed at 6 AM. I was in my pajamas, half-asleep, chasing a bird named Butterscotch across three yards while my neighbor stood at her window with a coffee mug and a very unimpressed expression.
That was month two. By month twelve, I had learned more about animals, land, water, fencing, food, and myself than I had in the previous decade of city living combined.
Starting a backyard livestock farm sounds romantic — fresh eggs every morning, animals grazing peacefully, living off your own land. And honestly? It can be that. But the first year is also a masterclass in humility. Things go wrong in ways you never expected. Animals don’t read the same books you do. And some lessons you just can’t learn until you’re standing in mud at dusk wondering what went sideways.
Here are the seven most important lessons I took from that first year — the ones I wish someone had sat me down and explained before I started.
1. Start Smaller Than You Think You Need To
Every beginner makes this mistake. You get excited, you do your research, you watch YouTube videos of homesteaders with 40 acres and a barn full of goats — and then you try to replicate that on a quarter-acre suburban lot in year one.
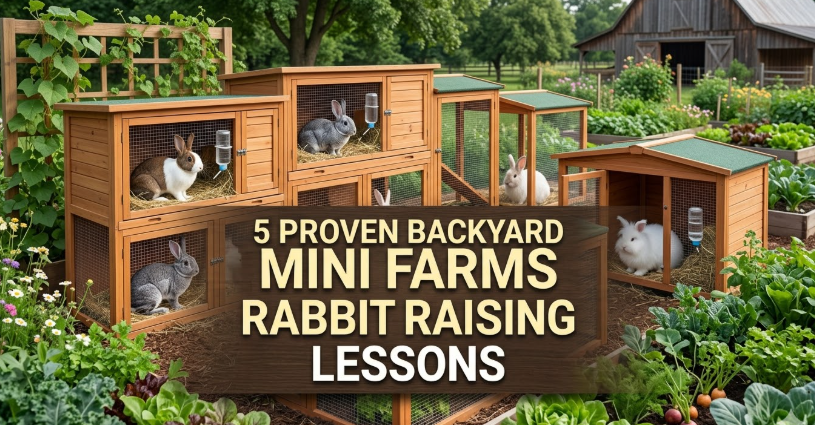
I started with 8 chickens, 4 rabbits, and two Nigerian Dwarf goats. At the same time. In my first season.
By week six, I was overwhelmed. The feeding schedules were different for each animal. The housing needed to be separate. The goats were escaping constantly. The rabbits needed daily cleaning. And the chickens — bless them — were getting into absolutely everything.
The lesson? Pick one animal. Get good at it. Then expand.
If I had started with just 4 to 6 chickens, I would have had breathing room to actually learn and enjoy the process. Instead, I was in survival mode for three months straight.
A good rule of thumb that experienced farmers told me later:
| What You Think You Can Handle | What You Should Actually Start With |
|---|---|
| 10 chickens | 4–6 chickens |
| 2 species at once | 1 species, mastered first |
| Full setup from day one | Basic setup, add over time |
| Buying all supplies upfront | Buy as you learn what you need |
Start small, learn fast, and scale up with confidence — not chaos.
2. Predator-Proofing Is Not Optional — It’s Urgent
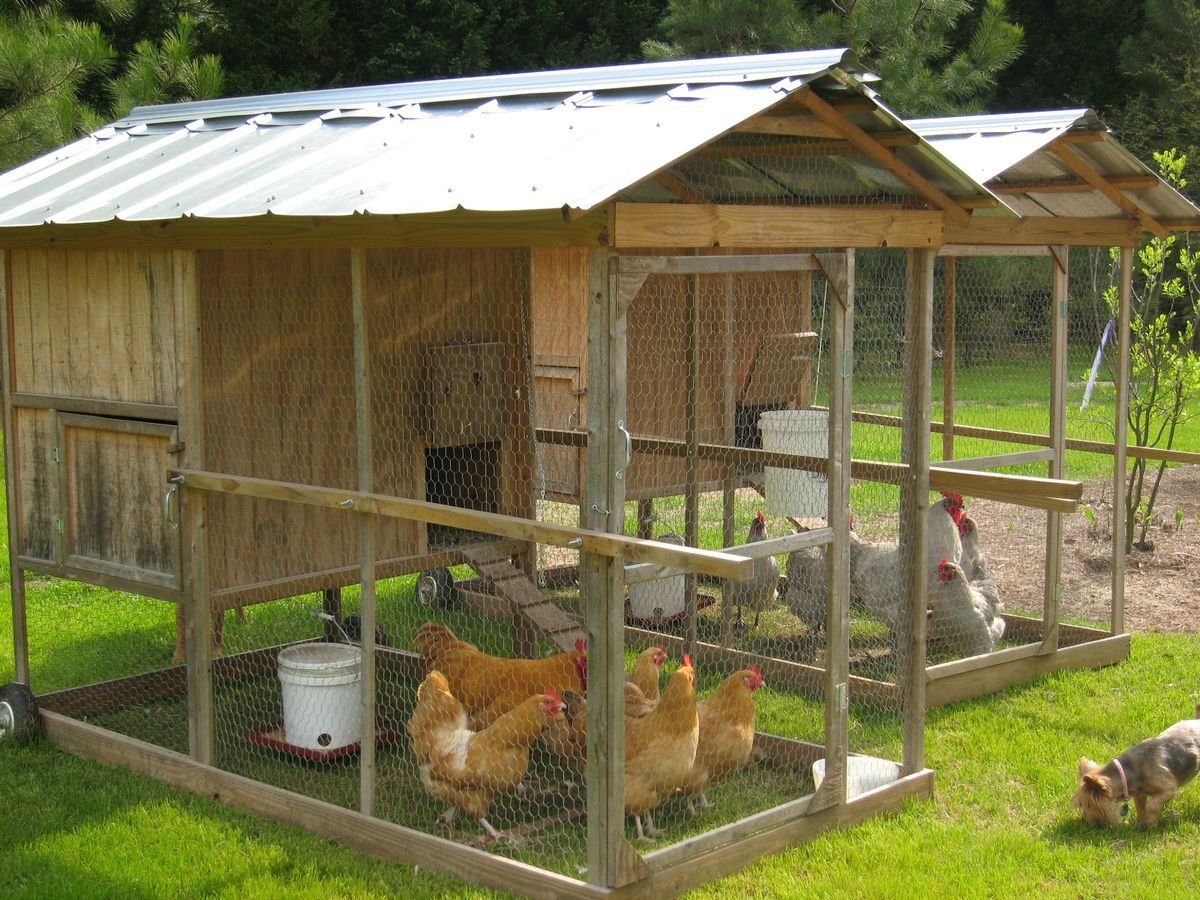
I lost three chickens in one night during my third month. A raccoon got through a gap in the coop I had completely overlooked. I had used basic chicken wire, which — and I can’t believe I didn’t know this — is not actually designed to keep predators out. It’s designed to keep chickens in.
Raccoons can reach through chicken wire. Weasels can squeeze through gaps you’d never imagine possible. Foxes are patient and determined. Even neighborhood dogs, given the chance, will do serious damage.
After that awful morning, I rebuilt the coop properly. Here’s what actually works:
- Hardware cloth (½ inch) instead of chicken wire — predators can’t tear or reach through it
- Apron fencing buried 12 inches around the perimeter — stops diggers like foxes and dogs
- Automatic coop door (I use a solar-powered one from Amazon, around $50–80) — closes at dusk even if you forget
- Latches with carabiners — raccoons can open basic latches. I learned this the hard way
If you want to dive deeper into setting up a safe, efficient coop, these coop ideas that save space gave me some genuinely practical layout strategies that also improved security.
Predator-proofing isn’t a one-time task either. Walk your setup every few weeks. Look for gaps, soft ground near fences, or anything that looks like it’s been tested by something from outside.
3. Water Management Will Make or Break Your Daily Routine
Nobody talks about water enough when they discuss backyard livestock. It sounds simple — animals need water, you give them water. Done.
Except in summer, water containers grow algae in 48 hours. In winter (even mild ones), water freezes overnight. Chickens will knock over their waterers. Goats will put their feet in the trough. Rabbits will somehow clog every nipple waterer you install within two weeks.
Here’s what my water setup looks like now, after a full year of adjustments:
For Chickens:
- Horizontal nipple waterers attached to a 5-gallon bucket — cleaner, harder to contaminate
- A heated base ($20–30) under the bucket in cold months
For Rabbits:
- Stainless steel sipper bottles — easier to clean than plastic
- Daily checks, every single morning
For Goats:
- Large rubber tub that’s easy to dump and scrub
- Elevated slightly to reduce dirt contamination
One thing that genuinely saved me time: I started checking water first thing every morning before anything else. Before feeding, before collecting eggs. Just water. It became a habit that prevented a lot of suffering (for the animals) and a lot of guilt (for me).
There’s also a bigger picture here around resource management — these water-saving tricks are worth reading if you’re trying to build sustainable systems from the start.
4. Feed Costs Will Surprise You — Budget For Real Numbers
I budgeted $40 a month for feed. My actual first-month feed bill was $112.
The math looks simple until you add it all up. Layer pellets, scratch grains, rabbit pellets, hay for the goats, occasional treats, oyster shell for the hens, mineral blocks — it adds up fast.
Here’s a rough monthly cost breakdown from my first year (this will vary by region and animal count):
| Animal | Feed Type | Approx. Monthly Cost (4–6 animals) |
|---|---|---|
| Chickens (6) | Layer pellets + scratch | $20–35 |
| Rabbits (4) | Pellets + hay + greens | $25–40 |
| Goats (2) | Hay + grain + minerals | $50–80 |
| Total | $95–155/month |
Things that helped me reduce feed costs significantly:
- Growing fodder at home — sunflower sprouts, wheat grass, and kitchen scraps make excellent chicken supplements
- Buying in bulk — a 50lb bag from a local co-op is almost always cheaper per pound than a pet store
- Fermenting chicken feed — soaking feed for 24–48 hours increases nutrient absorption, so they eat less
For more money-saving strategies that actually work, these feeding tips saved me real cash and helped me build a more efficient routine overall.
5. Animals Get Sick — Know the Signs Before You Need To
This one was emotionally the hardest lesson.
About five months in, one of my rabbits stopped eating. She was sitting hunched in the corner of her hutch, not drinking, not moving much. I had no idea what to look for. I waited a day, thinking maybe she was just tired. By the time I called a vet, she had GI stasis — a condition in rabbits where the digestive system slows or stops. It can become fatal quickly.
She pulled through, thankfully. But that experience pushed me to actually study basic animal health before I needed it.
Signs of illness to watch for — across most backyard livestock:
- Not eating or drinking (any animal — this is always a red flag)
- Unusual droppings (color, consistency, frequency)
- Lethargy or isolating from the group
- Labored breathing or wheezing
- Discharge from eyes or nose
- Sudden weight loss
- Feathers fluffed up (in chickens) — often means they’re unwell
Keep a basic farm first-aid kit with the following:
- Vetericyn wound spray
- Electrolyte powder (Sav-A-Chick for chickens works well)
- Nutridrench for goats and rabbits
- Tweezers, gauze, vet wrap
- A thermometer
Also build a relationship with a local vet before something goes wrong. Find out who in your area sees chickens and small livestock — not every vet does.

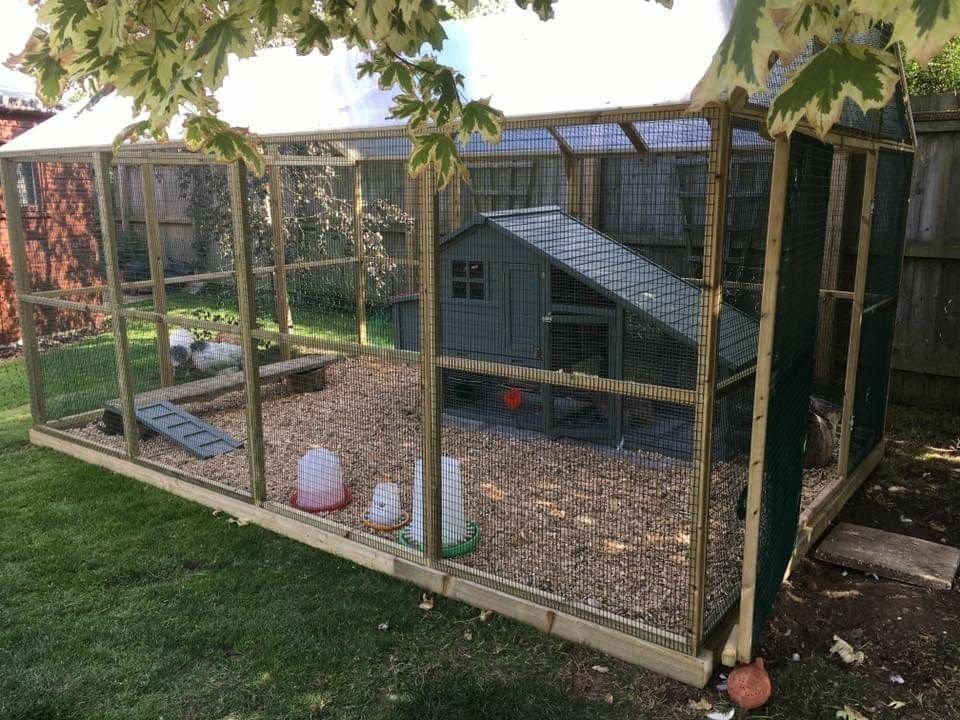
6. Your Setup Will Need Rethinking After Month One
The layout I designed in my kitchen on graph paper looked perfect. The reality was a disaster of inefficient pathways, a water source that was too far from the coop, and a feed storage area that was somehow always in direct afternoon sun.
The feed went stale faster because of the heat. I was walking extra steps every single morning. The goat area was near the property line, which meant noise complaints from the neighbor on that side.
Small inefficiencies in a farm layout multiply. You do the chores every single day — that extra 30 feet to the water source means 10,000+ extra steps per year. That poor drainage in the corner of the chicken run means wet bedding every time it rains, which means respiratory issues and more frequent cleaning.
After rethinking the layout in month three, I moved things around:
- Water source directly adjacent to the coop and run
- Feed storage inside a shaded, ventilated box near the point of use
- Paths covered with pea gravel — easier to clean, dries fast
- Goats moved to the far back corner, away from property lines
If you’re still in the planning phase, don’t skip these smart layout ideas for small yards. They cover spacing, traffic flow, and zoning in ways that would have saved me weeks of headaches.
7. The Emotional Side Is Real — Give Yourself Grace
This one doesn’t show up in most how-to guides, but it should.
Backyard livestock farming is emotionally demanding in ways city life doesn’t prepare you for. Animals die. Sometimes from illness, sometimes from predators, sometimes from causes you never figure out. You make decisions that feel wrong either way. You lose sleep during a cold snap worrying about your flock. You grieve animals that you raised from chicks or kits.
I cried after losing those three chickens to the raccoon. Not because they were pets exactly — though they kind of were — but because I felt responsible. I had failed to protect them.
What helped me:
- Keeping a farm journal — I used a simple spiral notebook to track what I observed each day. Deaths, illness, behavior changes, weather. It helped me spot patterns and process emotions at the same time.
- Connecting with a community — I joined a local backyard farming Facebook group and a Reddit community (r/BackYardChickens is fantastic). Hearing that other people had made the same mistakes helped more than I expected.
- Celebrating small wins — first egg, first successful molt, first litter of healthy rabbits. These matter. Write them down.
One thing that also shifted my mindset was accepting that failure is part of farming. Every mistake I made — and there were many — is documented in detail in these livestock mistakes I learned the hard way. Reading other people’s hard experiences before they happen to you is genuinely worth your time.
What Year Two Looks Like
The second year is a different experience entirely. You know your animals. You’ve fixed the layout. You have a routine that works. You stop second-guessing every sneeze and poop.
Year one builds the foundation — the hard way, usually. But everything you struggle through gets deposited directly into your skill bank.
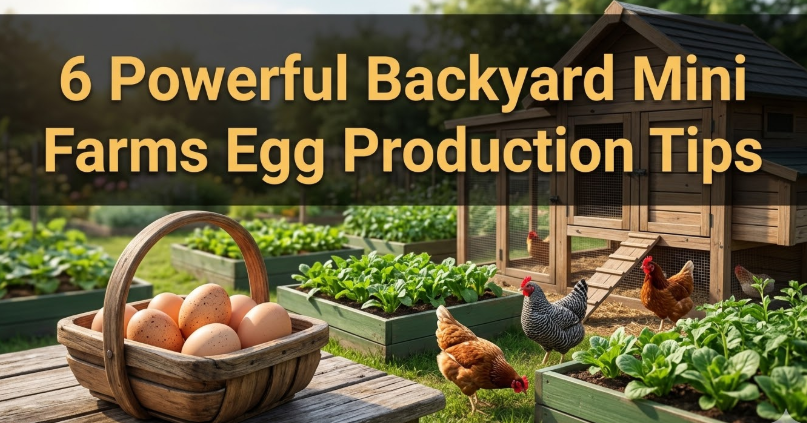
My backyard now produces around 3 to 4 dozen eggs per week from 6 hens, enough rabbit meat and compost for personal use, and the goats provide milk that I’ve started turning into simple soft cheese. None of that happened in month one. Most of it didn’t happen until month eight or nine.
If you’re in the thick of your first year right now, feeling overwhelmed — stick with it. The chaos is temporary. The competence is permanent.
If you’re thinking about expanding your backyard farm beyond livestock, don’t miss: 9 Backyard Mini Farms Wins From My First Growing Season — it covers what actually worked, what flopped, and how combining plants and animals changed my whole approach to small-scale food production.