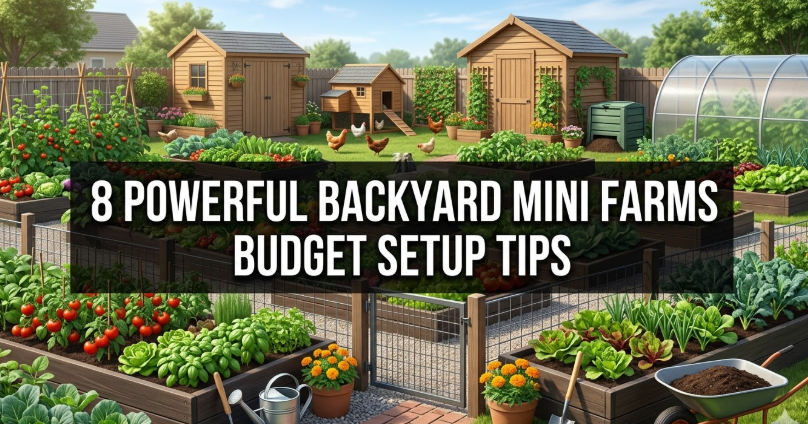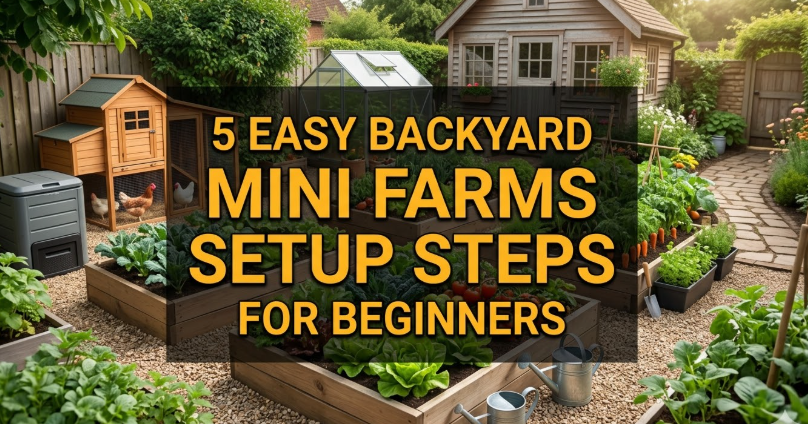
Meta Description: 5 Easy Backyard Mini Farms Setup Steps for Beginners will show you exactly how to grow fresh food at home — even on a small budget, with zero farming experience needed.
5 Steps to Setting Up Backyard Mini Farms for Beginners
So growing your own food sounds like a dream.
But for most of us, it remains what it is — a dream. Most people assume it requires an acre of land, years of experience or a large budget. None of that is true.
A backyard mini farm is one of the smartest things to start as a beginner. You don’t need a huge yard. You don’t need fancy tools. You only need a plan and the right steps to take!
Here are the 5 simple backyard mini farms setup steps for beginners, explained in a friendly, uncluttered and make-it-happen way. This is for you, whether you have a sprawling backyard, a small patio or even just a sunny stretch of lawn.
Let’s dig in.
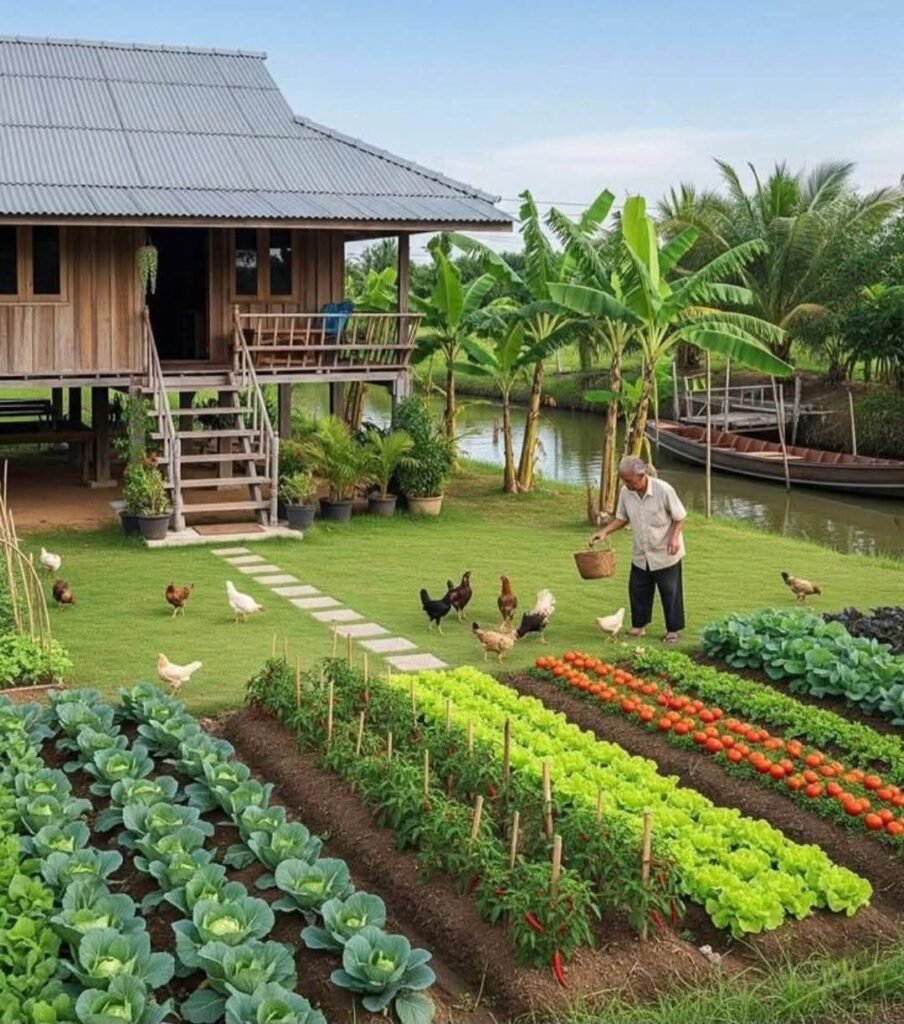
How I Built My Own Backyard Mini Farm
Before we get into the steps, let’s discuss why so many people are so eager to set up backyard mini farms in the first place.
Food prices keep going up. Store-bought produce may have traveled hundreds of miles before it ends up on your plate. What that translates into is less freshness, possibly more chemicals and a larger carbon footprint.
With a mini farm, that all changes.
You grow what you eat. You eat what you grow. It is fresh, inexpensive over the long term, and extremely satisfying.
Here are a few additional reasons why people enjoy backyard mini farming:
- Long-term, it saves money on groceries
- It provides a hands-on way for kids to connect with the natural world
- It reduces food waste
- It enhances mental health — gardening relieves stress
- It produces healthier food without mystery ingredients
Studies show, in fact, that people who grow their own vegetables eat more of them. That’s a win for your wallet and your health.
Here are the 5 simple backyard mini farms setup steps that will help you get started the right way.
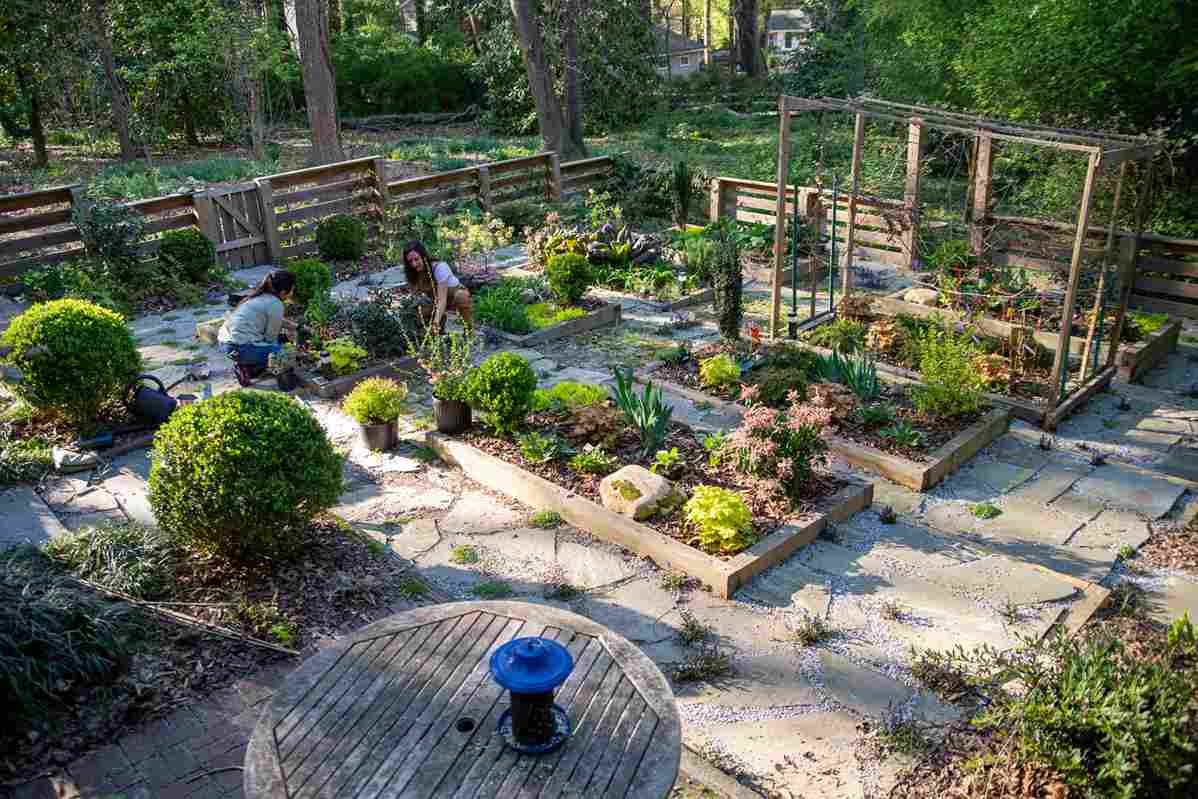
Step 1 — Determine How Much Space You Really Have
Your first step is to really survey your outdoor space.
This step involves getting real with yourself. You don’t need a flawless yard. You simply need to understand what you have to work with.
How Much Space Do You Need?
Here’s the good news: even 100 square feet can yield a meaningful amount of food. Many mini farmers just getting their start have as little as a 4×8 foot raised bed — that’s only 32 square feet.
The secret is using what you have, not wishing for what you don’t.
Walk your yard at various times of day. Notice where the sun hits. Pay attention to where water collects after a rain. Make note of where the shady areas are and where it stays bright.
Sun Is Everything
Most vegetables require 6 to 8 hours of direct sunlight per day.
If your space receives less than this, don’t panic. Leafy greens such as lettuce, spinach and kale will tolerate partial shade. Root vegetables like carrots and beets also do fine with less sun.
But if you want tomatoes, peppers, cucumbers or squash — those require full sun. Decide accordingly what your space needs.
A Quick Space Assessment Table
| Space Available | Best Use |
|---|---|
| Under 50 sq ft | Container gardening, herb pots |
| 50–200 sq ft | 1–2 raised beds, small veggie patch |
| 200–500 sq ft | Multiple raised beds, small orchard |
| 500+ sq ft | Full mini farm with livestock options |
Even those who live in an apartment can grow herbs, tomatoes and peppers in pots on a balcony. Don’t let limited space stop you.
Before Anything, Test Your Soil
If you’re going to plant directly into the ground, test your soil. For just a few dollars, you can purchase a simple soil test kit at any garden center.
You want soil that drains well, has good organic matter and sits somewhere in the pH range of 6.0 to 7.0 for most vegetables.
If your soil is poor, don’t worry — we’ll deal with that in Step 3.
Step 2 — Decide What You Want to Grow
Once you’ve mapped your space, the next step is to plan what goes inside.
Here is where many beginners make their first major mistake. They get really excited and try to grow everything at once. That results in a jumbled garden with very little yield.
Start small. Start smart.
Grow What You Actually Eat
This sounds obvious, but many novice gardeners plant things they read are easy to grow — without considering whether they’ll actually eat them.
Zucchini is famously simple to cultivate. But if your family despises zucchini, what’s the use?
Make a list of the vegetables and herbs your household consumes most. Then compare that with what thrives in your climate. Start with three to five crops at most.
Best Beginner Crops for Your Backyard Mini Farm
Here are the most forgiving plants for beginners:
| Crop | Grows In | Time to Harvest | Difficulty |
|---|---|---|---|
| Lettuce | Containers, beds | 30–45 days | Very Easy |
| Radishes | Containers, beds | 25–30 days | Very Easy |
| Green Beans | Beds, ground | 50–60 days | Easy |
| Tomatoes | Beds, containers | 60–80 days | Easy–Medium |
| Zucchini | Beds, ground | 45–55 days | Easy |
| Herbs (basil, mint) | Containers | Ongoing | Very Easy |
| Kale | Beds, containers | 50–70 days | Easy |
Radishes are an ideal choice for new gardeners since they mature so quickly. In just a few weeks, you’ll feel a real sense of achievement.
Think About Seasons
Different plants grow in different seasons. Cool-season crops such as lettuce, spinach, broccoli and peas thrive in spring and fall. Tomatoes, cucumbers and peppers are warm-season crops that require summer heat.
Time your crops according to your local planting calendar. Many cooperative extensions (university agricultural programs) offer free planting guides by region. Search “vegetable planting calendar + your city” and one will pop up.
Step 3 — Build Your Garden Beds and Prepare Your Soil
This is the most hands-on step. It’s also one of the most significant.
Good soil is the foundation of a successful backyard mini farm. Poor soil will sabotage your results every time, even if you do everything else right.
Raised Beds vs. In-Ground Planting
You have two main options: raised beds or planting directly in the ground.
Raised beds are highly recommended, especially for beginners. Here’s why:
You control the soil completely. You fill it yourself with premium quality mix. There are fewer weeds. Drainage is better. And the soil warms up faster in spring, leading to earlier planting.
In-ground planting is also fine, especially if your native soil is already decent. However, most new gardeners will find raised beds much easier to work with.
How to Build a Simple Raised Bed
You don’t need carpentry skills for this. A simple raised bed is just four boards screwed together to form a rectangle.
For a standard 4×8 foot bed, you’ll need:
- Two 8-foot boards (2 inches thick, 10–12 inches wide)
- Two 4-foot boards (same size)
- Four corner brackets or screws
- Cardboard (to place on the ground underneath)
First, spread the cardboard on the ground. This smothers weeds without chemicals. Then place your frame on top, fill it with soil and you’re ready to plant.
The best wood options are untreated cedar or pine. Stay clear of pressure-treated lumber — it can leach chemicals into your soil.
The Perfect Soil Mix for Beginners
Many experienced mini farmers use a time-honored blend known as “Mel’s Mix,” named after gardening author Mel Bartholomew. It’s:
- 1/3 blended compost
- 1/3 peat moss or coconut coir
- 1/3 coarse vermiculite
This mix drains well, retains moisture and gives roots precisely what they need to thrive.
If you’d prefer to buy pre-made soil, look for bags labeled “raised bed mix” or “garden blend.” Steer clear of standard potting soil — it’s made for containers and dries out too quickly in a bed.
Don’t Skip Compost
Compost is, essentially, food for your soil. It adds organic matter, feeds beneficial microbes and delivers nutrients slowly to your plants throughout the entire season.
You can buy compost in bags, or better yet, start a simple compost pile yourself. Kitchen scraps such as vegetable peels, coffee grounds and eggshells all compost beautifully. So do grass clippings and dried leaves.
Usable compost from a backyard pile is ready in three to six months. But it’s free, and better than anything you can buy.
If you’re looking for more in-depth guides, planting schedules and beginner resources, Backyard Mini Farms is a great place to bookmark and explore as you grow.
Step 4 — Plant Properly and Water to Win
Now for the fun part — putting plants in the ground.
But wait. There is a right way and a wrong way to do this.
Seeds vs. Transplants — What Should You Use?
Some crops grow best when planted directly from seed. Others fare better when you start them indoors and transplant the seedlings outside.
Here’s a simple breakdown:
Direct sow outdoors: Beans, peas, carrots, radishes, beets, squash
Start indoors, transplant later: Tomatoes, peppers, eggplant, and broccoli
Buy as transplants from a nursery: Tomatoes and peppers if you don’t want the hassle of starting seeds indoors
If you’re an absolute novice, purchasing transplants from your local nursery is the simplest entry point. It’s a bit more expensive than seeds, yes. But it eliminates much of the guesswork.
Spacing Is More Important Than You Think
Planting too close together is one of the most common beginner mistakes.
Plants need room for their roots to spread. They need airflow between leaves. Without that, you end up with poor harvests and disease problems.
Always follow the spacing guidelines on seed packets or plant tags. A good general rule: if the tag says “12 inches apart,” don’t talk yourself into 8 inches because it looks too sparse. Give them the space they need.
Square foot gardening is a method that makes spacing simple. Each plant gets a specific number of “squares” in your raised bed. One tomato plant per square foot. Sixteen radishes per square foot. Nine spinach plants per square foot. Look up a square foot gardening chart — it takes all the guesswork out of spacing.
Watering — The Golden Rule
Water deeply and less often.
That’s the number one watering tip for any beginner. Most new gardeners water a little bit every day. That trains plant roots to stay shallow. Shallow roots mean weak plants that stress out during dry spells.
Instead, water deeply two or three times a week. Let the water soak down 6 to 8 inches into the soil. This trains roots to grow deep, where they find moisture and nutrients.
Water at the base of plants, not over the tops. Wet leaves are an invitation for fungal disease.
The best time to water is early morning. The leaves dry out quickly in the morning sun, reducing disease risk. Evening watering is okay too, but not ideal.
A simple drip irrigation system on a timer is a game-changer for busy beginners. You can set one up for less than $50 and never worry about forgetting to water again.
Step 5 — The Long Game: Maintenance, Pest Control and Harvesting
Setting up your backyard mini farm is the exciting part. Keeping it going is where real mini farmers are made.
The good news: once your system is in place, maintenance doesn’t take long. Maybe 20 to 30 minutes a few times a week.
Simple Maintenance Tasks That Make a Big Difference
Here are the most important tasks to stay on top of:
Weeding: Pull weeds when they’re small. Large weeds steal water and nutrients from your crops. A thick layer of mulch — straw, wood chips or shredded leaves — around your plants keeps weeds down dramatically.
Fertilizing: Even the best soil needs a boost mid-season. Use a balanced organic fertilizer every three to four weeks. Liquid fish emulsion or compost tea work very well.
Checking for problems: Spend a few minutes every couple of days just looking at your plants. Yellowing leaves? Holes in foliage? Spots or wilting? Catching problems early makes them far simpler to solve.
Dealing With Pests the Smart Way
Pests are part of gardening. Expect them. Plan for them.
But you don’t need harsh chemicals to manage most common pests. Here are beginner-friendly solutions:
| Pest | Organic Solution |
|---|---|
| Aphids | Spray with water; introduce ladybugs |
| Caterpillars/worms | Bt spray (natural bacteria, safe for humans) |
| Slugs | Beer traps; copper tape around beds |
| Squash bugs | Hand-pick eggs; neem oil spray |
| Whiteflies | Yellow sticky traps; neem oil |
Companion planting also helps. Basil planted near tomatoes repels aphids. Marigolds near any bed repel a wide variety of insects. Nasturtiums serve as a “trap crop” that draws aphids away from your vegetables.
When and How to Harvest
Harvest regularly. That’s the key.
Most vegetables produce more when you pick them often. Zucchini left on the vine grows enormous and signals the plant to slow production. Beans left too long get tough and stringy. Lettuce picked regularly just keeps pushing out new leaves.
Check your garden every couple of days once things start producing.
A good general rule: if it looks ready, it probably is. Tomatoes should be fully colored and slightly soft to the touch. Beans should snap cleanly. Zucchini is best at 6 to 8 inches long. Lettuce leaves can be harvested as soon as they’re large enough to eat.
According to the University of California Cooperative Extension, regular harvesting of vegetables like zucchini and beans is one of the simplest ways to dramatically increase total yield from a small garden — making it an essential habit for any beginner mini farmer.
Bonus Tips to Make Your Backyard Mini Farm Even Better
These aren’t required steps, but they’ll take your mini farm from good to great.
Keep a Simple Garden Journal
Note what you plant, when you plant it and how well it does. Note which varieties perform well. Pay attention to the weather. Take note of any pest problems and what you did to address them.
In only one season, you’ll have a goldmine of personal data. That makes your second season all the better.
A cheap paper notebook works perfectly. Some people prefer a simple spreadsheet. Either works.
Try Vertical Growing
If you don’t have much horizontal space, grow up rather than out.
Cucumbers, pole beans and peas can be trained to grow on trellises — and even some tomatoes. A simple trellis against a fence or wall converts unused vertical space into a productive growing area.
Vertical growing also improves airflow, which reduces disease. And it makes harvesting easier because everything is right in front of you.
Consider Mulching Everything
A 2–3 inch layer of organic mulch over all your bare soil does three things at once:
- Retains moisture in the soil so you water less
- Suppresses weeds
- Breaks down over time and adds organic matter
Straw is the traditional mulch used on mini farms. Wood chips and shredded leaves also work great. Avoid dyed or treated mulch.
Eight Common Mistakes Beginners Make on Their Mini Farm
Even with the best guide, it’s easy to trip up at first. Here are the errors to watch out for:
Overwatering: Too much water kills more plants than too little. Stick your finger 2 inches into the soil. If it feels moist, wait before watering again.
Planting too much at once: Start with just a crop or two. Expand gradually. A small, well-managed garden beats a large, chaotic one every time.
Skipping soil prep: Planting in unprepared soil is the number one reason beginner gardens fail. Never skip Step 3.
Planting at the wrong time: Every crop has a planting window. If you plant tomatoes too early in cold soil, they’ll just sit there. If you plant cool-season crops in midsummer heat, they’ll bolt to seed immediately. Always check your local frost dates.
Not asking for help: Your local garden center is a treasure trove of region-specific advice. Don’t be shy. Ask questions.
FAQs About Backyard Mini Farms
How much does it cost to set up a backyard mini farm? A basic setup — one or two raised beds, good soil and starter plants — generally costs between $100 and $300. You can invest more in irrigation and tools, but you don’t have to. Many mini farmers recoup that cost in grocery savings within one or two seasons.
What is the weekly time commitment to run a mini farm? Most beginners spend 2 to 4 hours per week on their mini farm once it’s established. It may be slightly more during peak planting and harvest times. That’s far less time than most people expect.
Can I start a mini farm if I rent my home? Yes! Raised beds, containers and pots are all portable. Many renters create highly productive gardens with container-based systems. Always consult your landlord first, and look for lightweight, portable growing systems.
What is the simplest vegetable to grow for a complete beginner? Radishes are often described as the ultimate beginner crop — they can be ready in as little as 25 days and rarely go wrong. Lettuce, green beans and zucchini are also excellent starting points.
Do I need to water every day? No. Deep watering two to three times a week is better than light daily watering. If you set up a simple drip system on a timer, you won’t even have to think about it.
What if I don’t have a yard? Container gardening works surprisingly well on balconies, patios and even rooftops. Tomatoes, peppers, herbs and leafy greens all thrive in large containers. You can grow a surprising amount of food on a sunny balcony.
Is organic fertilizer better than synthetic? Organic fertilizer is generally recommended for a mini farm. It feeds the soil ecosystem, not just the plant. It also releases nutrients slowly and steadily, which reduces the risk of “burning” your plants with too much at once.
When is the best time to start a backyard mini farm? Spring is the most common starting point, but you can begin any time of year depending on your climate. In milder climates, winter plantings of greens and root vegetables are highly productive. The best time to start is really whenever you feel ready — there’s always something you can grow.
In Closing — Your Mini Farm Adventure Begins Today
Starting a mini farm in the backyard is one of the most rewarding beginner projects you can take on.
You now have the whole roadmap. Five clear, simple steps — from determining your space, to choosing your crops, to building your beds, to planting correctly, to maintaining and harvesting what you grow.
None of this requires you to be an expert. None of it needs a big budget or a large property. It merely takes a willingness to get your hands a little dirty and learn along the way.
These 5 simple backyard mini farms setup steps have helped thousands of beginner growers go from nothing to harvesting real food in a single season. You can do the same.
Start small. Pick one or two crops. Build one bed. Water it properly. And watch what grows.
Once you bite into your first homegrown tomato — still warm from the vine — you’ll know exactly why this is worth it.
Now go dig in.