Meta Description: Backyard mini farm tools can make or break your gardening journey. Discover the 10 must-have tools every beginner needs to grow food confidently at home.
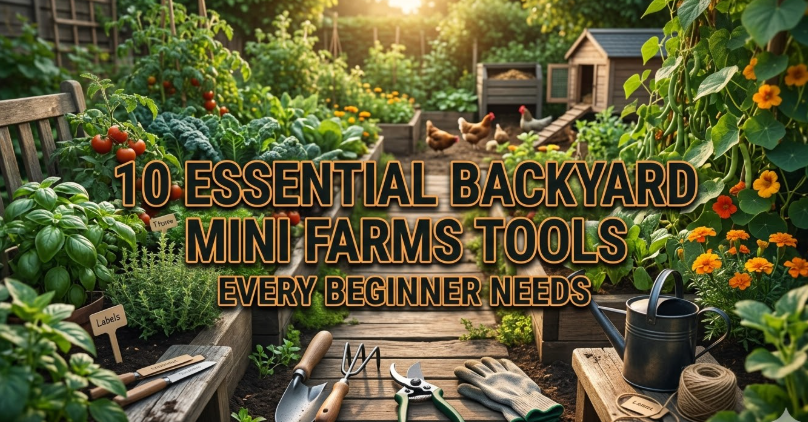
The Ultimate Guide to Backyard Mini Farm Tools
Learn About the 10 Essential Tools That Any Beginner Needs to Grow Food at Home With Confidence
Starting a backyard mini farm is one of the most rewarding things you can do. Fresh vegetables, herbs, and fruits — grown just steps from your kitchen door.
But the harsh truth is that without the right tools, even the most ambitious beginner can flounder. Digging with the wrong tool, watering with a leaky hose, or planting without distance tools wastes time and energy.
The good news? You don’t need a shed full of fancy equipment. You just need the right backyard mini farm tools — the ones that actually work.
In this guide, we will go through the 10 tools every beginner should know. By the end, you’ll understand precisely what to buy, what to look for, and why each tool is important.
The Right Tools Make All the Difference on a Mini Farm
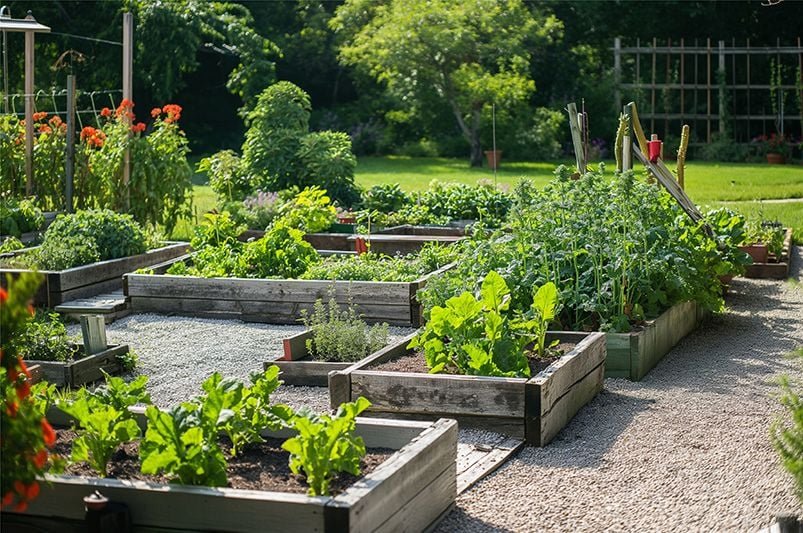
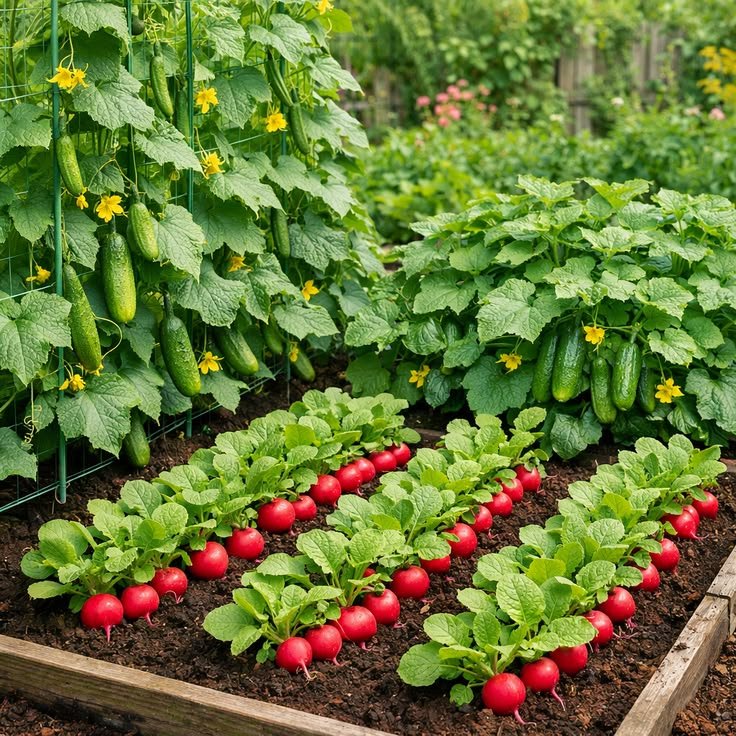
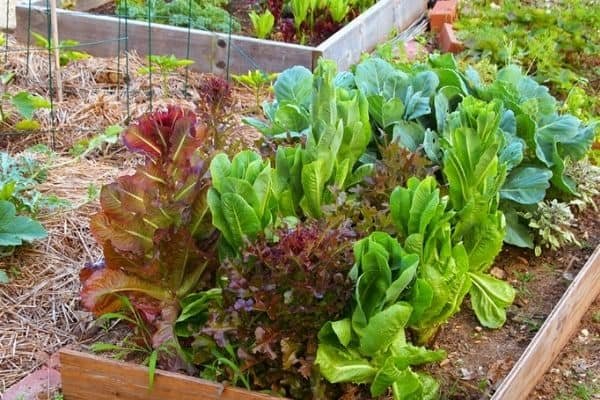
A backyard mini farm is not a typical garden. You have a small space, so you’re growing food — usually in raised beds or containers. Precision matters. Efficiency matters.
Good tools make tasks easier and faster. They also protect your plants. A bad transplanting tool will hurt roots. A low-quality watering can might saturate young seedlings.
Buying high-quality backyard mini farm tools from the start is a long-term investment. Cheap tools break faster. They also make the work more difficult, and that kills motivation.
Consider your tools to be your farming accomplices. Choose them wisely.
What Actually Makes a Tool “Mini Farm Ready”
Not every garden tool is great on a backyard mini farm. Here’s what to watch out for before you make a purchase:
Durability: Forged steel or solid aluminum tools last years longer than flimsy stamped metal ones.
Ergonomics: Comfortable handles minimize hand fatigue. This is important when you are planting dozens of seedlings.
Size: Full-size farm tools are often too large for raised beds or small plots. Look for tools suited for tight spaces.
Ease of Cleaning: Dirt and soil cling to everything. Tools with smooth surfaces and open designs are faster to clean.
Now let’s dive into the real list.
10 Backyard Mini Farm Tools Every Beginner Needs
1. Hand Trowel — The Tool You Will Use the Most on the Farm
If you were to buy only one tool, a hand trowel would be it.
A hand trowel is a small, pointed scoop. You’ll be using it all the time — for digging planting holes, transplanting seedlings, mixing soil, and scooping compost.
Find one with a stainless steel blade and a cushioned rubber grip. Avoid plastic blades. They break under pressure, particularly in heavy or clay-heavy soil.
What to check before buying:
- For most tasks, a blade width of 3 to 4 inches is ideal
- A depth-measurement scale etched on the blade is a bonus
- Full-tang construction (the blade runs the entire length of the handle) ensures it won’t snap at the neck
A good hand trowel costs $12 to $25. It is the most versatile tool in your mini farm arsenal.
2. Garden Fork — Breaking Ground Without Breaking Your Back
A garden fork — also known as a hand fork or cultivator — has three or four short tines. It loosens compacted soil, breaks up clumps, and uproots weeds without disturbing neighboring plant roots.
For raised beds and container gardens, a hand-size fork is more useful than a full-size garden fork. It slides into tight spots and provides better control.
Use it to:
- Aerate soil between plants
- Mix in compost or fertilizer
- Pull out shallow-rooted weeds
- Loosen soil before transplanting
Pro tip: After watering or rainfall, wait a day before using your fork. Soil with just a hint of moisture crumbles much more easily than dry, hard ground.
3. Soil Blocker — Transplanting Made Effortless
This is a tool many beginners overlook at first — but wish they hadn’t.
A soil blocker forms small cubes of damp growing medium. You press seeds right into these cubes and start them indoors. Then, when it comes to transplanting, you place the whole block in the ground — no plastic pots, no root disturbance, no transplant shock.
This gives beginners on mini farms a huge advantage because it speeds up the growing cycle and ensures seedlings get ahead of the game.
Soil blockers are usually available in sizes that make 3/4-inch, 2-inch, or 4-inch blocks. For most beginners, the 2-inch blocker is the perfect size to start herbs, tomatoes, peppers, and leafy greens.
4. Watering Can With a Rose Head — Gentle Watering, Healthy Seedlings
Young plants are fragile. A blast from a hose can knock seedlings over, wash away seeds, or compact the soil surface.
A watering can with a rose head — the sprinkler attachment at the tip — distributes water in a fine, soft shower. This mimics rainfall and protects tender plants.
Look for a can with:
- A capacity of 1 to 2 gallons (enough for one round without being too heavy)
- A long spout for reaching into raised beds
- A detachable rose head for easy cleaning
Galvanized steel cans look great and last longer than plastic ones. But a solid plastic can with thick walls also works well if you are on a budget.
5. Garden Hoe — Your Weed Control Machine
Weeds compete with your crops for nutrients, water, and light. On a mini farm where space is limited, weeds can seriously damage your yield.
A garden hoe keeps them at bay. The blade slides just beneath the soil surface, slicing weed roots without deep digging.
For small backyard plots, a stirrup hoe — also known as a hula hoe or action hoe — is your best friend. Its loop-shaped blade cuts on both the push and pull stroke. This makes weeding much faster.
Comparison of common hoe types:
| Hoe Type | Best For | Blade Style |
|---|---|---|
| Stirrup / Hula Hoe | Small beds, tight rows | Loop shape, cuts both ways |
| Draw Hoe | Mounding soil, large areas | Flat paddle blade |
| Collinear Hoe | Precise weeding in rows | Thin, angled blade |
| Warren Hoe | Digging planting furrows | Pointed, triangular blade |
The stirrup hoe handles most situations on a backyard mini farm. If your beds are very narrow, the collinear hoe is worth considering.
6. Soil Thermometer — Always Know Exactly When to Plant
Most beginners rely on the calendar to know when to plant. More experienced mini farmers use a soil thermometer instead.
Seeds germinate based on soil temperature, not air temperature. Planting too early — when the soil is still cold — means seeds rot or take forever to sprout. A soil thermometer takes all the guesswork out of it.
Ideal soil temperatures for common crops:
| Crop | Minimum Soil Temp | Ideal Soil Temp |
|---|---|---|
| Tomatoes | 60°F (15°C) | 70–80°F (21–27°C) |
| Lettuce | 35°F (2°C) | 60–65°F (15–18°C) |
| Carrots | 45°F (7°C) | 65–75°F (18–24°C) |
| Beans | 60°F (15°C) | 70–85°F (21–29°C) |
| Cucumbers | 65°F (18°C) | 75–85°F (24–29°C) |
A basic analog soil thermometer costs under $15. A digital one with a probe costs a bit more but reads faster and more accurately.
Push the probe 2 to 3 inches deep for seed planting readings. Go 4 to 6 inches deep for transplant readings.
7. Garden Scissors or Harvest Snips — Cleaner Cuts, Healthier Plants
You may be wondering why scissors made this list. Here’s why: tearing or pulling herbs, lettuce leaves, or fruiting branches damages the plant. Clean cuts heal faster and encourage new growth.
Garden scissors — also called harvest snips or herb scissors — are compact, sharp, and spring-loaded. They stay open between cuts, so your hand doesn’t fatigue when harvesting large amounts.
Use them for:
- Harvesting lettuce, spinach, and leafy herbs
- Cutting back overgrown herb plants
- Deadheading flowers that attract pollinators
- Snipping twine or row cover material
Keep a pair near your mini farm for daily harvests. Clean and dry them after every use to prevent rust and stop disease from spreading between plants.
8. Row Cover and Support Hoops — Your Mini Farm’s First Line of Defense
A row cover is a lightweight, breathable fabric that drapes over your crops. Support hoops hold it above the plants.
Together, they protect against:
- Late frosts in spring and early fall
- Flying insects like cabbage moths and aphids
- Strong wind and heavy rain
- Excessive heat during summer
Row covers come in different weights. Lightweight covers (0.5 oz) let in light and air while blocking insects. Heavier covers (1.5 to 2.0 oz) provide stronger frost protection.
For a beginner’s mini farm, a mid-weight cover gives you the best of both worlds — insect protection and mild frost defense.
Wire or plastic hoops bend into arches over your beds. They are inexpensive and reusable for many seasons.
Row cover weight guide:
| Cover Weight | Light Frost Protection | Insect Barrier | Heat Retention |
|---|---|---|---|
| 0.5 oz (lightweight) | Minimal | Yes | Low |
| 1.0 oz (standard) | Mild | Yes | Moderate |
| 1.5–2.0 oz (heavy) | Strong | Partial | High |
9. Broadfork — Deep Soil Health Without a Rototiller
A broadfork looks like an oversized pitchfork with two long handles. You step on the crossbar, push the tines into the ground, and rock the handles back and forth. This loosens deep soil without flipping it upside down.
Why does this matter? Your soil has layers. Beneficial microbes and fungi live at distinct depths. Rototillers chop and scramble everything. Broadforking keeps those layers intact, which leads to healthier soil and stronger plant growth over time.
It is especially useful in established raised beds at the start of each growing season. One pass over a 4×8 bed takes about 5 to 10 minutes.
This tool is something of an investment — good broadforks run from $60 to $120 — but it replaces the need for a rototiller on a small mini farm and lasts a lifetime with basic care.
10. Plant Labels and a Waterproof Marker — Because Memory Is Not a Tool
This one sounds simple, but experienced mini farmers will tell you: unlabeled seedlings create serious problems.
When you’re growing 8 to 12 different varieties in a small space, it’s nearly impossible to remember exactly what’s where. Particularly when seedlings look identical in the early stages.
Wooden plant labels or plastic stakes with a waterproof UV-resistant marker solve this. Write the crop name, variety, and planting date on each label. Stick it right next to the plant.
This becomes especially vital when you are:
- Saving seeds from specific varieties
- Tracking which crops performed best
- Doing succession planting in the same bed
A pack of 100 wooden labels costs about $5. A quality waterproof marker costs $3 to $7. This is the most affordable tool on the list — and one of the most useful.
Building Your Mini Farm Tool Kit: What to Buy First
You don’t need to buy everything at once. Here’s a simple, budget-friendly order to build your toolkit over time.
If you’re just getting started and want to explore more tips, guides, and product recommendations built specifically for small-scale growers, visit Backyard Mini Farms — a dedicated resource for beginner and intermediate mini farmers.
Stage 1 — Getting Started (under $60 total):
- Hand trowel
- Garden fork
- Watering can with rose head
- Plant labels and waterproof marker
- Soil thermometer
Stage 2 — Growing Stronger (add $50–$80):
- Stirrup hoe
- Garden scissors
- Row cover and hoops
Stage 3 — Leveling Up (add $80–$130):
- Soil blocker
- Broadfork
This staged approach lets you start growing immediately while adding tools as your confidence and space expand.
How to Care for Your Backyard Mini Farm Tools
Good tools last decades if you take care of them. Here are a few habits to build from day one.
Clean after every use. Knock off dirt with a stiff brush or rinse with a hose. Dry metal parts before storing to prevent rust.
Oil the metal. Once a month, wipe metal blades with a thin coat of linseed oil or WD-40. This prevents rust and keeps blades sharper for longer.
Sand wooden handles. If your handles get rough, a quick sand with fine-grit sandpaper smooths them out. Then rub with linseed oil to prevent cracking.
Sharpen blades once a season. A file or whetstone on your trowel, hoe, and fork keeps them cutting cleanly. Dull tools tear through plant roots instead of cutting them, which invites disease.
Store off the ground. Hang tools on a wall rack or store them upright in a bucket filled with sand mixed with oil. This keeps blades clean and handles dry.
Common Beginner Mistakes When Choosing Mini Farm Tools
Knowing what to avoid saves you money and frustration.
Buying the cheapest option available. Budget tools bend, snap, or rust quickly. Mid-range tools from reputable brands last much longer and feel better to use.
Getting full-size tools for small beds. A full-size shovel is awkward in a 4×4 raised bed. Scale your tools to fit your space.
Ignoring ergonomics. Blistered hands and a sore back are not part of the mini farm experience you want. Test grip comfort before buying.
Buying everything at once. You’ll buy tools you don’t end up needing. Start with the basics and add tools as specific needs come up.
Skipping protective gear. Gloves are not glamorous, but they protect your hands. A good pair of nitrile-coated garden gloves should be in every beginner’s kit. According to the University of California Agriculture and Natural Resources, wearing proper gloves and protective gear significantly reduces the risk of soil-borne infections and hand injuries during regular gardening tasks.
FAQs: Backyard Mini Farm Tools for Beginners
Q: What is the most important tool for a backyard mini farm? A: The hand trowel is the most used and most versatile tool on any mini farm. If you’re only buying one tool, start there.
Q: How much should a beginner budget for mini farm tools? A: You can get started with solid, quality tools for around $50 to $70. A complete starter kit — covering planting, watering, weeding, and protection — typically costs between $100 and $150 when built gradually.
Q: Can I use regular garden tools on a mini farm? A: Some regular garden tools work fine, particularly on larger plots. But for raised beds and compact spaces, smaller hand tools give you much better control and cause less accidental damage to nearby plants.
Q: How do I know if a soil thermometer reading is accurate? A: Test it in ice water (should read 32°F / 0°C) and boiling water (should read 212°F / 100°C) before using it in the field. Most quality thermometers are accurate within a degree or two.
Q: Are soil blockers worth buying for a beginner? A: Yes — once you try soil blocking, it is very hard to go back to plastic pots. It reduces transplant shock, speeds up germination, and saves money on potting mix and containers over time.
Q: How often should I sharpen my garden tools? A: Once at the start of the growing season is a good minimum. If you are using tools daily through an active season, sharpen every 4 to 6 weeks for best performance.
Q: What is the best material for mini farm tool handles? A: Hardwood handles (ash or hickory) are traditional and comfortable. Fiberglass handles are lighter and weather-resistant. Both work well — it comes down to personal preference and what feels comfortable in your hand.
The Right Tools Are the First Step to Your Mini Farm
Growing food at home does not have to be complicated. But it does require the right foundation.
The 10 backyard mini farm tools covered in this guide give you everything you need to plant with confidence, protect your crops, stay on top of weeds, and harvest clean. They are practical, proven, and beginner-friendly.
Start with Stage 1 — the hand trowel, garden fork, watering can, soil thermometer, and plant labels. Get comfortable with those before adding anything else.
As your mini farm grows, your tool kit grows with it. That is how experienced growers build their setups — one intentional tool at a time.
Your first harvest is not as far off as you may think. You have the tools to get there now.