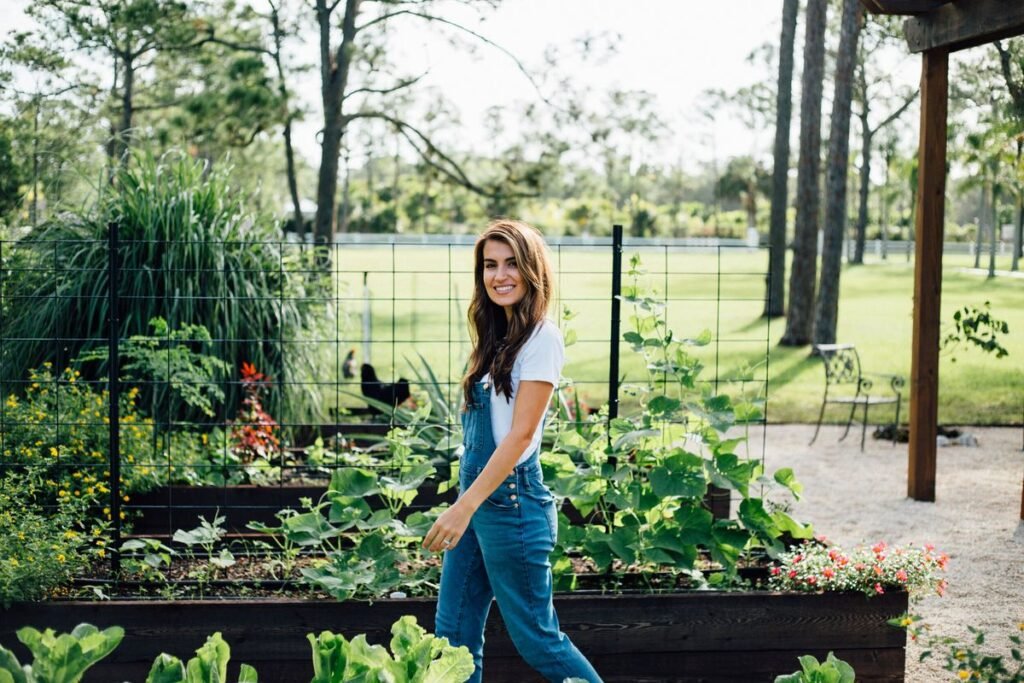
I still remember the first weekend I decided to “start a backyard farm.” I had big dreams — fresh tomatoes, herbs on the windowsill, maybe a few chickens strutting around. By Sunday evening, I had a sunburned neck, a broken trowel, and exactly zero plants in the ground.
Sound familiar?
Here’s what nobody tells you when you start: backyard farming doesn’t have to be complicated. The people who burn out fast are usually the ones who try to do everything at once. The ones who actually succeed — the ones harvesting salads in June and cucumbers in August — figured out a few smart tricks early on and stuck with them.
I’ve been growing food in my backyard for a few years now, and I’ve made every mistake imaginable. Overwatering. Planting in the wrong season. Buying seeds I had no idea how to grow. Spending money on tools I never used. But I’ve also learned what actually works when you’re busy, when your space is small, and when you’re doing this for the first time.
These 11 tricks are the ones I wish someone had handed me on day one.
1. Start Embarrassingly Small — Seriously
The biggest beginner mistake isn’t picking the wrong plant. It’s going too big, too fast.
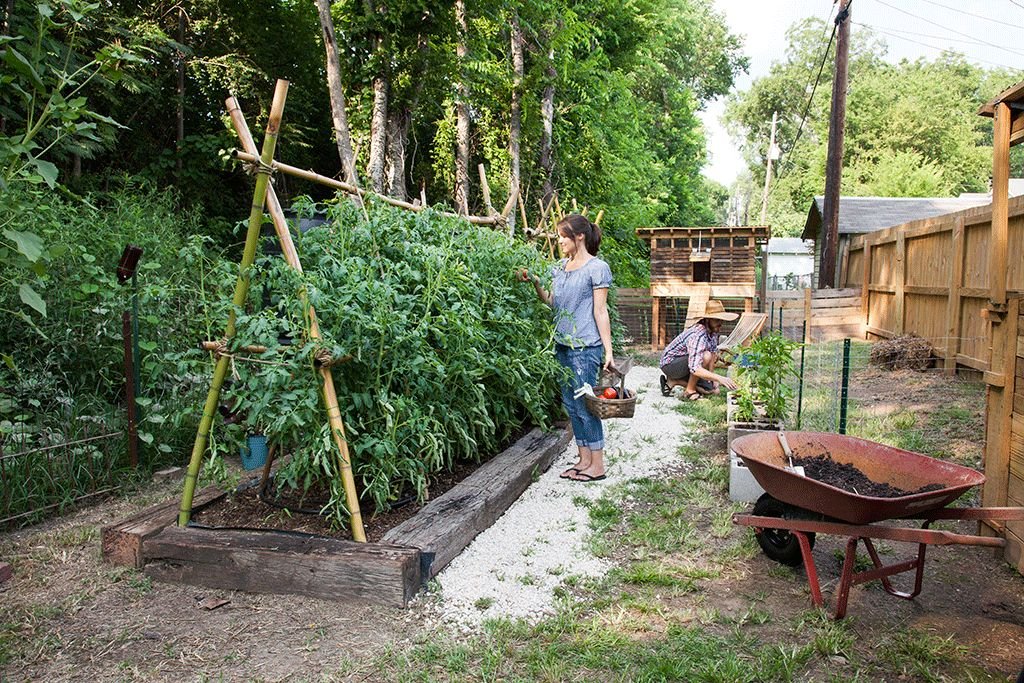
I started with twelve raised beds in my head and ended up with two chaotic rows that I couldn’t keep up with. Eventually I trimmed it down to one 4×8 raised bed. That single bed taught me more about soil, watering, and plant behavior than anything else.
Start with a container, a single raised bed, or even a few pots on your patio. Master that. Then expand.
A small setup that’s well-maintained will produce more food than a large setup that’s ignored. And when life gets busy — and it will — you won’t feel guilty about a smaller space.
Quick tip: A 4×4 raised bed is a perfect starting size. You can reach every corner without stepping inside it, and it’s manageable even on weeknights.
2. Pick Easy Wins First — Not Your Dream Vegetables
I know you want to grow watermelons. I wanted to grow corn. That’s fine — eventually. But as a beginner, your first goal is to build confidence, not to tackle the hardest crops on the planet.
Start with plants that are fast, forgiving, and productive:
| Easy Crop | Days to Harvest | Why It’s Great for Beginners |
|---|---|---|
| Radishes | 25–30 days | Fast results, hard to kill |
| Lettuce | 30–45 days | Great in containers, shade-tolerant |
| Zucchini | 50–60 days | Produces heavily, very forgiving |
| Cherry Tomatoes | 60–70 days | Easier than large tomatoes |
| Green Beans | 50–60 days | Low maintenance, high yield |
| Herbs (basil, mint) | 30–40 days | Use daily, grow fast |
If you check out 7 Easy Backyard Mini Farms Vegetables Anyone Can Grow, you’ll find a solid list of beginner vegetables that actually perform well in small spaces — which is exactly what you need when you’re just getting started.
3. Fix Your Soil Before You Plant Anything
This one is non-negotiable. And I learned it the hard way after my first season produced sad, yellowing plants despite regular watering.
Bad soil is the silent killer of beginner gardens.
You don’t need to do a fancy lab test. Just look at your soil. Is it dark and crumbly? Good. Is it pale, compacted, or almost clay-like? You’ve got work to do.
Basic soil fix for beginners:
- Buy a bag of compost (or make your own with kitchen scraps)
- Mix it into your existing soil at about a 30–40% ratio
- Add perlite if your soil drains poorly
- Get a cheap pH meter from Amazon (around $10–$15) — most vegetables like a pH of 6.0–7.0
- Let the soil settle for a few days before planting
I use a product called Espoma Garden Tone mixed with compost every spring. It made a visible difference within two weeks. Also, don’t skip the organic matter — it feeds the microbes that actually feed your plants.
4. Use the “3-Minute Daily Check” System
Here’s the thing about farming when you’re busy — you don’t need an hour a day. You need consistency.
I started what I call the “3-minute daily check.” Every morning before work, I walk out with my coffee, scan the garden, and do a quick mental checklist:
- Any wilting or yellowing leaves?
- Do the containers feel light (needs water)?
- Any obvious pests?
- Anything ready to harvest?
That’s it. Three minutes. Most days nothing needs to be done. But catching a pest problem or a dehydrated plant early saves you from losing the whole crop.
The weekends are when I do the actual work — watering deeply, weeding, fertilizing, harvesting. But the daily check keeps me connected and stops problems before they get serious.
5. Install a Drip Irrigation System Early
If there’s one thing I’d tell every beginner to spend money on, it’s a drip irrigation system or a soaker hose setup. It changed everything for me.
Before drip irrigation, I was dragging a hose around every other day. I’d forget, then overcompensate by drowning everything. My plants hated me for it.
A basic drip system from a brand like Rain Bird or Orbit costs anywhere from $30–$80 for a starter kit. You connect it to your hose, set a timer (I use the Orbit B-hyve smart timer, which has an app), and walk away.
Benefits I personally noticed:
- Plants grew faster because they got consistent moisture at the root zone
- Fewer fungal diseases (because leaves stayed dry)
- Saved at least 30–40% water compared to overhead watering
- I stopped stressing about going out of town
If you want more water-saving ideas beyond just drip systems, 7 Secret Backyard Mini Farms Water-Saving Tricks has some creative approaches I honestly hadn’t thought of before.
6. Companion Plant to Reduce Work (Not Just for Looks)
Companion planting sounds fancy, but it’s basically just smart plant placement. Some plants help each other. Others hate each other. Knowing the difference can cut your pest problems in half.
The classic combo is the “Three Sisters” — corn, beans, and squash. Corn provides a trellis for beans, beans fix nitrogen in the soil, and squash leaves shade the ground to keep weeds down and moisture in.
For smaller yards, here are my go-to combos:
| Plant | Good Neighbors | Bad Neighbors |
|---|---|---|
| Tomatoes | Basil, carrots, marigolds | Fennel, cabbage |
| Peppers | Basil, carrots, spinach | Fennel |
| Zucchini | Nasturtiums, beans | Potatoes |
| Lettuce | Radishes, carrots, dill | Onions |
| Beans | Carrots, squash, cucumbers | Onions, garlic |
I always plant marigolds around my tomato bed. They repel nematodes and aphids naturally, which means I’m spending less time dealing with pest problems and zero dollars on chemical sprays.
7. Mulch Everything — Then Mulch It Again
Mulch is probably the most underrated tool in backyard farming. I ignored it for an entire first season and spent twice the time weeding and watering as a result.
A 2–3 inch layer of straw mulch, wood chips, or shredded leaves does the following:
- Reduces watering frequency by keeping moisture in the soil
- Suppresses weed growth by blocking sunlight
- Regulates soil temperature (important in hot summers)
- Breaks down over time and adds organic matter to your soil
I use straw mulch around my vegetable beds and wood chips in my pathways. You can get wood chips free through a service called Chip Drop — local tree companies drop off their excess wood chips to your driveway, often for free or very cheap.
One mistake I made early: I mulched too close to plant stems, which caused rot at the base. Always leave an inch or two of space around the stem itself.
8. Build a Simple Composting System
You don’t need a fancy tumbler (though they are nice). A simple compost bin made from chicken wire, pallets, or even a plastic trash bin with holes drilled in it will work just fine.
I started with a $20 plastic bin from my local hardware store. Within four months, I had dark, rich compost to feed my beds.
What to compost:
- Fruit and vegetable scraps
- Coffee grounds and filters
- Eggshells
- Dry leaves
- Cardboard (torn into small pieces)
What NOT to compost:
- Meat, fish, dairy (attracts pests)
- Diseased plants
- Pet waste
- Anything treated with pesticides
The ratio to remember is roughly 2:1 — two parts “brown” material (leaves, cardboard) to one part “green” material (kitchen scraps, fresh grass). Keep it moist but not soaking wet. Turn it every week or two. That’s it.
Making your own compost means spending significantly less on fertilizer, and honestly, home compost outperforms most store-bought fertilizers in my experience.
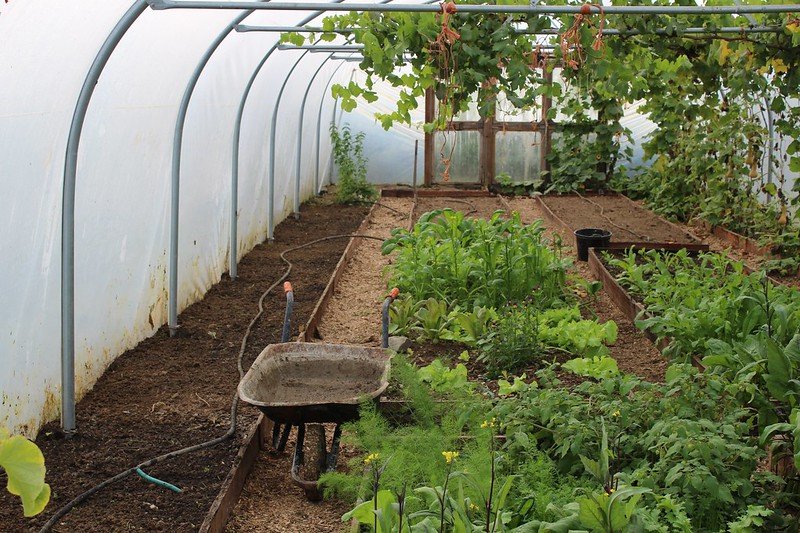
9. Grow Vertically to Triple Your Space
If you have a small yard, the ground is not your only growing surface. Vertical growing changed how I think about my space entirely.
I added a simple cattle panel arch over one of my beds — it’s a 16-foot metal grid panel bent into a tunnel shape. I grow cucumbers, pole beans, and even small squash on it. The harvest is incredible and the visual is surprisingly beautiful.
Other vertical options:
- Trellises for tomatoes, peas, and beans
- Pallets mounted on a fence for herbs and lettuce
- Tower planters for strawberries or herbs
- Pergola or fence netting for climbing plants
For ideas on how to lay out a small space efficiently, take a look at 9 Smart Backyard Mini Farms Vegetable Beds for Small Spaces. It has some layout ideas that made me rethink how I was using every square foot of my yard.
10. Track Everything in a Simple Garden Journal
I resisted this for the first two seasons. Felt like extra homework. Then I started doing it and realized I’d been repeating the same mistakes without knowing it.
You don’t need anything fancy. A $3 notebook works. Or use the free app Planta or even the notes app on your phone.
What I track each week:
- What I planted and when
- What’s performing well and what isn’t
- Pest problems I noticed
- How often I watered
- What the weather was like
- What I harvested (and how much)
After two seasons of tracking, I can now predict almost exactly when my tomatoes will produce based on planting date, and I know which varieties actually work in my climate. That knowledge is worth more than any gardening book.
11. Learn to Harvest at the Right Time
This one sounds obvious, but it took me an embarrassingly long time to get right. I was consistently leaving vegetables on the vine too long because I thought “bigger = better.”
Wrong.
Most vegetables actually taste better — and the plant produces more — when you harvest at peak ripeness or even slightly early.
Here’s a quick reference guide:
| Vegetable | Harvest Signal |
|---|---|
| Zucchini | 6–8 inches long (don’t wait for giant ones!) |
| Cucumbers | Firm, dark green, before yellowing |
| Tomatoes | Fully colored, slightly soft to the touch |
| Green beans | Pods snapping clean, before seeds bulge |
| Lettuce | Before it bolts (sends up a flower stalk) |
| Basil | Before it flowers; pinch tops regularly |
Zucchini was my biggest lesson here. I let a few go unnoticed under the leaves and ended up with baseball bat-sized squash that tasted like watery cardboard. Now I check every two days during peak season.
Regular harvesting also signals the plant to keep producing. It’s essentially a feedback loop — the more you pick, the more it grows.
Common Mistakes New Backyard Farmers Make
Before wrapping up, let me flag a few things I see beginner gardeners get tripped up on — because I was guilty of all of them:
- Planting too densely. More seeds doesn’t mean more food. Crowded plants compete for nutrients and airflow. Thin them out, even when it feels wasteful.
- Ignoring the seed packet. That little card has all the information you need — spacing, depth, light requirements, days to harvest. Read it.
- Watering on a schedule instead of by need. Check the soil before watering. Stick your finger two inches in — if it’s still moist, skip it.
- Giving up after one bad crop. Every gardener loses crops. Every single one. It’s not failure — it’s data.
- Buying too many tools. You need a trowel, a hoe, gloves, and a watering can or hose. That’s basically it to start.
For more on avoiding early mistakes, 6 Backyard Mini Farms Planning Mistakes I Regret is worth a read before you finalize any plans.
Final Thoughts
Backyard farming is one of the most rewarding things I’ve added to my life — but it took me a while to figure out how to make it fit into a busy schedule. The truth is, it doesn’t require hours every day. It requires a little consistency, a few smart decisions early on, and the willingness to learn from what doesn’t work.
Start small. Build your soil. Water smarter, not more. Track what happens. And don’t let a failed zucchini plant stop you from planting tomatoes next season.
Every garden season teaches you something new. That’s actually the best part.
Also worth reading: If you’re looking to avoid the early stumbles that slow most new growers down, check out 11 Backyard Mini Farms Mistakes Beginners Should Avoid — it’s one of the most practical guides I’ve come across for anyone in their first or second season.