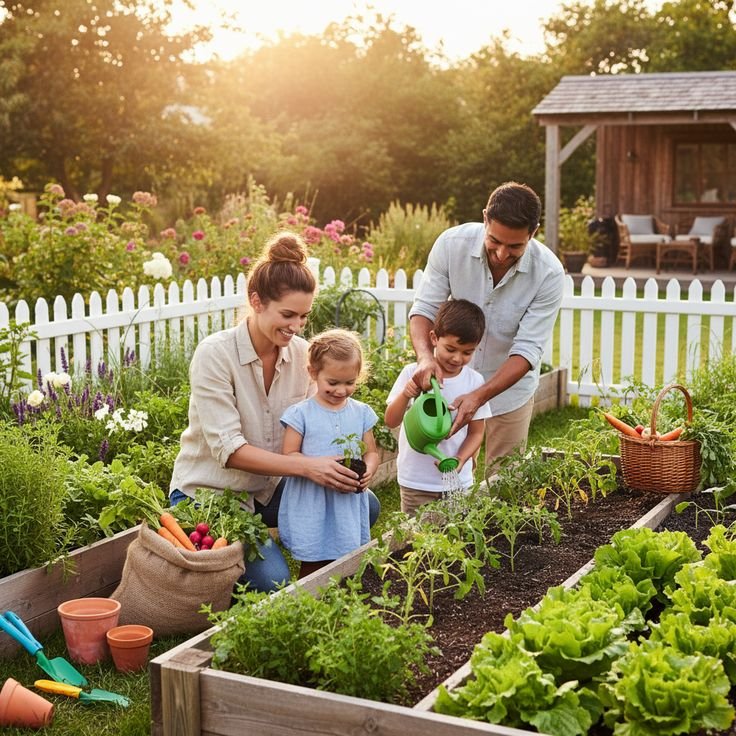
Last spring, I stood in my tiny backyard staring at a patch of ground that couldn’t have been more than 12 feet wide. My neighbor on the right had a full kitchen garden. My neighbor on the left grew enough tomatoes to fill a farmer’s market stand. And me? I had a sad patch of weeds and a half-dead rosemary bush.
I decided right then — I was going to figure this out.
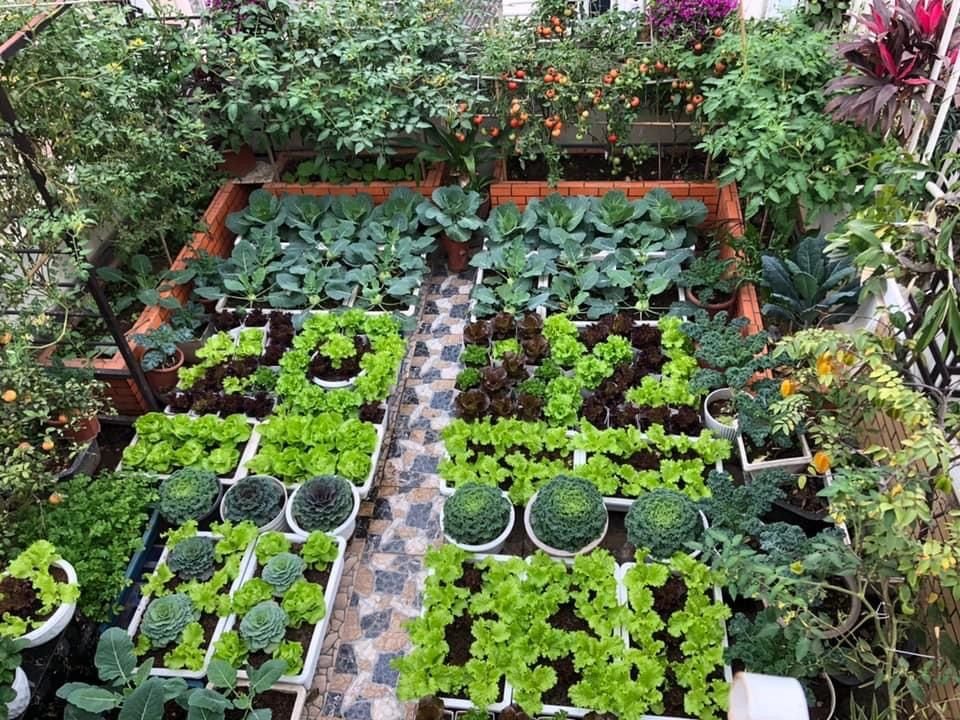
Fast forward eight months, and that same sad patch is now producing zucchini, lettuce, cherry tomatoes, bell peppers, and herbs I actually use. I’m not some master gardener. I just learned — mostly through failure — what actually works when you’re working with limited space.
Here’s everything I know, packed into 10 tips that genuinely helped me.
1. Stop Thinking in Square Feet — Think in Cubic Feet
This was my first big mindset shift. When I had limited ground space, I kept trying to cram more plants side by side. Total disaster. Crowded plants fight for nutrients, airflow gets terrible, and you end up with half the harvest.
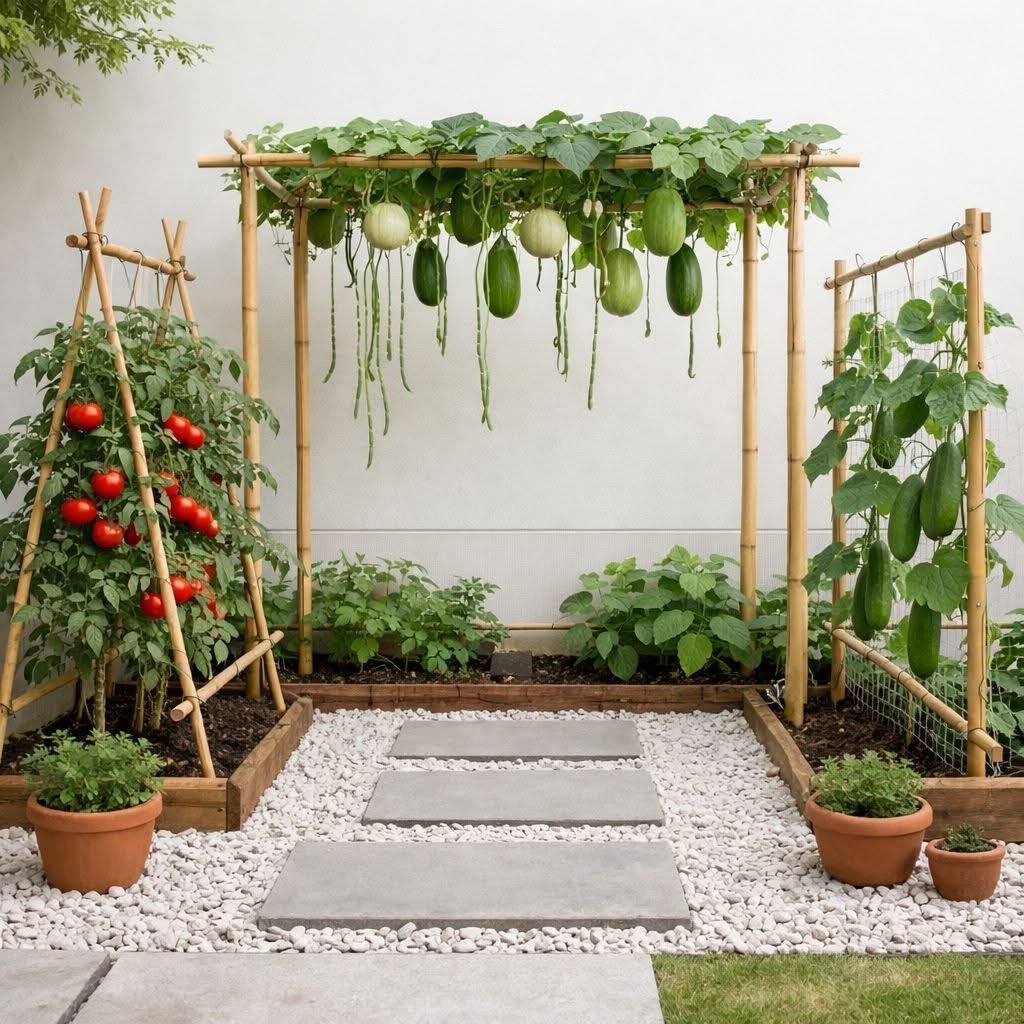
The real unlock? Going vertical.
I added a basic trellis along my fence (cost me about $15 from the hardware store) and started growing cucumbers, pole beans, and peas upward instead of outward. Suddenly I had three times the growing capacity in the same footprint.
You can also try stackable planters, wall-mounted pocket planters, and tiered raised beds. These aren’t fancy tricks — they’re space physics. And once you start thinking vertically, you’ll never go back.
Quick wins for vertical growing:
- Tomato cages turned horizontally for vining plants
- Repurposed wooden pallets as wall-mounted herb gardens
- Simple bamboo poles tied in a teepee shape for beans
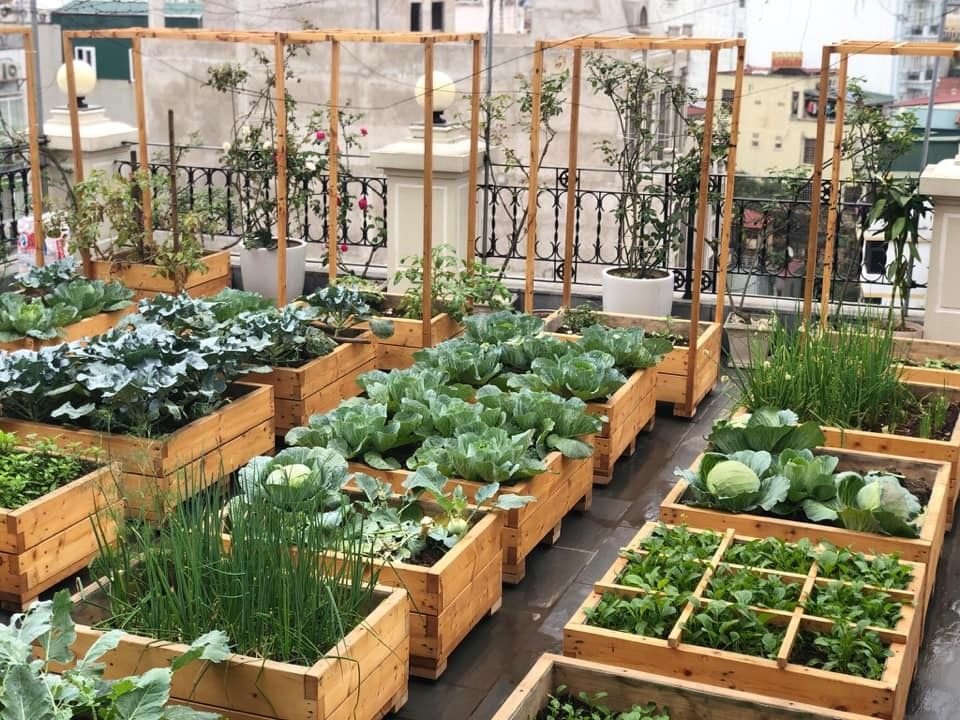
2. Build Raised Beds — Even If You Think You Don’t Need Them
I resisted raised beds for almost a full season because I thought they were expensive and unnecessary. I was wrong on both counts.
My native soil was compacted clay. Things barely grew. Once I built two simple 4×4 raised beds using cedar planks (I followed a basic YouTube tutorial), filled them with a mix of compost, topsoil, and perlite — everything changed. Germination improved, drainage was perfect, and I stopped fighting the ground.
You don’t need fancy cedar either. Untreated pine works. Old bricks work. Even stacked cinder blocks, which I used for one bed, work fine.
If you want inspiration for bed layouts that actually maximize yield in small spaces, check out these smart raised bed layouts that save space — they helped me rethink my entire setup.
3. Choose the Right Vegetables (Not the Ones You Want to Grow)
Here’s an honest mistake I made: I planted watermelons in my first season. In a 12×8 foot yard. I genuinely don’t know what I was thinking.
Watermelons spread like crazy, need massive root space, and hog sunlight. That single plant ate up a quarter of my growing area and gave me two sad fruits.
For small yards, you want compact, high-yield vegetables. Here’s a breakdown of what actually works well per square foot:
| Vegetable | Space Needed | Yield Potential | Grow Time |
|---|---|---|---|
| Cherry Tomatoes | 2-3 sq ft | Very High | 60-70 days |
| Lettuce | 1 sq ft | High | 30-45 days |
| Radishes | 0.5 sq ft | High | 25-30 days |
| Bush Beans | 1-2 sq ft | High | 50-55 days |
| Kale | 1-2 sq ft | Very High | 55-65 days |
| Bell Peppers | 2 sq ft | Medium | 70-90 days |
| Spinach | 1 sq ft | High | 40-50 days |
| Zucchini | 3-4 sq ft | Very High | 50-60 days |
Avoid sprawling crops like pumpkins, watermelons, and full-size squash unless you have a dedicated section or a strong vertical support system.
4. Succession Plant Like Your Grocery Bill Depends On It
One thing that took me way too long to learn: you don’t plant everything at once.
My first garden, I planted all my lettuce seeds the same week. Three weeks later, I had more lettuce than I could eat in a month. Then it all bolted in the heat and I had nothing for the rest of summer.
Succession planting means sowing seeds every 2-3 weeks in small batches. That way, you get a continuous harvest instead of a flood-and-drought cycle.
I now keep a simple paper calendar on my shed door. Every time I plant a row of lettuce or beans, I mark the date and write a reminder 2 weeks later to plant the next batch. Low tech, but it works perfectly.
Apps like Planta or Gardenia can also help you track planting schedules if you prefer digital tools.
5. Feed Your Soil, Not Just Your Plants
This is probably the most common mistake I see new gardeners make — treating soil like it’s just a placeholder for the roots.
Healthy soil is alive. It’s full of microorganisms, fungi, and organic matter that your plants depend on. The moment I started composting and really investing in soil health, my yields jumped noticeably.
Here’s what I do every season:
- Top-dress with compost before planting — about 2 inches on top of each bed
- Use worm castings for heavy feeders like tomatoes and peppers
- Mulch between plants to retain moisture and prevent weed growth
- Avoid synthetic fertilizers as the only feeding method — they feed plants but starve the soil ecosystem
For more practical soil advice that actually works in small setups, these secret soil hacks for bigger harvests are worth reading through. A lot of the tips there validated what I discovered on my own.
6. Master the Art of Companion Planting
Plants have relationships with each other — some are best friends, some are enemies.
When I started planting basil next to my tomatoes, aphid damage dropped noticeably. Marigolds near my peppers kept pests confused. Beans planted near corn actually fixed nitrogen in the soil and helped everything nearby grow better.
This isn’t magic — it’s biology. Companion planting works because certain plants repel insects, attract pollinators, or fix nutrients that neighboring plants need.
My favorite companion planting combos:
- Tomatoes + Basil — Basil repels aphids and whiteflies
- Carrots + Onions — Onions deter carrot flies
- Beans + Squash — Beans fix nitrogen that squash consumes
- Marigolds + Everything — Honestly, just plant marigolds everywhere
What I avoid: planting fennel near anything. Fennel is basically the loner kid of the garden — it inhibits the growth of most vegetables around it.
7. Water Smarter, Not More
I killed two zucchini plants in my second week of gardening by overwatering them. I thought more water = more love. It doesn’t. Soggy roots rot.
The trick I now use: stick your finger 2 inches into the soil. If it’s dry, water. If it’s still moist, leave it.
For a more consistent system, I installed a basic drip irrigation kit from Amazon — cost about $25. It delivers water directly to the root zone, reduces evaporation, and has cut my watering time in half. I use a simple mechanical timer so I don’t even have to think about it.
General watering guide by plant type:
| Plant Type | Watering Frequency | Notes |
|---|---|---|
| Leafy greens | Every 1-2 days | Sensitive to drying out |
| Tomatoes | Every 2-3 days | Deep, infrequent watering is best |
| Peppers | Every 2-3 days | Don’t let them dry completely |
| Root vegetables | Every 2-3 days | Even moisture prevents cracking |
| Herbs | Every 3-4 days | Most prefer slightly drier conditions |
Also — water in the morning, not evening. Evening watering leaves moisture on leaves overnight, which invites fungal disease.
8. Use Every Season — Not Just Summer
Most beginners think of vegetable gardening as a summer activity. It’s not. You can grow food through spring, fall, and in mild climates, even winter.
My growing calendar now looks like this:
Spring (early): Peas, spinach, lettuce, kale, radishes Spring (late): Tomatoes, peppers, squash (after last frost) Summer: Tomatoes, cucumbers, beans, basil, zucchini Fall: Lettuce, kale, Swiss chard, broccoli, garlic Winter (mild climates): Overwintered kale, garlic, cold-hardy greens
Cold-season crops like kale and spinach actually taste sweeter after a frost — the cold converts starches to sugars. I look forward to October kale more than July tomatoes, honestly.
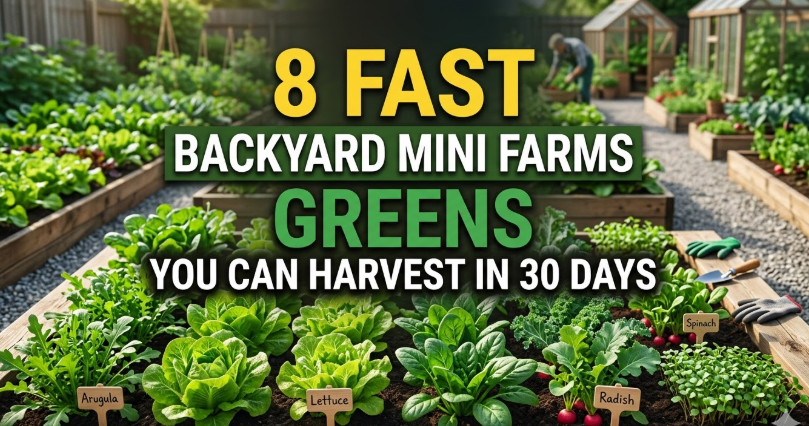
If you want to know which greens grow fastest and give you the quickest turnaround, these fast-growing greens you can harvest in 30 days are worth bookmarking.

9. Deal with Pests Early — Not After the Damage Is Done
I once ignored a few aphids on my pepper plants because there were only a handful. Two weeks later, the entire plant was coated and the fruit was deformed. That lesson cost me three months of growing time.
Pest control in a small yard is about early intervention. Walk through your garden every day — it takes five minutes. Look at the undersides of leaves (that’s where most pests hide). Pick off caterpillars by hand. Blast aphid clusters with a strong jet of water.
For ongoing protection, I use:
- Neem oil spray (diluted) — works on a wide range of soft-bodied insects
- Diatomaceous earth sprinkled around the base of plants — deters crawling insects
- Yellow sticky traps — catches flying pests before they multiply
- Row covers for seedlings — physical barrier against early-season insects
I avoid broad-spectrum chemical pesticides completely. They kill the beneficial insects too, including pollinators. And in a small yard, you need every pollinator you can get.
10. Track What Works — And What Doesn’t
This one sounds boring. It’s actually the most powerful thing I do.
I keep a cheap spiral notebook in my shed. Every season, I write down:
- What I planted and when
- What grew well, what struggled
- Pest issues I noticed
- What I’ll change next year
After three seasons of this, I now know that my sunniest bed is perfect for tomatoes and peppers, that my shadier corner does well with lettuce and spinach, and that planting beans after garlic gives me noticeably better results.
You don’t need a fancy app (though Notion or even the iPhone Notes app work great for this). The point is just to capture what actually happens so you’re not starting from zero every spring.
Common Mistakes I Made That You Can Skip
A few things I wish someone had told me before I started:
- Planting too deep. Seeds have specific depth requirements. Bury tomato seeds too deep and they won’t germinate. Follow the packet instructions.
- Skipping hardening off. When moving seedlings from inside to outside, you have to gradually expose them to outdoor conditions over 7-10 days. I skipped this once — lost 12 seedlings overnight to wind shock.
- Underestimating sunlight needs. Most vegetables need 6-8 hours of direct sun. Map your yard’s sun patterns before deciding what goes where.
- Not thinning seedlings. When three seeds sprout in one spot, you have to remove two. Crowded seedlings compete and all suffer. It feels wasteful. Do it anyway.
- Forgetting about pollinators. No pollinators = no fruit on your tomatoes and squash. Plant some flowers nearby — even a pot of zinnias or lavender makes a real difference.
What a Realistic Small-Yard Harvest Could Look Like
Here’s a rough estimate of what a well-managed 100 square foot backyard garden can produce in a single season:
| Vegetable | Estimated Yield |
|---|---|
| Cherry Tomatoes | 10-15 lbs |
| Zucchini | 8-12 lbs |
| Lettuce (successive) | 6-10 lbs |
| Beans | 4-6 lbs |
| Peppers | 4-8 lbs |
| Kale | 6-10 lbs |
| Herbs (basil, parsley) | 1-2 lbs |
That’s real grocery savings from a patch of ground most people would leave as lawn.
Final Thoughts
The honest truth is that a small yard is never really a limitation — it’s just a constraint that forces you to be smarter. Every square foot matters, so you pay attention more. You plan better. You learn faster.
I made every mistake on this list at least once. Probably twice. But after a few seasons of showing up, paying attention, and not giving up when things died, I’ve got a backyard garden that actually feeds my family real food.
Start with one raised bed. Pick three vegetables you’ll actually eat. Water consistently. And don’t overthink it.
The ground does most of the work — you just have to show up.
Also worth reading: If you’re just getting started and want a solid foundation before you dig your first hole, check out these proven planning tips for tiny yards — it’s a great companion piece to everything covered here.